Grow Box Guide: How to Build A Grow Box


Build Grow Box
Here is an example of a Grow Box made out of a dresser. It is very easy to do because the frame of the grow chamber is already made.

So you want to start an indoor garden but don’t know how to build a grow box.  Building a grow box is actually simple once you understand the mechanics.  Today you will learn every thing you need to know to build your own grow box.

The following guide will walk you through the basics of constructing a grow box out of an old piece of furniture.  A lot of indoor gardeners are also very enthusiastic about recycling, so this should really hit home for a lot of you.  The dresser grow box could be considered a grow cabinet, whatever you want to call it, the function is the same.

5 Reasons You Need Grow Box Plans:

1. Grow Room Ventilation: There is too much to say here.  You will obviously need some sort of exhaust.  The size of fan you need depends on the size of your grow box or grow room.  This simple grow box uses PC fans which can be wired to an old PC power supply very easily.  You can also control the timing of the fans by putting the power supply on a timer.

WARNING: Do not use the biggest power supply you can find.  Stick to a smaller power supply with low wattage because the fans use very little power.  If you do not know what you are doing, use a pre-made fan that you can just plug in.  For 20 bucks you can get a dryer type ventilation fan that can be attached to ducting.
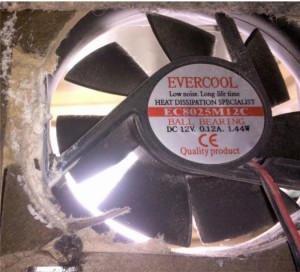
Grow Room Ventilation
Cut a hole in the back of your box and screw your fan into place. You can also use epoxy or strong glue.

2. Reflective: Reflectiveness should depend on your budget.  Aluminum foil is probably the cheapest material, but it certainly doesn’t reflect the most light.  Since you will likely be using small grow lights, you will want to get the most out of it.  White poly or Mylar are the premium choice.

3. Water proof/Bug proof/Mold proof: Water proofing is one of the most important things about building a grow box.  All hydroponic systems should be in water proofed grow boxes, or outdoors where they can’t possibly make a mess.  I’ll discuss bug proof more in the next point.  Mold proofing takes a little common sense.  Don’t use carpet for the floor of your grow box or anything dumb like that.

4.  Air tight: You will want your grow box to be air tight so that light doesn’t escape, bugs will have a harder time getting in, and you will want control of the ventilation.

5. Odor control: Some people enjoy having fresh herbs, vegetables, and fruits growing in their house, but don’t want their house to smell like a garden or green house.  Some people just don’t like that smell.  You can get a carbon filter for the unwanted smells, but you will need to get an inline fan, which could dramatically raise the price.

Electrical Components

Please make sure all of your electrical components are away from possible water sources.  You should place your outlets on the out side of the grow box and hung up.  The last thing you want is water in your electrical components.

Key Components
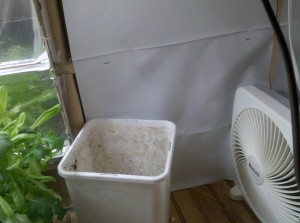
Grow Room Fan
The small desk fan provides plenty of air movement in this small grow chamber.

Indoor Grow Lights: CFLS
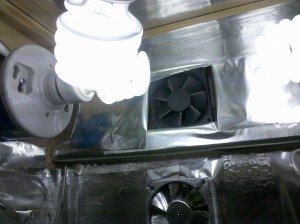
Here you can see two of the small ventilation fans and a few 23w CFLs. You want to get the most surface area of each bulb facing towards the plants.

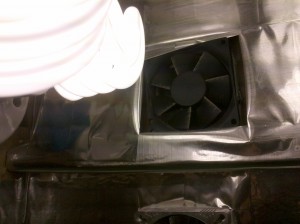
Grow room fan
Notice the fan is pushing air OUT of the box. The fan at the top is drawing the heat from the lights and pushing it outside the grow box. The lights are what make the grow chamber's temperature rise. You don't want your plants to catch a fever!

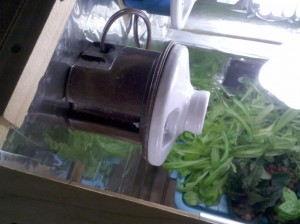
CFL Grow Light
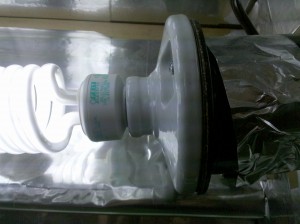
Another angle of the CFL Grow Light

GUIDE: Build a Super Cheap Bubbleponic Cloner

Stronger Clones Start Here

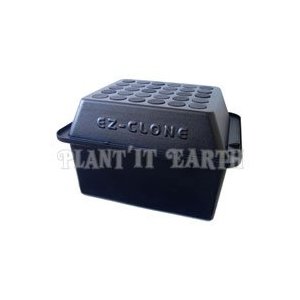
Bubbleponic cloning systems are an easy to build solution to weak and limpy clones.  The entire system will not cost you very much.  If you use neorepene discs, like the E-Z Clone uses,  you will have an efficient cloning system that uses no growth medium.  The aeroponic cloner you will have after this guide can root clones in as little as 7  days with an organic rooting gel like Earth Juice Earthstock.  There are plenty of other types of rooting gels and powders.  Clonex and Olivia’s are two other gels that work well.

Example

Aeroponic Cloner
Check out this Pre-Assembled Aeroponic Cloning System

Supply List

-Storage Tote

-Neorepene EZ Clone Discs

-Air Pump

-Air Tubing

-Air Stones

-Power Drill w/ drill bit that is the same size as your discs.

Light Proof Your Tote

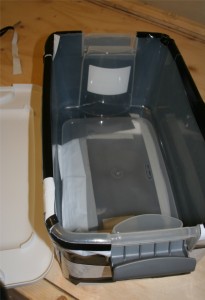
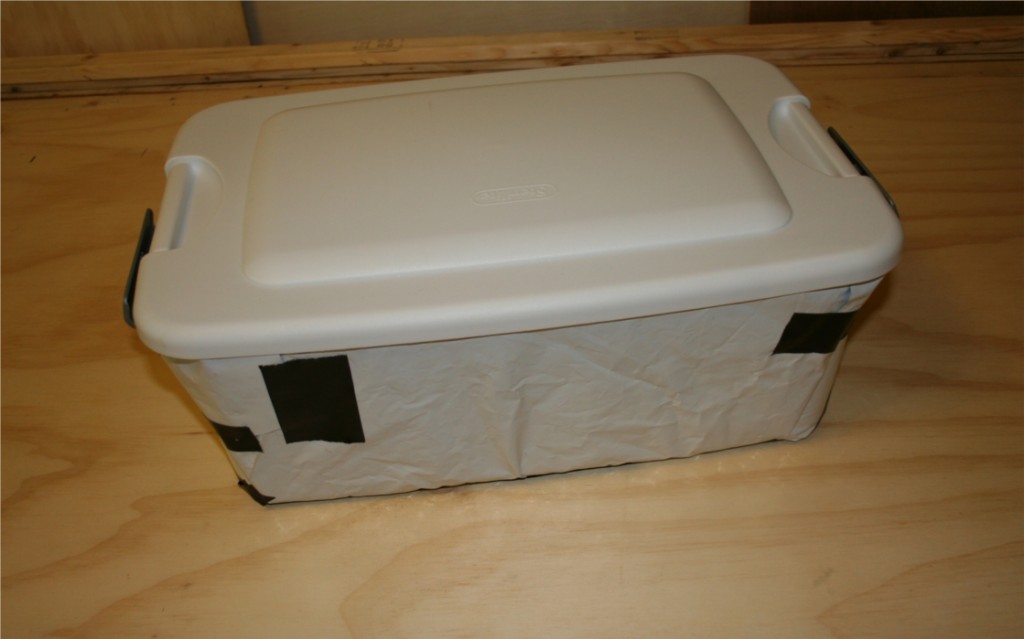
Future ReservoirIf you bought a light proof tote, you can skip this step.  If it is clear or semi clear you need to wrap it in a reflective material.  You can use Christmas wrapping paper if you do not have access to something else.  You just want to make sure no light comes in through the walls of your tote.  The storage tote will be the water reservoir for your cloning system.

Use HDPE Food Grade plastics for your storage tote if you plan on cloning consumable plants like fruits or veggies.  Food grade plastics ensure the safety of you and your family.  If the cloning system is only for flowers, there is no risk since you will not ingest the chemicals.

Continue reading “GUIDE: Build a Super Cheap Bubbleponic Cloner”

GUIDE:How to Successfully Take Plant Cuttings From a Mother Plant

The key to keeping mother plants small lies in taking strong cuttings.  Strong cuttings will root fast and grow into large plants of higher quality.  Weak clones are susceptible to disease and bug infestation.  Cloning is very rough on the mother and fresh cutting.  Avoid taking too many clones from one mother plant in one day.  When mother plants lose a lot of their vegetative growth, they can become weak.  A weak mother plant can only provide weak clones(a problem you are already trying to avoid).

Follow these step by step instructions to ensure you have a successful cloning system.

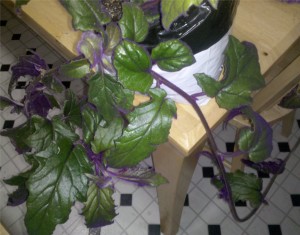
The mother plant could produce 4 or 5 fresh cuttings at this point.

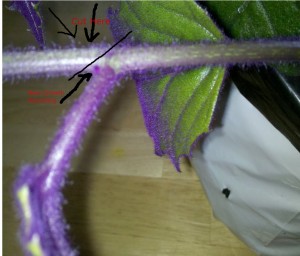
First identify the best part of the plant to clone.  This can vary a little depending on the type of plant.  For the most part you want to have a long enough stem to fit through your growth medium.  Use a razor blade or trimmers to cut a clone at a 45 degree angle.  Cut at a node where another branch will grow out.  The old stem will appear to split into two new stems.  Those two stems can turn into two strong clones or one very strong clone.  You have the power to decide.

Plant propagation
The line is exactly where you should cut your clone. Below the line the new growth is sprouting out.

Once you have cut the clone from the main stem, you want to cut off any large leaves because they will drain the cutting of its moisture.  Do not fear, the leaves will grow back.  The bottom 6-8 inches of the steam should be completely clear of leaves.

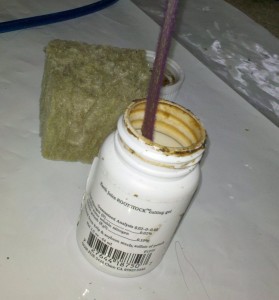
Dip the end of the stem in your favorite Cloning Gel. I prefer Earth Juice for organic applications and Clonex for flower types.

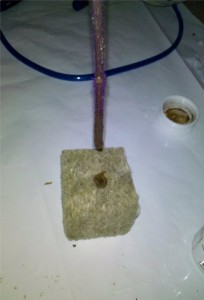
Next put the cutting into its own growth medium to be put into your cloning system.  The growth medium could be a rockwool cube, a net pot of hydroton, or a neorepene disc.  After a few hours if you notice your clones are sagging or wilting, gently mist them with plain water.  DO NOT OVER DO IT. You want the plant to feel the need to grow roots to find water and nutrients.  Good Luck Gardeners!  Feel free to leave comments below if you have any questions.

GUIDE: How to Mix Fertilizer; Mixing Nutrients in a Hydroponic Reservoir

Mixing nutrients is an essential part to all hydroponic growing systems.  Plants require nutrients to grow.  Hydroponic systems are designed to ensure maximum nutrient uptake.  Use this guide to mix your nutrients correctly every time!  Mixing nutrients in your reservoir is easy – follow the pictures if you are confused.

Water for Hydroponic Reservoir
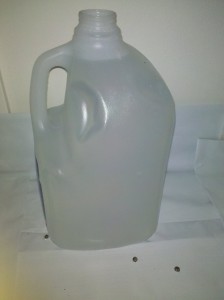
Start with plain water to mix with your hydroponics nutrient.

Start with reverse osmosis water if you can.  I use one gallon jugs to fill water and mix nutrients.  Growers with bigger reservoirs will want to use a 5 gallon bucket to mix nutrients.  Make sure the container you use is food grade.

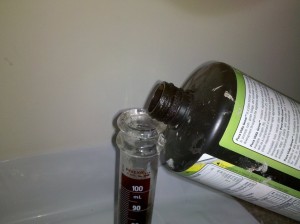
Get a clean measurement tool like a cylinder. Read the label of your nutrients to determine the measurement of nutrients you need per gallon.  If you are using a five gallon bucket make sure to multiply by 5.  I like to start with half of what the bottle recommends to ensure I don’t burn my plants.  Pour your high grade organic nutrients into the measurement tool to make sure you have the correct amount.

Pour Nutrients Into Measurement Tool
Pour your hydroponic plant nutrients into your measurement tool.
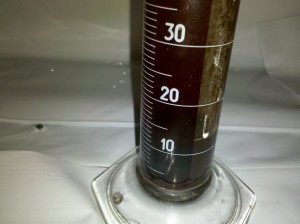
Hydroponic Nutrients
Measure and double check your plant nutrient measurement before adding to your water.

Make sure you double check your nutrient measure.  It is good to know the amount of nutrients used and at what time in the plant’s life cycle.  Jotting down quick notes of these metrics and their results can leave you with valuable information for your next crop.  Grow logs are an essential tool in building a better growing environment.

Mix Hydroponic Nutrients with Water
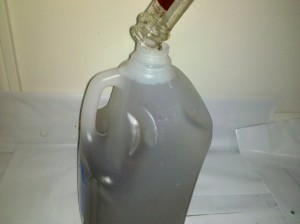
Once you have the correct amount of nutrients, pour them into you water that is to be mixed in the reservoir.

Line up your measurement device with the lip of your container and pour your nutrients in slowly.  If you tilt the cylinder too much you may overshoot your container.  If you spill some the measurement you took is now wrong.  The loss will not affect your grow in a severe manner, but it is nice to have close to accurate measurements.   Even if you are trying to achieve 100% efficiency you are unlikely to do so.

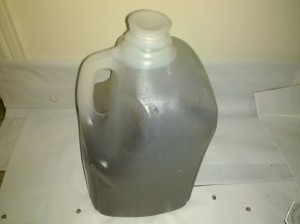
Mixed nutrients.
Cap the container and shake the nutrients until they are well mixed.

GUIDE: Installing an Air Pump in a Hydroponic System

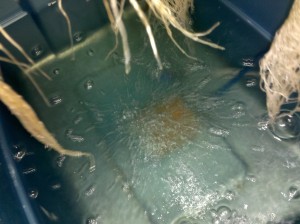
Notice all the bubbles being created, it is hard to see, but there are actually multiple air stones in the reservoir. These plants are thriving in this system.

Virtually all hydroponic and aquaponic systems will require an air pump of some type.  The nutrient reservoir must be oxygenated to maintain maximum efficiency.  If you do not want perfect plants what are you doing here?

Setting up an air pump in your nutrient reservoir is really simple.  I’ll outline the steps below.

1. Figure out the length of air tubing you need for the air stones to sit in the reservoir where you want them.  Leave a little extra tubing- you don’t want too much because air loses power over distance.

2. Put a hole through the side of your reservoir if you want your lid to seal.  Put the hole close to the top where water won’t spill out.  The hole is where the air tubing goes through.

3.  Put your air tubing through the hole you made before connecting the air pump or air stone.

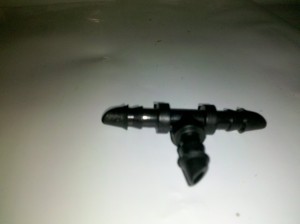
4. Connect any T connectors you plan on using.  T connectors connect two air lines together to aerate two separate stones.  One large air pump can aerate many air stones in one reservoir or provide all the oxygen to many reservoirs.  I use small air pumps for each reservoir so all my eggs aren’t in one basket.  If one air pump aerates all the reservoirs and it malfunctions, all your reservoirs are donezo!

T connectors are used to bridge multiple air lines to the main air line.

5. Cut your air line before it meets each air stone to put in check valves.  Check valves ensure you air pump does not siphon water in the event of power loss.  Siphoned water into your air pump means a broken air pump.

Check Valves
Check Valves prevent water from being siphoned to your air pump.

6. Connect your air lines to your air stones and place them where you want them.  I like heavier air stones that stay in place at the bottom of the reservoir.  If you have multiple air stones, spread them out so your entire reservoir is oxygenated.

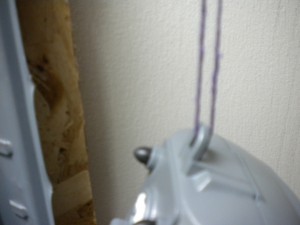
7.. Now is good time to hang your air pump if you plan to do so.  Air pumps can be noisy and sometimes give off a loud vibration that gets really annoying.  A hanging air pump should be a quiet air pump.

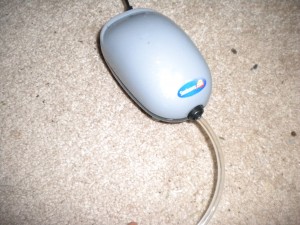
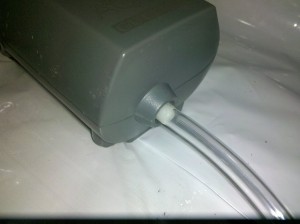
8. Connect the other end of your air tubing to the little connector coming out of the air pump. (shown below)

9.  Plug in you air pump and oxygenate that reservoir!.

Hanging Air Pump
Hanging air pumps reduce noise by eliminating loud vibrations.
Sunleaves Durapump Air
Air pump connected to 1/4inch air tubing oxygenating a large nutrient reservoir.

GUIDE: Homemade Recirculating Drip System

Drip systems are economical and save time.  They ensure plants are fed daily with the correct amount of water and nutrients as specified by the gardener.  A digital timer is a useful tool for any drip system.  The timer will turn your water pump on daily at a specified time so you don’t have to be there to manually turn it on.  If you are trying to plan for a new garden, sketch out your ideas before you go to the store.  You may be overwhelmed by all your options.  If you have a rough idea when you get to the hydroponics shop, you can show someone working there.  They will help you choose the tools you need.  Setting up your first drip system or building your own hydroponics set up may seem hard, but it is actually simple.  Gardeners can choose to build a really simple drip system or a very elaborate system with self regulating levels of nutrients.  Start with what you understand so you can experiment with more options as you learn.  I suggest reading the Introduction to Drip Systems if you are new to drip hydroponics and do not understand all the parts required.


The two types of water tubes used in this system are 1/4 inch and 1/2 inch Connect clear air tubing to an air stone to add oxygen to your nutrient reservoir.
The size of air pump you need depends on how many gallons you plan to aerate. The box will usually tell you the size range the pump is meant for. A little extra aeration doesn't hurt!!!
This is one configuation of drippers you can use depending on your needs.

Before you buy anything do some research.  Find out what parts you need for your drip system.  Be creative!  Since you are not buying an out of the box drip system you get to choose what parts to use.  I recommend a filter for your half inch tubing.  The filter will catch nutrient pieces and other contaminants that could potentially clog your drippers.  Also grab on/off valves for your 1/2 inch tubes and your 1/4  inch tubes.  The on/off switch will allow you to use the same tubes every time without having to cut the ones you are not using.  Don’t forget to turn the switches back on when you go to use the system!

TIP: Always test your drip systems!  A clogged dripper or a mistake in a drip line could leave you with wilted plants.  MAKE SURE TO WATER PROOF YOUR GROW SPACE!  If you are growing plants inside make sure the space is water proofed and all electrical pieces are off the ground and away from water spray range.  Spills happen in ways you wouldn’t think of and can cause major problems including mold or an electrical fire.  Keep towels around the grow space in case a spill does happen you will be prepared.  Having a “it won’t happen to me” attitude will not save your precious plants or floors.

The pictures are pretty easy to follow, but I’ll add instructions to go along with the pictures.  The system that the pictures model is an open recirculating system.  An open recirculating drip system is used as a nutrient reservoir and waste run off all in one.  The plants are fed and the run off runs back into the reservoir which is not air tight.  If you don’t have a PH or ppm meter I suggest using run to waste methods until you are comfortable with reservoir changes.  The run to waste method does blow through nutrients, but it ensures a good crop and a relatively steady PH.  Use the guide on Building a Simple Drain Table to use the run to waste method.  The exact same system explained in the drain table guide can be used for a recirculating system.  You just add the components I am about to discuss in the bottom reservoir and fill it with your nutrient solution.
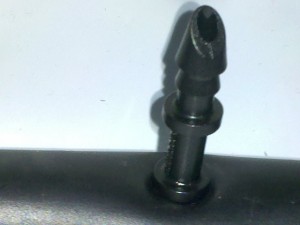
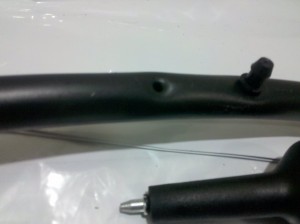
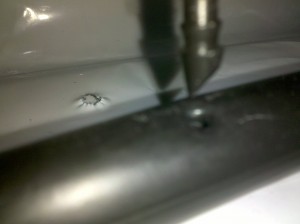
Be careful not to punch the hole all the way through the other side.
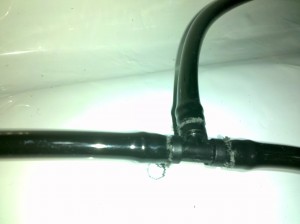
This is a hole put in the 1/2 inch tube by the tool in the picture. You use a connector to connect the hole to a 1/4 inch drip line.

Once you have your home made drip system planned out you are ready to get into the action.  Punch holes into your half inch tubing where you want 1/4 inch tubes to come out. If you mess up there should be plugs with the hole punch you bought.  You can get extra plugs at the hydroponics shop.  Try not to mess up because the plugs are some what of a duct tape fix and they may leak if the hole is too big.

  
Having a picture to look at will give you an idea of what you want to do. This picture has 2 types of feeding delivery systems. There are rings of drip emitters and open ended 1/4 inch tubing.
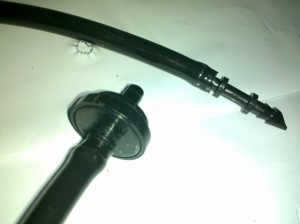
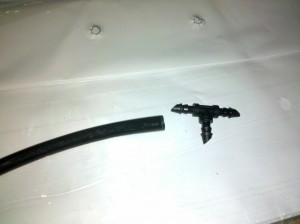
The connector at the end can go to another 1/4 inch line or be place in the holes created by the hole punch to bridge 1/4 inch tubes to 1/2 inch tubes.

I use the straight connectors to go into the 1/2 inch tubing instead of T connectors.  Every time I have tried to use a T connector directly from 1/2 inch tubing, it leaks.  Other indoor gardeners sometimes have better luck, but I don’t like to take chances.  Be sure to push the tubing as close to that inner circle as you can to avoid leaking.  I cut my tubing straight at the ends so there is no open space for leaks at the connections.  Home made drip systems require basically the same work as an out of box drip system.  Systems don’t usually come pre-cut because you don’t know what lengths you want or the amount of drippers per plant.  Drip kits usually just come with the parts you need to build a starter drip system.

Put the connector in snug so it doesn't leak.
This is what the bridge looks like sitting in the 1/2 inch tubing before the 1/4 inch tubing is connected to it.
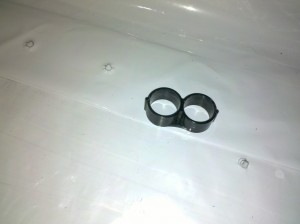
The T connector can turn one 1/4 inch tube into 2 drip lines or be used to complete a circle drip delivery system so the whole root zone is watered

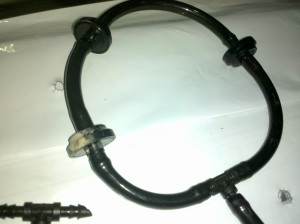
Connect 1/4 tubing to your bridge and run it the length you need plus some extra.  I used a T connector to start the circle for the drip system.  This type of system will ensure the whole root zone gets water/nutrients.  It is hard to remove once the plants get big but they should need a transplant by the time they reach that size.  Be careful on the type of drip emitters you choose.  There are many to choose from.  The main difference you need to know about is the difference between inline and compensating drip emitters.  Inline drip emitters are meant to be in a straight line on a flat surface.  I used inline drippers for this system.  If you are watering different types of plants in different types of containers you may need compensating drippers.  Compensating drip emitters can go up hills and drip at the correct rate.  Inline drip emitters may not work properly on a hill.  Compensating drip emitters also go at the end of the 1/4 inch tube and are usually not run in a series.

This T connector connects the 1/4 inch tubing coming from the 1/2 inch tube to the 1/4 inch tubes that are connected to the circle of drip emitters.
Connect your Inline drippers to form a circle or straight lines depending on your garden.
Connect as many drip emitters in a series as you need but make sure your pump is strong enough to handle the load.
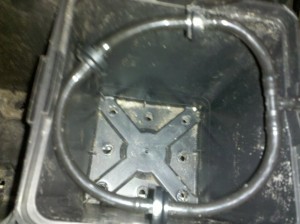
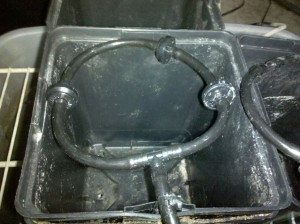
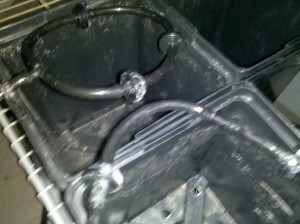
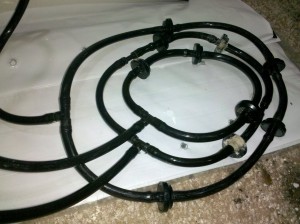
Circle of Inline Drip Emitters to be placed in a container with the plant in the middle.

Repeat the process as many times as you need for the amount of containers you want to water or feed. They don't have to be the same size!

Bend the 1/2 inch tubing so there is a good kink. Wrap it a few times so it is triple kinked.
After a triple kink the 1/2 inch tube should be closed off so it wont leak. The clamp will pressurize the tubing so the whole system is filled with water.

Put the other end of the 1/2 inch tubing snugly onto the 1/2 inch connector.

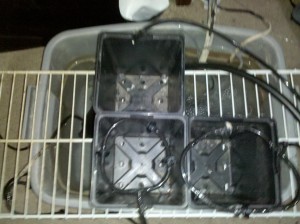
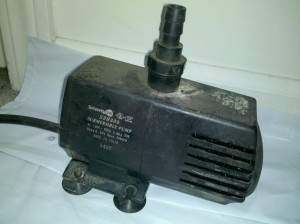
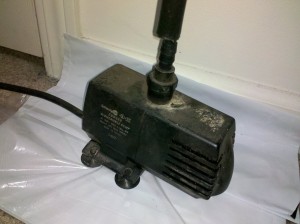
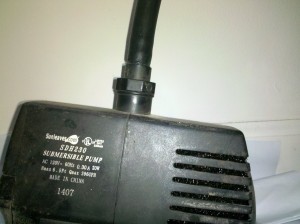
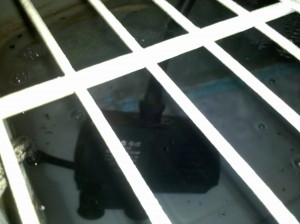
The water pump is submerged in the nutrient solution which is aerated by your air stones connected to your air pump.  For this open system I use a grate that was once a shelf to hold the containers for the plants.  The containers in this system only have holes on the bottom.  The nutrient solution rinses through the growing medium then back into the reservoir.

This picture shows the end of the 1/4 inch tube that is cut off and pumps out your nutrient solution at the fastest rate.

These are some shots of what your system may look like.  This guide is to serve as a sketch for you.  It should spark ideas on exactly what you want to do with your system.  Experiment with different things to find what works best for you and ultimately your plants.  You will have to play with your timer settings to find the right amount of time for the drip emitters to run to obtain maximum absorption.  If anything is unclear please mention it in the comments and I’ll clear it up for you!  Hydroponic Economics is here to help you set up the most efficient hydroponics garden possible!  Good luck Green Thumbs!

Using Analog and Digital Timers to Automate Your Garden

  
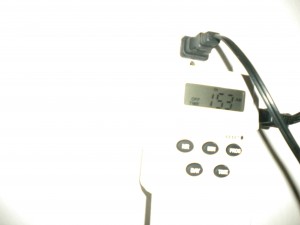
This 24 hour timer allows you to set the digital time and has 6 different on/off settings. You can also choose what days for the timer to run. This is useful if you are going on vacation for 2 weeks and you are still feeding your garden regularly with a dry day at the end of the week for the soil to dry out and expand root growth. The dry period will reduce the risk of over-saturation problems.

Electronic timers have a variety of uses in the grow room.  I use relatively cheap timers from a department store, but the turnover rate is rather high.  If you plan on leaving your system running for a few days without checking it, you may want to invest in the high end timers to ensure they will not die or malfunction on you.  The cheap timers come with a battery backup so the time is not lost in case there is a power outage.  That does not mean that the device plugged in to the timer will still run at its designated time.  There will not be enough power for that.  All the battery does is ensure the device plugged into the timer still comes on at the right time given the power comes back on.

SAFETY TIP: Keep electronic components, surge protectors, timers, extension cords, and all devices with a plug off the ground of the grow space.  Hang them high on the wall where they will not possibly be sprayed.  Also make sure they are not in the path of ANY potential flood. You can also make a waterproof box for your electronic components. DO NOT OVERLOOK THIS STEP!!  IT COULD SAVE YOUR LIFE AND YOUR HOUSE!

Digital Timers are useful for things like air circulation, water pumps, and sometimes air pumps if you need your aeration cycled.  If you are trying to manually control temperature and wind a timer will come in handy.  It will allow to set precise on/off timings for your fans.  Make sure to check the timer you buy to make sure it has what you need.  Some do not have the 3 prong connection and can only use smaller 2 prong cords.

SAFETY TIP: I know what you are thinking, “I’ll just get a plug converter to make the larger size fit.”  DO NOT OVERLOAD SURGE PROTECTORS, TIMERS, OR OUTLETS.  Do not attempt to give a circuit something it is not rated for.  Using the right size electrical components is a good and SAFE habit to get into from the start.  Losing your house to an electrical fire while you were gone is not worth saving a few dollars on a timer or extension cord.
Most people will use digital timers to control their water pump.  The timer will tell the pump when to run so you can control your watering and feeding schedule without being there.  You can set any type of schedule you want with timers.  You will have full control without ever being present.  Many cloning systems need timers to have a mister or fogger automatically raise the humidity every day.  Digital timers can also be used for lighting systems to precisely control the light cycles.

Analog timers can be used when you need many intervals of on/off cycles.  Things like aeroponic and bubbleponic cloners might use something like this.  These timers also work fine for lighting systems.  Just push down the pins or put the on/off pins on the times you need.  Pay attention to the timers clock and the order of times.  Not all analog timers have the times in the order they would happen.


GUIDE: Building a Simple Drain Table – Part 2

This is part 2 of the DIY Drain Table Guide. Look at part one here.

Okay after you have the right size tub and trays for your set up you can get started.  The size you get depends on your needs but I recommend getting a really sturdy bottom tub(drain off tub where waste goes).  The tub should be able to withstand the pressure of water with out bowing out enough to make your trays fall and CERTAINLY without cracking or breaking.

If a water container you have in one of your hydroponics systems is too weak to withstand the pressure of water constantly pushing on it could crack or break and leak the potential GALLONS of water all over your room and whatever electronics you may have on your floor(Even though all indoor gardeners should be making sure all of their electrical parts are placed on the wall or above where water could potentially spill or spray on them RIGHT?)

You’ll want to use a drill to drill holes 1 or 2 inches wide in the lids of the containers.  Position the hole so that they will drain into the tub the lids will be sitting on.  Refer to the pictures below.

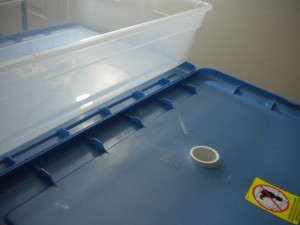
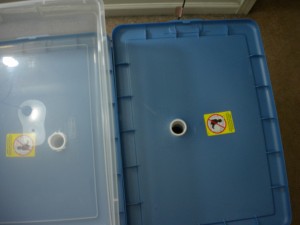
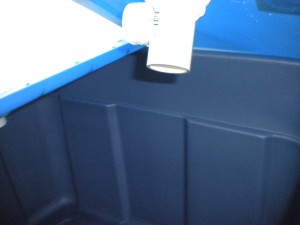
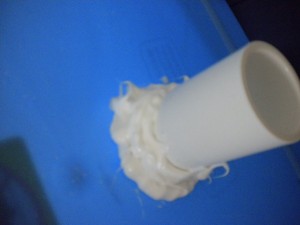
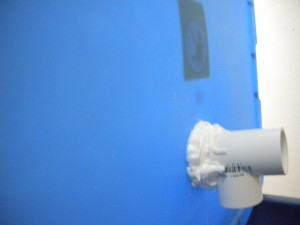
Notice there is a two inch hole drilled into the lid of the container with a two inch diameter PVC joint connector put through it as a drain hole.

Hole from above
Sealing the drain so water is FORCED through PVC.
To seal the PVC elbow drains in place you can get water proof silicone or a type of strong water proof caulking and apply it with a caulking gun.

Let the sealant set long enough that its not loose – this could take up to 24 hours so BE PATIENT.  Better things come to those who wait. Once the bond is tight you will be able to sit your trays on top of the lids and the drain wont fall off under the pressure of your plants plus extra water.  
Position your tray on top of the lid like you will have it in your final set up.  You want to put a hole in the space where the PVC hole is so the water from the tray drains out of the hole and through the PVC drain down into the bottom tub/reservoir.

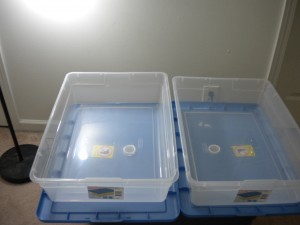
This is pretty much what you’ll have at the end – You can drill holes where the white circles are to drain the clear tray.

A drill should work fine if you are careful not to crack the plastic.  It shouldn’t be a problem either way considering you should be using containers sturdy enough to hold a lot of weight over long periods of time.  If one of your containers break your plants could end up submerged in their own dirty waste water.  You want to plan and account for things like this in the planning of your hydroponic set ups to ensure safety of equipment, plants, and most importantly you and your house.  
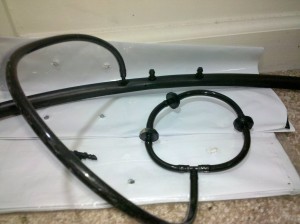
Another way to put holes in the plastic trays is to burn a hole.  BE VERY CAREFUL WITH THE FIRE! I heated up a glass rod with a camp fire starting torch – one similar to what you use to start a grill.  Once the rod was glowing orange I pushed it through where the PVC drains were to make a perfect hole.  

Good luck in your constructions and please comment or contact me with any questions.

GUIDE: Setting Up A Simple Drain Table Part 1

This guide is as detailed as possible so that people that are just starting with hydroponics can understand it.  There are ALOT of pictures – You were warned.

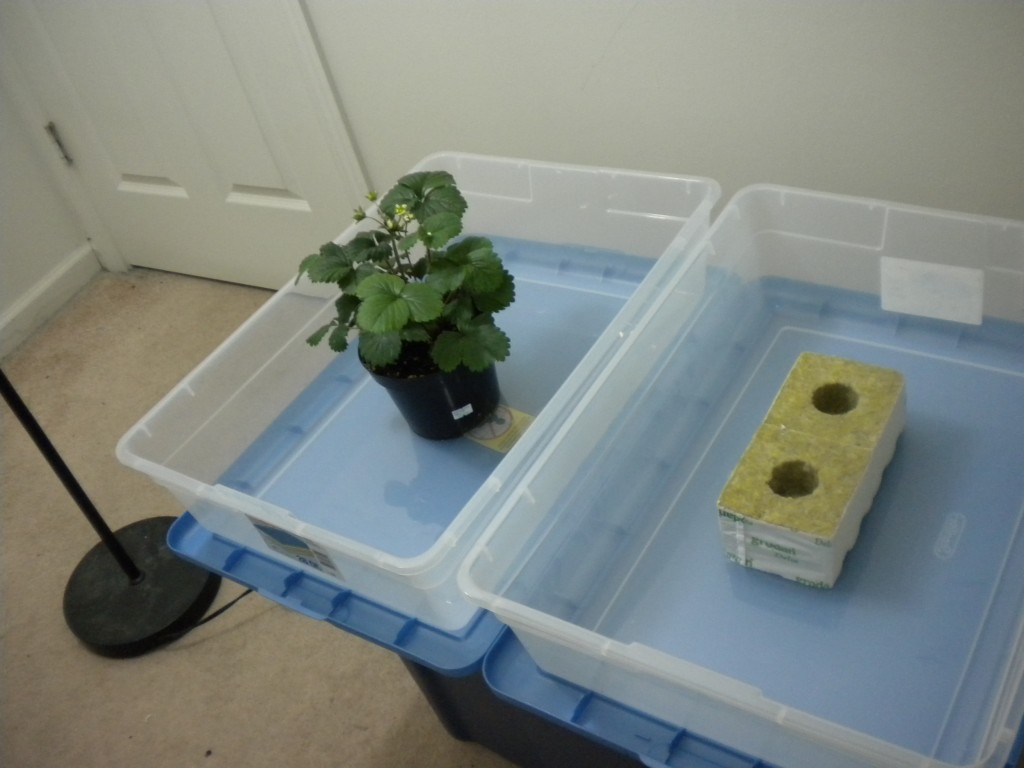
Left side – Soil container strawberries Right side – Rockwool cubes waiting for fresh clones

It is very easy to go to a hydroponics shop and just pick up a drain table and an assembly for it to sit on.  This may also include a $100 reservoir to go with the system.  Hydroponic parts add up fast and thats where Do it yourselfers try to save.  By building your own simple drain table you may be able to save money on your hydroponic setup.  The saved money can be used to get bigger containers and more medium for your roots.  The type of table I am going to show you how to build allows you to freely move your plants around in their containers.  This table is useful for soil and hydroponics alike because it allows the excess water and nutrient run off from watering/feeding to drain into a run off container that can hold many gallons so it rarely has to be changed.  It can greatly reduce the amount of maintenance needed daily in between harvests.

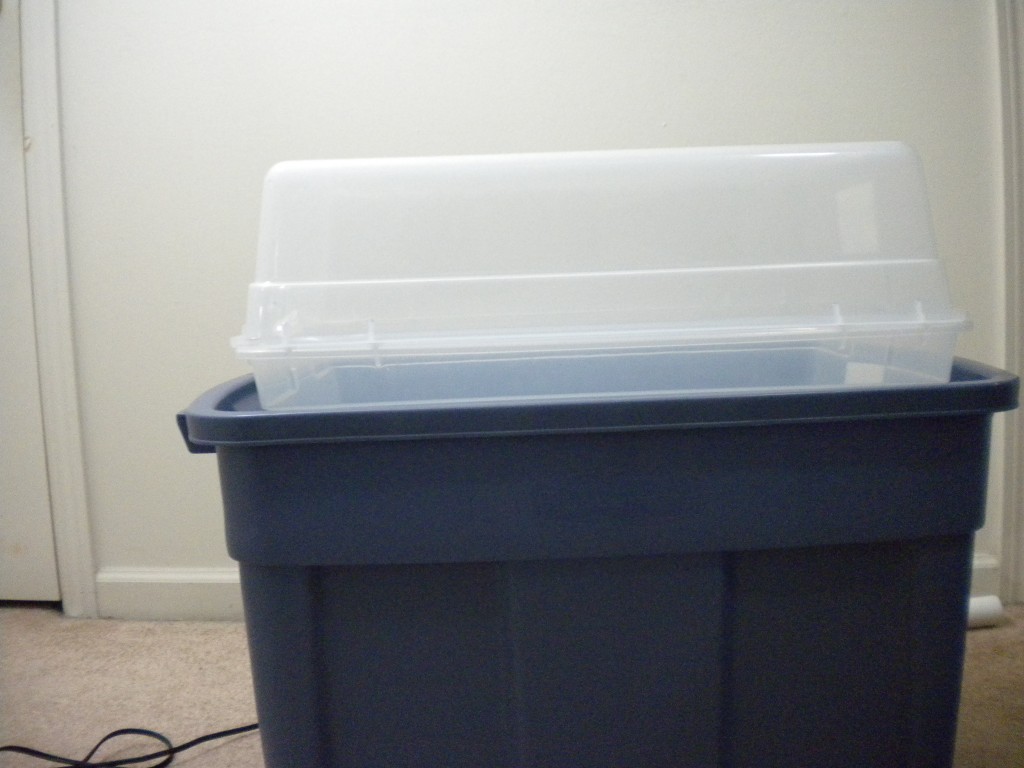
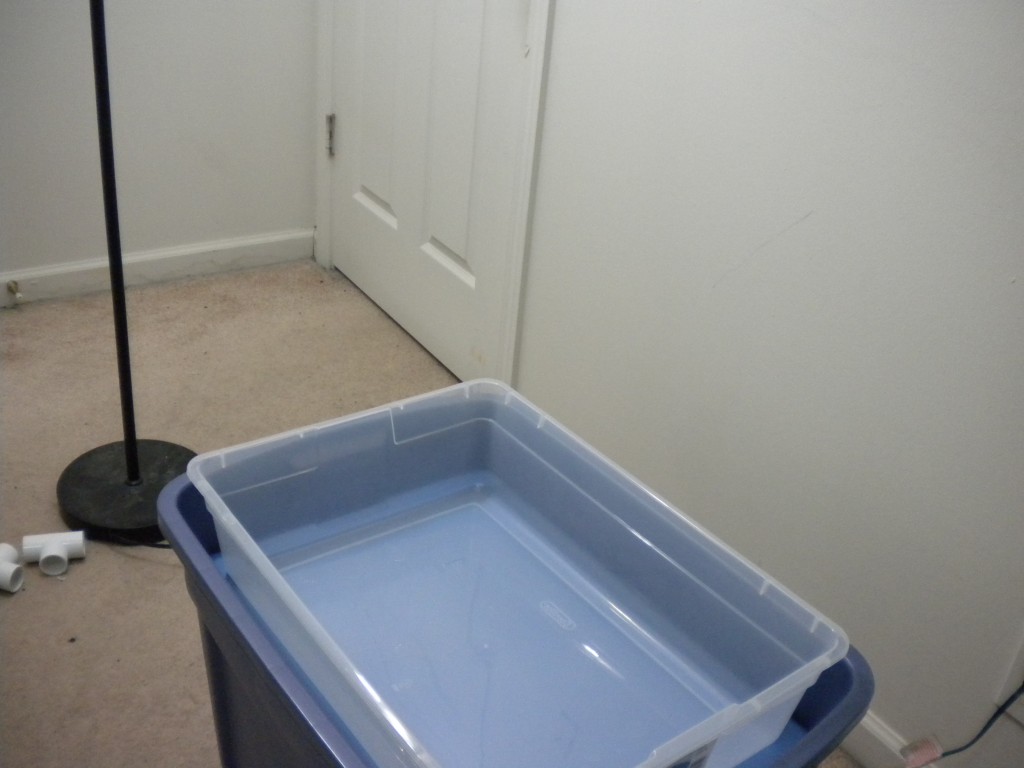
Blue tub is for the water to drain into after it goes through the plant.
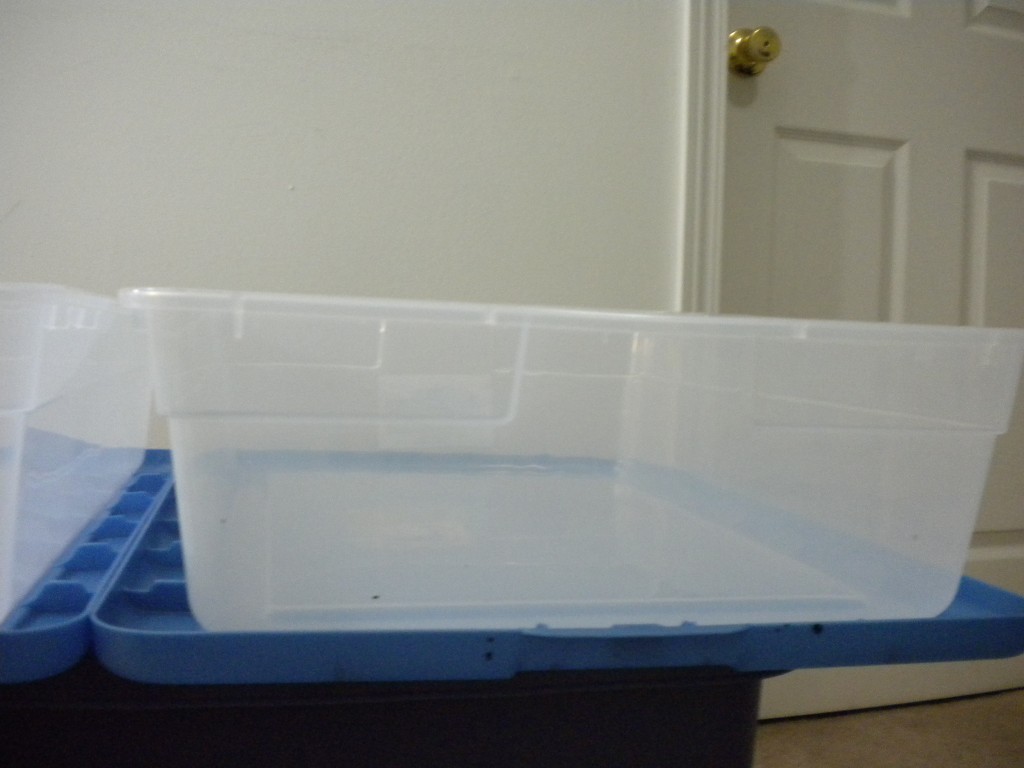
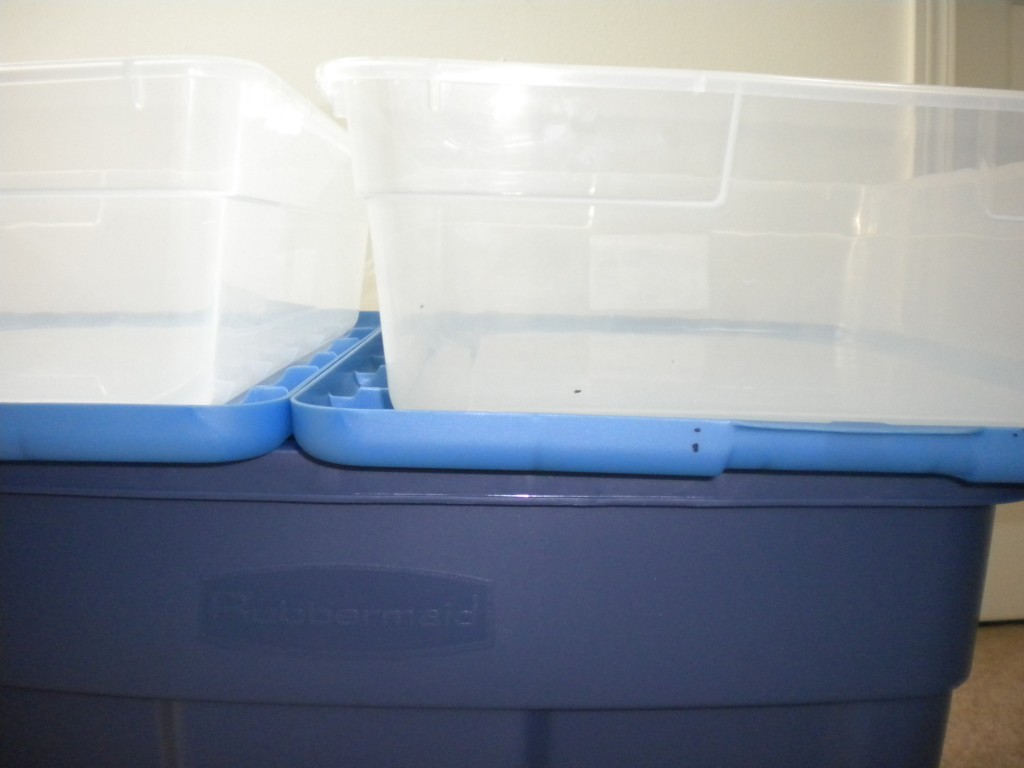
The clear tray is like a table for your plants. The lid of the container is what the tray sits on, on top of the blue tub from the previous picture.
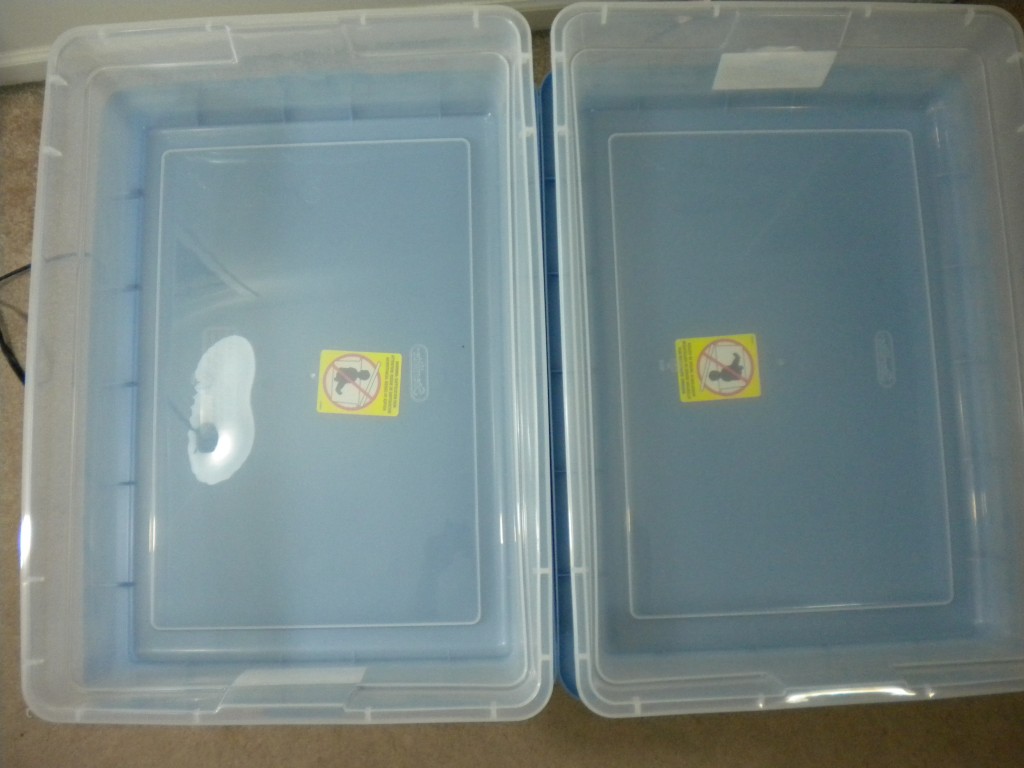
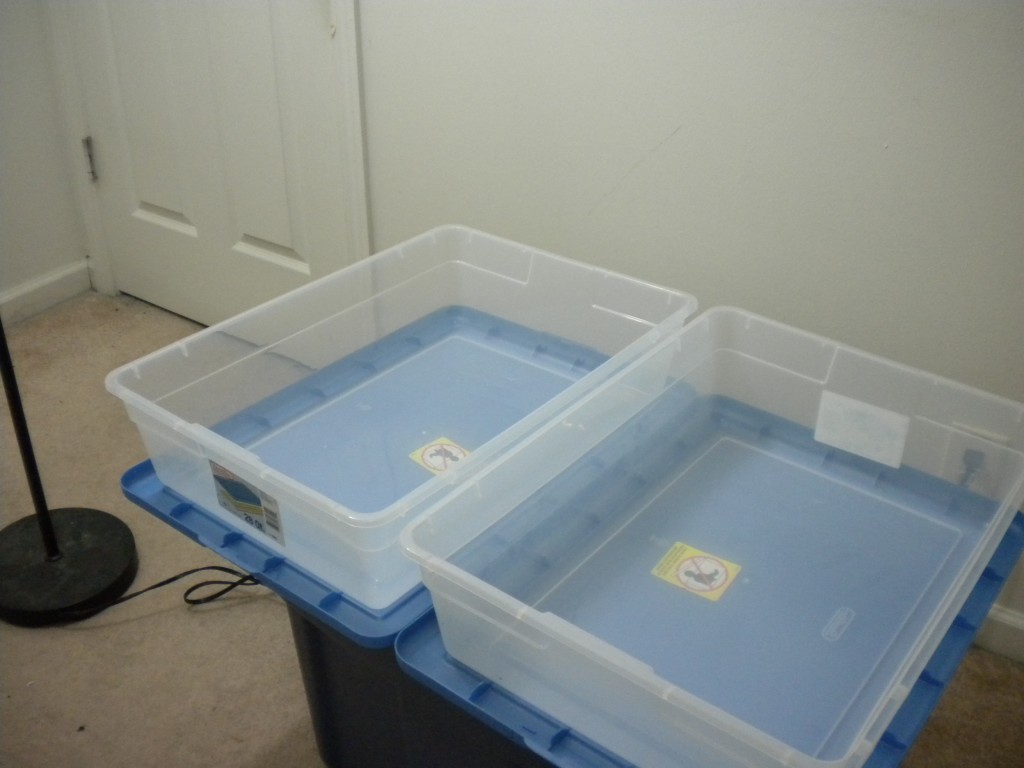
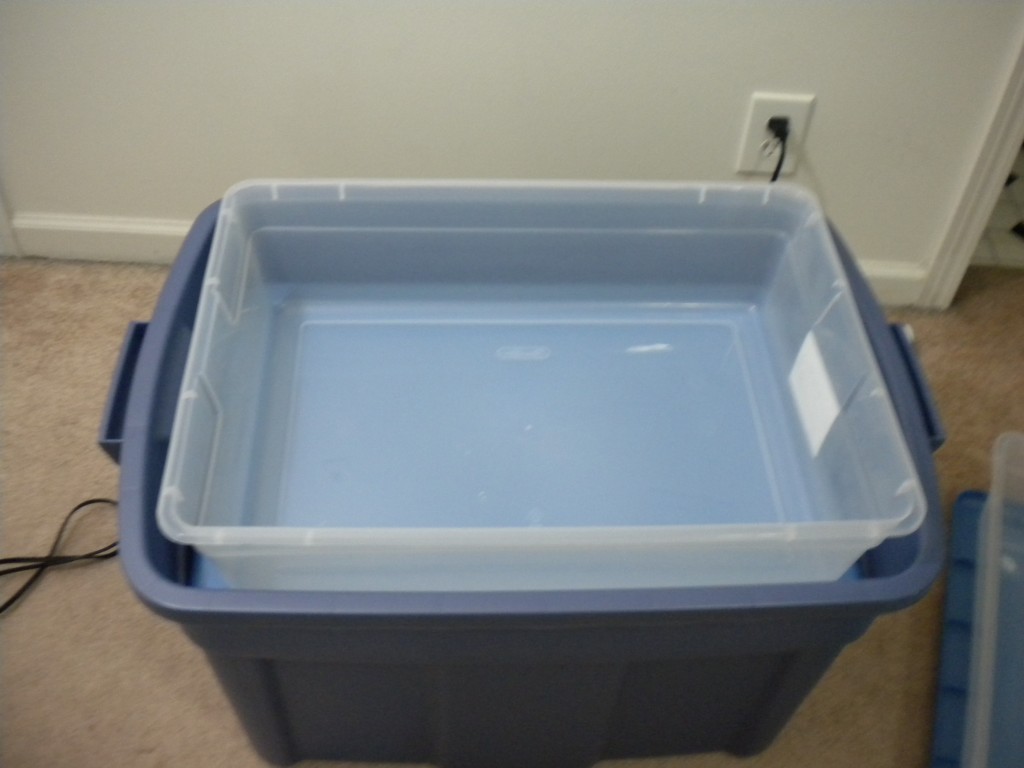
The blue tub from the first picture can fit two of the clear trays which have about 6-8 inch tall walls.
Another view of previous image.

This is a variation of the table I am making for people with less space. For this version the lid of the blue container would be latched on and the clear tray would sit on top with a drain going to the blue tub.

T

Continue reading this guide: Part 2