GUIDE: Build a Super Cheap Bubbleponic Cloner

Stronger Clones Start Here

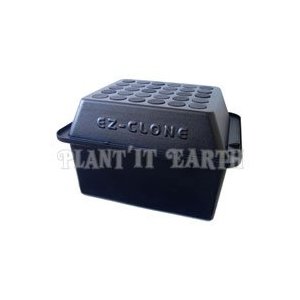
Bubbleponic cloning systems are an easy to build solution to weak and limpy clones.  The entire system will not cost you very much.  If you use neorepene discs, like the E-Z Clone uses,  you will have an efficient cloning system that uses no growth medium.  The aeroponic cloner you will have after this guide can root clones in as little as 7  days with an organic rooting gel like Earth Juice Earthstock.  There are plenty of other types of rooting gels and powders.  Clonex and Olivia’s are two other gels that work well.

Example

Aeroponic Cloner
Check out this Pre-Assembled Aeroponic Cloning System

Supply List

-Storage Tote

-Neorepene EZ Clone Discs

-Air Pump

-Air Tubing

-Air Stones

-Power Drill w/ drill bit that is the same size as your discs.

Light Proof Your Tote
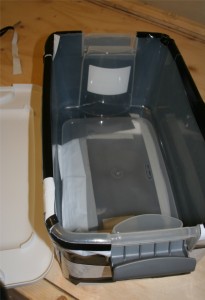
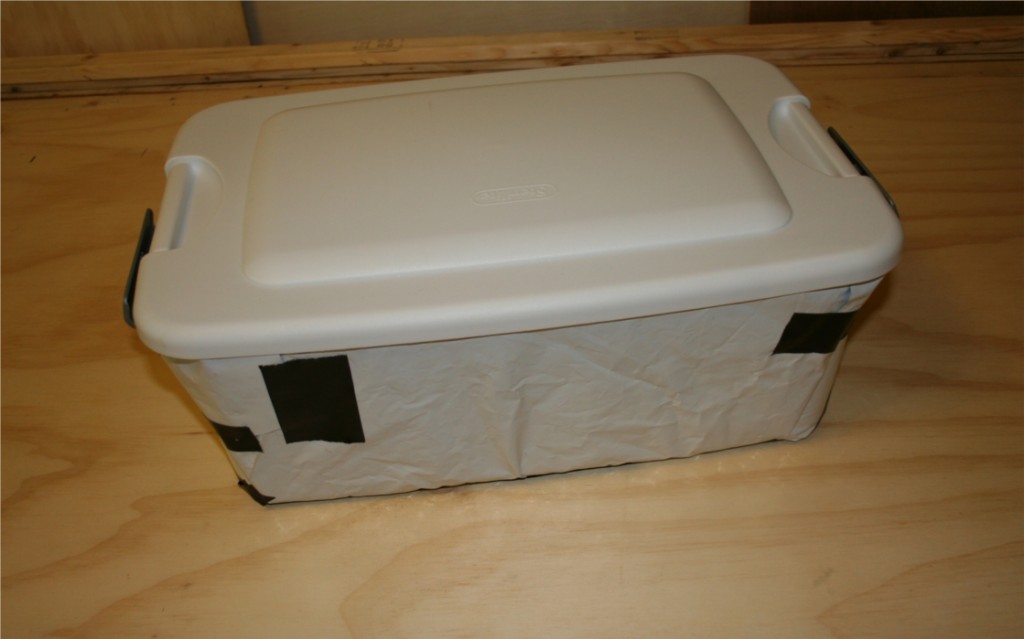
Future ReservoirIf you bought a light proof tote, you can skip this step.  If it is clear or semi clear you need to wrap it in a reflective material.  You can use Christmas wrapping paper if you do not have access to something else.  You just want to make sure no light comes in through the walls of your tote.  The storage tote will be the water reservoir for your cloning system.

Use HDPE Food Grade plastics for your storage tote if you plan on cloning consumable plants like fruits or veggies.  Food grade plastics ensure the safety of you and your family.  If the cloning system is only for flowers, there is no risk since you will not ingest the chemicals.
Continue reading “GUIDE: Build a Super Cheap Bubbleponic Cloner”

Grow Room Ventilation Made Easy


-General rule of thumb: 400CFM exhaust to 100CFM intake.  Play with these numbers to see how the temperatures and air flow change.  I suggest hanging digital thermometers in various locations and heights in the grow room.  There are thermometers that also tell you the min/max temperatures from the day.  Knowing those temperatures allows the grower to understand how their daily temps are fluctuating.  Indoor grow boxes are much more efficient when they are running cool.

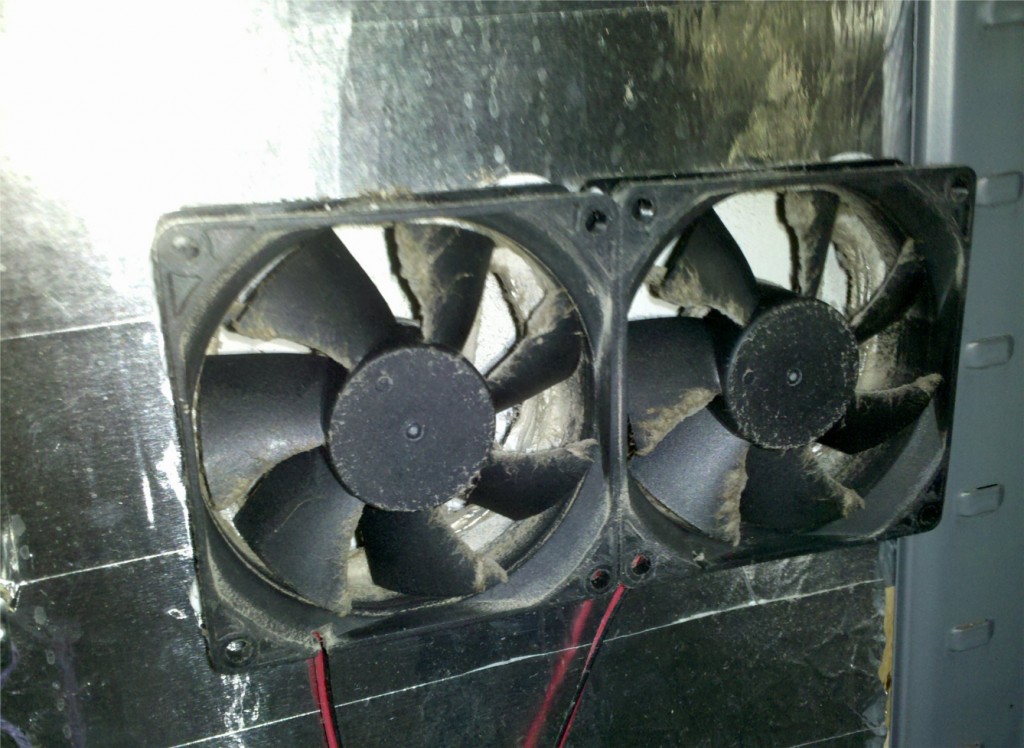
-Clean Green Tip:  Clean grow rooms are happy grow rooms.  Use carbon filters on exhaust fans and HEPA filters on intake fans.  Use gas duster cans to spray away any dust on fan blades.  Spider mites love to live in dust and travel through the air.  Avoid spreading a spider mite infestation with a little preventative pest control.

80mm PC Exhaust Fans
PC fans are great for small grow box ventilation and circulation.

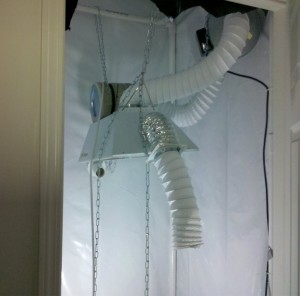
There are a few different ways to ventilate your grow room depending on the size.  Small PC grow boxes, and any box roughly 2’x2’x4′ could be ventilated with PC fans or one small ducting fan.  Small bathroom exhaust fans would work but may be too loud for the application.  A closet grow room will need a 4″ or 6″ inline ducting fan.  The inline fan can ventilate the room and clean the air with a carbon filter.  If you are using metal halide or high pressure sodium light bulbs you will want the inline fan to push the air through air cooled hoods.  Below is an example.

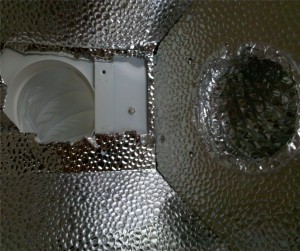
2 ducting holes for air flow.
The hot grow lights are cooled in this hood. The white ducting is the entrance for the air that is coming from the inline fan. The air is pushed through the shiny duct and to the outside of the grow box.
The grow light setup
It is essential to cool hot lights in some way. You will notice healthier plants and great results!

Key to indoor gardening: Experiment with everything to see what works in your grow room.

If you understand the principles behind the practices – you will be able to make things work with what you have.  Try using a bathroom exhaust fan as the grow room exhaust.  Bathroom fans are rated with CFM just like inline fans.  They practically work the same.  Control the flow of air with quiet insulated ducting.  The noisy vibrations will certainly get annoying.  Look for more posts in the future about ventilation and grow room air circulation.

Click Here to read about the 4″ Inline Fan with Carbon Filter on Amazon.com

Have a Weak Drip System or Less Than Powerful Sprayers?

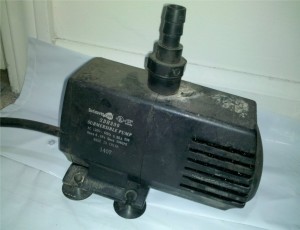
Submersible Water PumpBefore deciding your homemade drip system is non-functional, check your work.  Did you plan the needed gallons per hour your pump would need to push water through the whole system?  Water pumps are rated by GPH(Gallons per Hour).  You will need to know the minimum GPH your drip system needs to pressurize the water and make it through your drip emitters.

New growers seem to back away from home made drip systems because they are unsure of the necessary parts.  Drip irrigation kits are usually over priced and come with some pretty barebones parts.  The kits may also come with a small reservoir, that you are required to use because the pump is attached to it.  Avoid the woes of drip system kits by making your own irrigation system at home.

Home Drip System
Outdoor Drip System with a strong water pump at the heart of the reservoir.

Hydroponic shops carry all the parts you need to set up a custom drip system.  Start with a plan.  If you have not built your grow room yet, you will need to know the number of plants you plan on having and at least the distance the drip line will travel.  It is important to know the distance of the drip line to calculate the power you need for your water pump.

To find out the needed GPH rating start with the length of tubing you are going to use.  For every foot of tubing you use, regardless of size, subtract 1-2 GPH from the water pump’s rating.  Check the packaging for the drip emitters you would like to use.  The packaging should tell you the PSI rating.  Take the PSI and multiply times the number of drippers.  Subtract that number from the remaining GPH of the pump in question.  If the number of GPH remaining is very low or negative, you need a stronger pump.

Calculating GPH for a Drip System:  (2 GPH x 1 ft of tube) + (PSI rating of Drip Emitter x Number of Drip Emitters) = rough estimate of the necessary GPH.   There are outside factors not mentioned in this equation.  The number of connections the water has to travel through will affect the needed GPH.  Bridged drip line connectors like tees and elbows can slow down your water.  Be sure to wash your pump’s pre filter out during reservoir changes to ensure there is no blockage cutting down your GPH.  Follow these simple guidelines to ensure you don’t buy an expensive water pump you don’t need or wind up with a less than functional drip system.

Top Feed
Strong water pumps can forcefully pump water out of open drip lines to feed even the most demanding plants.

Drip Systems: 5 Problems You Can Avoid

Drip system maintenance is key to running an efficient hydroponic drip system.  Below are 5 problems to watch for in your drip system.  Avoid these problems and you’ll be keeping your plants from automation gone wrong!

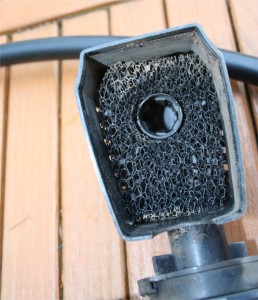
Hydroponic Water Pump Pre Filter
The foam filter inside of this water pump catches small particles before they have a chance to interrupt your drip system.

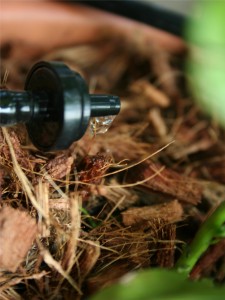
1.Drip Emitters – Clogged drip emitters are most likely the number one problem in drip systems.  The best way to fix them is cut them off and try a fresh one.

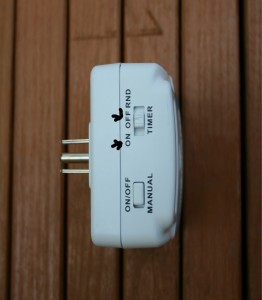
2.Timer On/Off Switch – Have you ever turned the switch on your timer off so your drip system wouldn’t run during a reservoir change?  Always double check to make sure that switch is back to ON when you are done.
3. Timer Malfunction – Timers can shut off for various reasons: water damage, battery or power failure, clock malfunction.
4. Reservoir Levels – Reservoir changes are necessary for productive hydroponic gardens.  Evaporation and usage will drain your reservoir.  When reservoir water evaporates, the nutrients and salts remain in the water.  The extra salts create a higher ppm nutrient solution.  Add plain or low ppm nutrient solution to get the levels back to where you want them.
5. Avoid Over Watering – Don’t run your drip system intervals for too long.  Start with small intervals and increase or decrease frequency depending on your plant’s performance.  It may take them a few days to react to changes so be patient.

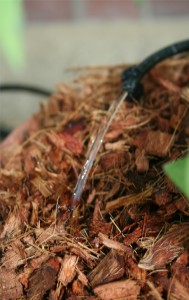
Functioning Home Made Drip System
Both drippers are problem free!

Did you know you can buy and read customer reviews for Drip Emitters on Amazon? Check it out here.