Drip Systems: 5 Problems You Can Avoid

Drip system maintenance is key to running an efficient hydroponic drip system.  Below are 5 problems to watch for in your drip system.  Avoid these problems and you’ll be keeping your plants from automation gone wrong!
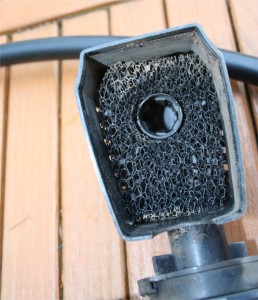
Hydroponic Water Pump Pre Filter
The foam filter inside of this water pump catches small particles before they have a chance to interrupt your drip system.

1.Drip Emitters – Clogged drip emitters are most likely the number one problem in drip systems.  The best way to fix them is cut them off and try a fresh one.

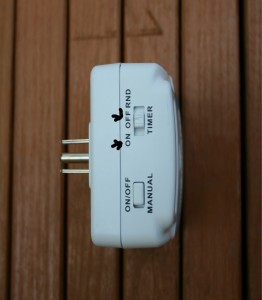
2.Timer On/Off Switch – Have you ever turned the switch on your timer off so your drip system wouldn’t run during a reservoir change?  Always double check to make sure that switch is back to ON when you are done.
3. Timer Malfunction – Timers can shut off for various reasons: water damage, battery or power failure, clock malfunction.
4. Reservoir Levels – Reservoir changes are necessary for productive hydroponic gardens.  Evaporation and usage will drain your reservoir.  When reservoir water evaporates, the nutrients and salts remain in the water.  The extra salts create a higher ppm nutrient solution.  Add plain or low ppm nutrient solution to get the levels back to where you want them.
5. Avoid Over Watering – Don’t run your drip system intervals for too long.  Start with small intervals and increase or decrease frequency depending on your plant’s performance.  It may take them a few days to react to changes so be patient.
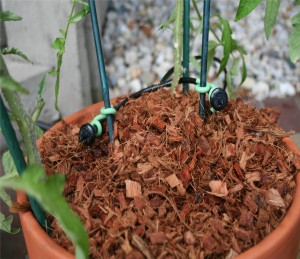
Functioning Home Made Drip System
Both drippers are problem free!

Did you know you can buy and read customer reviews for Drip Emitters on Amazon? Check it out here.
GUIDE: Installing an Air Pump in a Hydroponic System

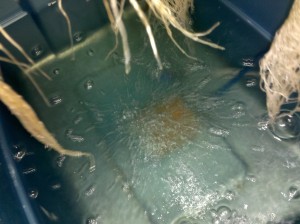
Notice all the bubbles being created, it is hard to see, but there are actually multiple air stones in the reservoir. These plants are thriving in this system.

Virtually all hydroponic and aquaponic systems will require an air pump of some type.  The nutrient reservoir must be oxygenated to maintain maximum efficiency.  If you do not want perfect plants what are you doing here?

Setting up an air pump in your nutrient reservoir is really simple.  I’ll outline the steps below.

1. Figure out the length of air tubing you need for the air stones to sit in the reservoir where you want them.  Leave a little extra tubing- you don’t want too much because air loses power over distance.

2. Put a hole through the side of your reservoir if you want your lid to seal.  Put the hole close to the top where water won’t spill out.  The hole is where the air tubing goes through.

3.  Put your air tubing through the hole you made before connecting the air pump or air stone.

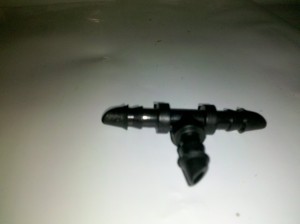
4. Connect any T connectors you plan on using.  T connectors connect two air lines together to aerate two separate stones.  One large air pump can aerate many air stones in one reservoir or provide all the oxygen to many reservoirs.  I use small air pumps for each reservoir so all my eggs aren’t in one basket.  If one air pump aerates all the reservoirs and it malfunctions, all your reservoirs are donezo!

T connectors are used to bridge multiple air lines to the main air line.

5. Cut your air line before it meets each air stone to put in check valves.  Check valves ensure you air pump does not siphon water in the event of power loss.  Siphoned water into your air pump means a broken air pump.

Check Valves
Check Valves prevent water from being siphoned to your air pump.

6. Connect your air lines to your air stones and place them where you want them.  I like heavier air stones that stay in place at the bottom of the reservoir.  If you have multiple air stones, spread them out so your entire reservoir is oxygenated.

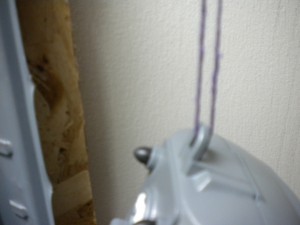
7.. Now is good time to hang your air pump if you plan to do so.  Air pumps can be noisy and sometimes give off a loud vibration that gets really annoying.  A hanging air pump should be a quiet air pump.

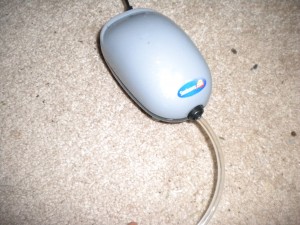
8. Connect the other end of your air tubing to the little connector coming out of the air pump. (shown below)

9.  Plug in you air pump and oxygenate that reservoir!.

Hanging Air Pump
Hanging air pumps reduce noise by eliminating loud vibrations.
Sunleaves Durapump Air
Air pump connected to 1/4inch air tubing oxygenating a large nutrient reservoir.

Soil-less Growing – Happy Medium

Soil-less growing is the alternative to growing in soil or hydroponics.  Some soil-less grow systems could be considered hydroponic.  An example would be a top feed system in rockwool cubes placed on rockwool slabs.  I would also consider a container plant using hydro clay as the medium would be a soil-less grow.  These systems can be easily maintained using a  water pump to feed water and nutrients to each container or plant.

There are a multitude of reasons to choose a soil-less grow over a soil grow and vice versa.  First, soil can be VERY messy.  Accidentally knocking over a container that is pre-filled with dirt for a fresh transplant costs minutes of cleaning and a loss of soil.  You can also contaminate your soil with whats on the floor if you try to put it back in the container.  Soil is also a nesting haven for a lot of different bugs like gnats and crawling insects.  Gnat nests buried in soil can be hazardous to your plants.  The bugs can eat at the roots of your plants without you even knowing.

Simply switching the growing substrate to hydroclay or hydrorocks can help to control the problem.  There are a wide variety of mediums to choose from when growing soil-less.  There are also rockwool grow cubes, coco coir, and perilite.  You can always mix a variety of things to create your own soil-less mix to create the environment you want for your plants root system.

GUIDE: Setting Up A Simple Drain Table Part 1

This guide is as detailed as possible so that people that are just starting with hydroponics can understand it.  There are ALOT of pictures – You were warned.

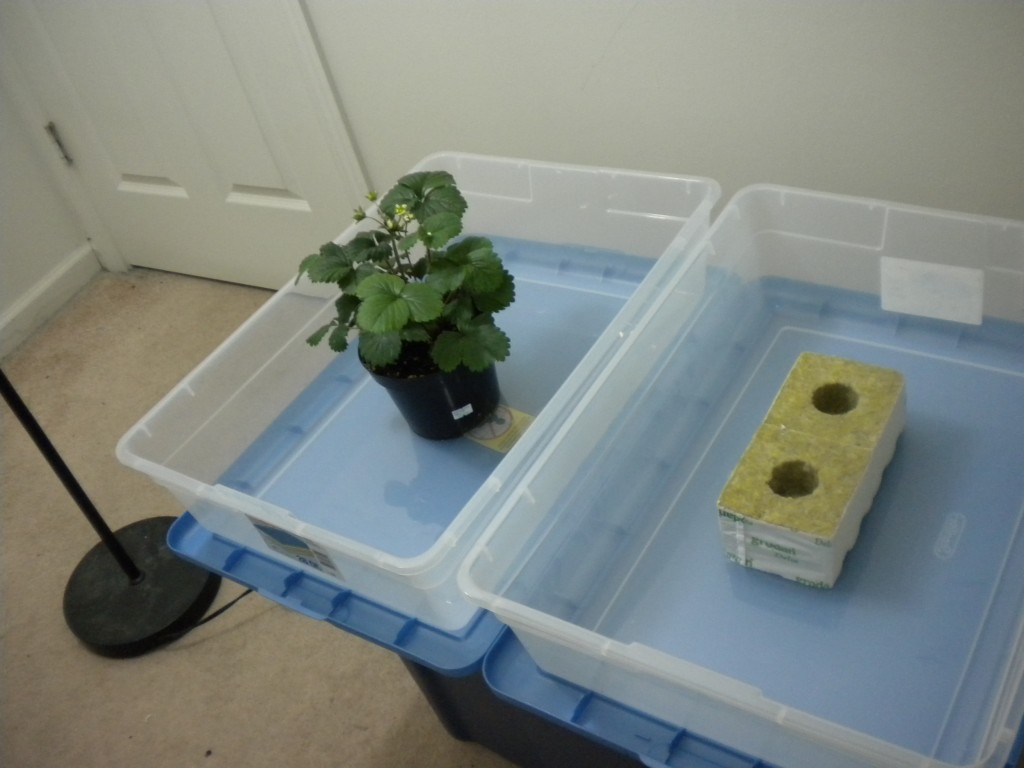
Left side – Soil container strawberries Right side – Rockwool cubes waiting for fresh clones

It is very easy to go to a hydroponics shop and just pick up a drain table and an assembly for it to sit on.  This may also include a $100 reservoir to go with the system.  Hydroponic parts add up fast and thats where Do it yourselfers try to save.  By building your own simple drain table you may be able to save money on your hydroponic setup.  The saved money can be used to get bigger containers and more medium for your roots.  The type of table I am going to show you how to build allows you to freely move your plants around in their containers.  This table is useful for soil and hydroponics alike because it allows the excess water and nutrient run off from watering/feeding to drain into a run off container that can hold many gallons so it rarely has to be changed.  It can greatly reduce the amount of maintenance needed daily in between harvests.

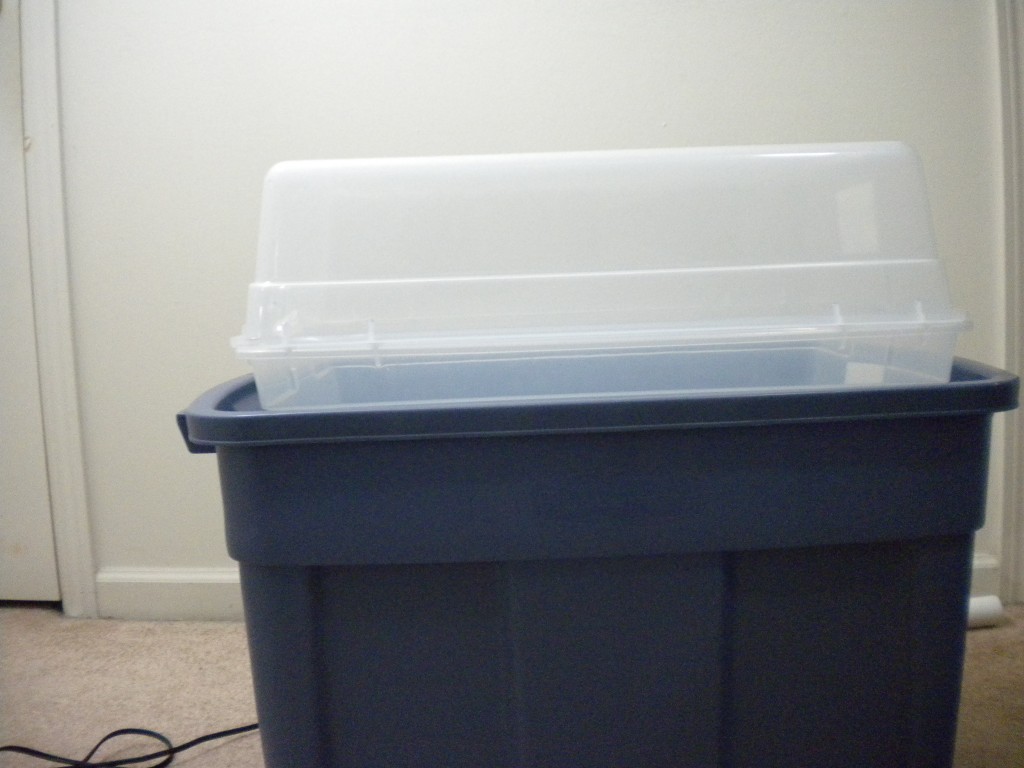
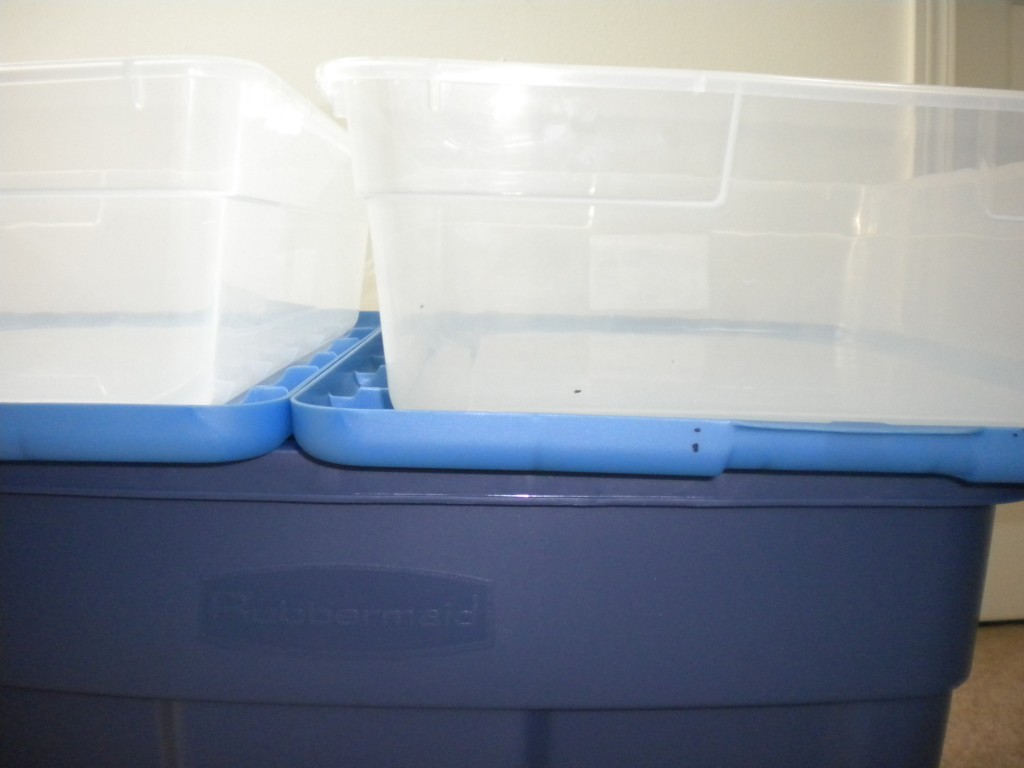
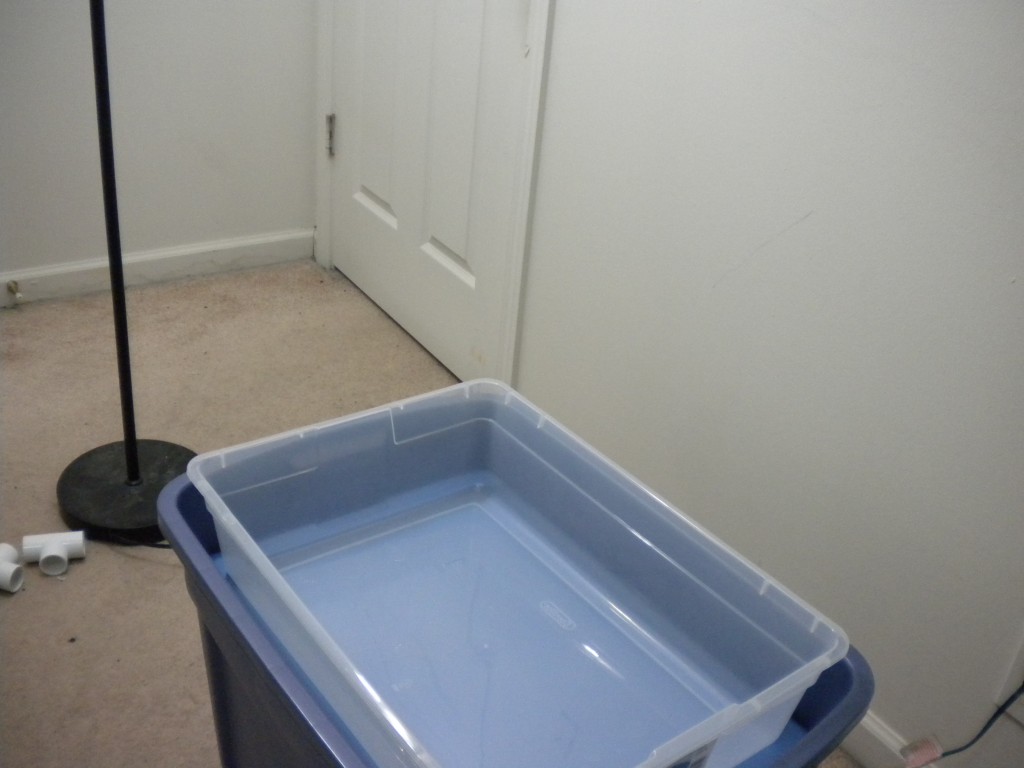
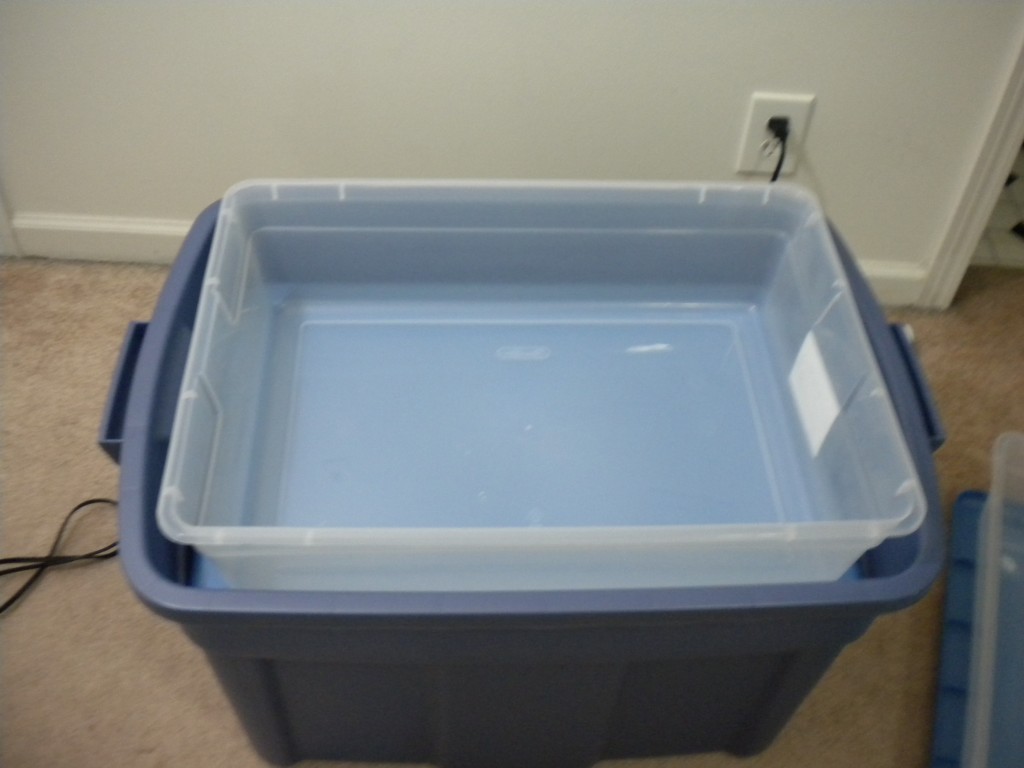
Blue tub is for the water to drain into after it goes through the plant.
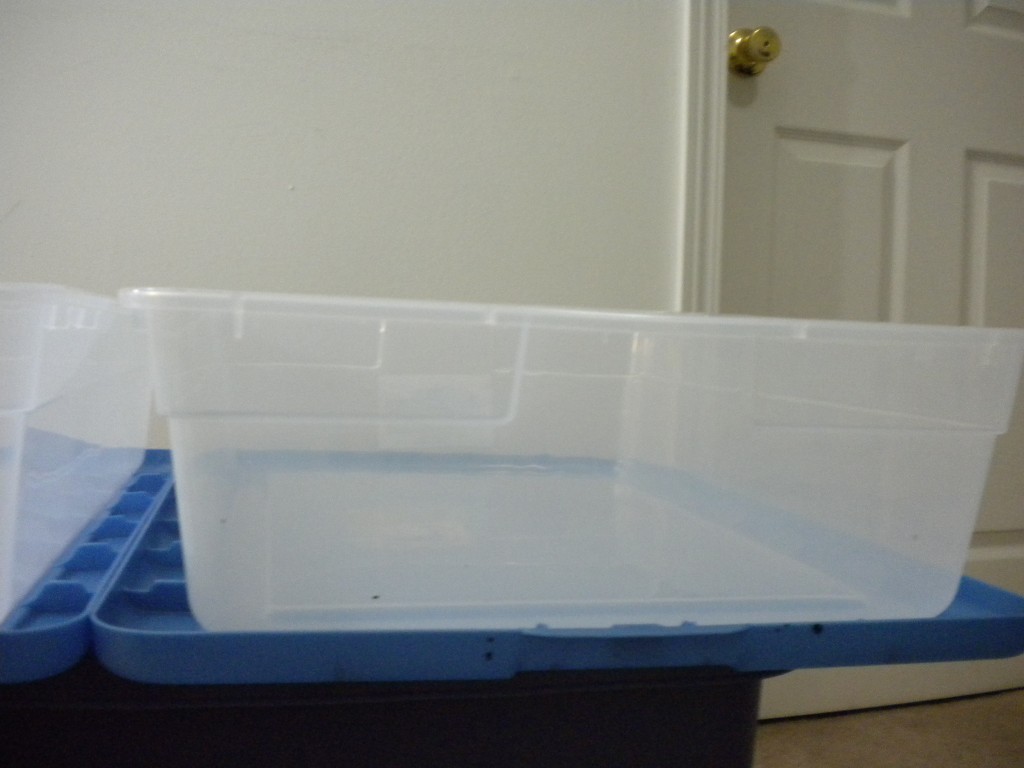
The clear tray is like a table for your plants. The lid of the container is what the tray sits on, on top of the blue tub from the previous picture.
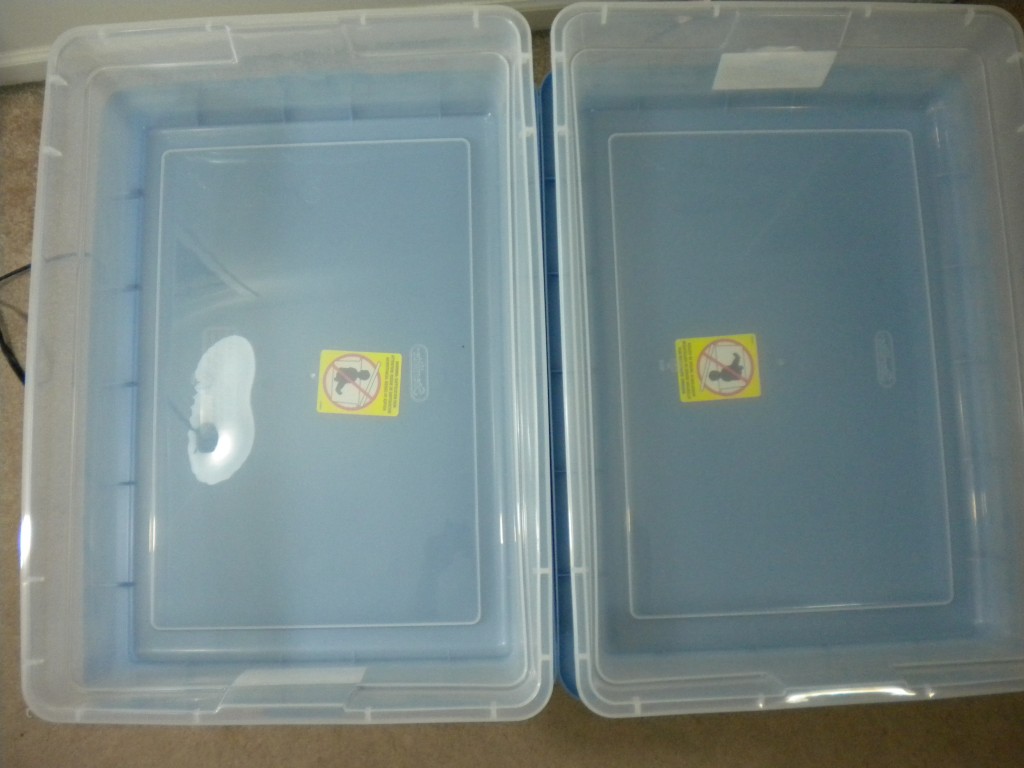
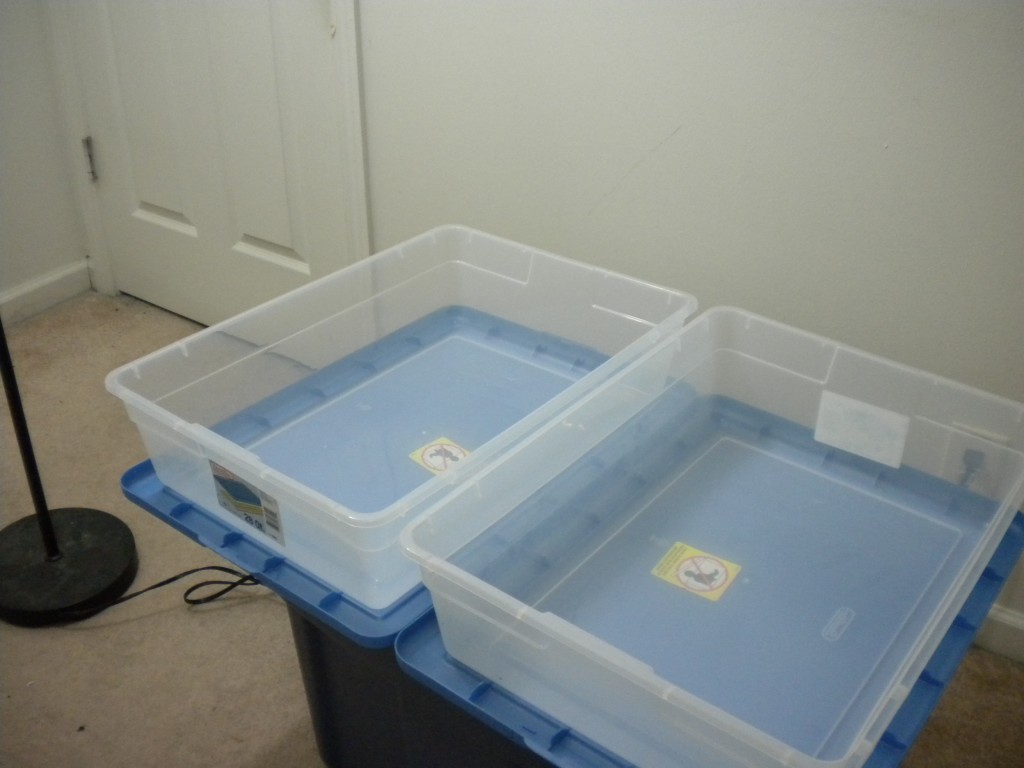
The blue tub from the first picture can fit two of the clear trays which have about 6-8 inch tall walls.
Another view of previous image.

This is a variation of the table I am making for people with less space. For this version the lid of the blue container would be latched on and the clear tray would sit on top with a drain going to the blue tub.

T

Continue reading this guide: Part 2

Do I need a Nursery or Hydroponics Shop?

A common confusion can arise about the difference between a nursery and hydroponics shop.  A nursery will sell things geared mostly towards outdoor gardening and flowers or trees and shrubs.  These shops usually will carry things like simple trays, drip pans, some pest control, moisture meters, shovels and gardening tools.  Nurseries will also have things like trellis, trimmers, stakes, gloves, soil, and usually low quality fertilizers.  Although some nurseries carry very high quality nutrients for outdoor gardening.

A hydroponic shop carries the most advanced gardening tools available.  A hobby indoor gardener would get most of their supplies at a hydro store.  Hydroponic stores carry the best tools for indoor gardening and hydroponic setups.  Hydroponic stores will have high quality hydroponic nutrients, water pumps, air pumps, carbon filters, inline fans, circulation fans, cloning supplies, Co2 enrichment supplies, grow lights, timers, and full hydroponic systems.  A lot of this stuff is usually on display so you can see how it works before you buy.  Never be shy to ask questions.  The clerks at the shop should be happy to explain the products to you to make sure you get the most efficiency out of your indoor garden.

The possibilities at hydro shops are endless.  If you have no intentions of setting up a hydroponic garden there are still things at the shop you may find interest in that you could not get a nursery.  For instance if you know you are going on vacation for a week or more but don’t want to lose your beautiful hard work  to a drought – your solution may be a hydroponic based solution.  At the store you may want to buy a water pump and tubing to set up a hydroponic drip system for your outdoor garden, indoor garden or even your window garden! The folks at the hydro shop should be able to point you to what you need to set up an automated watering system.  An automated watering system means less time needed by you for the care of your plants.  That allows you to free up time for more plants or less time per day in the garden.  I’ll be posting some articles about hydroponic drip systems in the future.