Hydroponic Growth Medium: Rockwool or Starter Plugs

Both mediums have small precut holes perfect for plant stems. You can also start your own small hole somewhere on the cube for stems.

Hydroponic growth medium is an important choice depending on your grow style.  Different growth medias have different strengths and weaknesses.  Many growers turn to hydroponic growing methods for their propagation systems.  By doing so, growers are given a wide array of options to optimize their growing efficiency.  Economical growers do not want to see a decrease in yield or harvest quality due to a growing media issue.
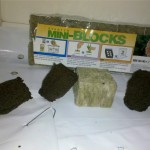
Cloning medium
Try different cloning mediums to find what works for YOU.

Below are the pros and cons for both mediums.  You should experiment with both to see what you find.  You never know what you may find out from trying different soil less mediums.  Search for what works best in the system you use.

Starter Plug Pros:

-Simple, Plugs usually come in a float n grow type system with instructions.

-Only need to be dipped in water to be ready to go.

Starter Plug Cons:

The float n grow system is not really re-usable, rendering the starter plug replacement packs nearly useless.

-Aside from the float n grow – the starter plugs seem to be susceptible to powdery mildew but careful planning can defend against it.

Rockwool Pros:

-The design is made to give the roots the best air to moisture ratio, if used properly.

Rockwool is not messy whatsoever.

-Holds moisture well – Important for cloning.

-Comes in various sizes.

Rockwool Cons:

May not be a good choice for plants that require a dry start  for success.

-Rough handling, and lack of attention could lead to an incorrect air to moisture ratio.

-Should be sitting flat.

I cannot say which will prove to be more successful to you, but I had better luck with the rockwool cubes.  The Starter Plugs stayed in water for too long.  I also tried re-using a float n grow through multiple sets of cloning cycles.  The float n grow needs to be cleaned and sterilized to go through a refill.  The rockwool cubes did not do well sitting in a flood tray of water, but they did hold up well in a bubble cloner.  Go for 100% and try out all the different cloning mediums!  Share your experience below!
GUIDE: Installing an Air Pump in a Hydroponic System

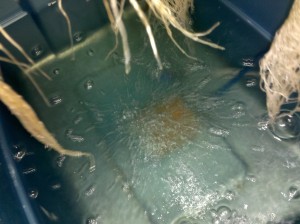
Notice all the bubbles being created, it is hard to see, but there are actually multiple air stones in the reservoir. These plants are thriving in this system.

Virtually all hydroponic and aquaponic systems will require an air pump of some type.  The nutrient reservoir must be oxygenated to maintain maximum efficiency.  If you do not want perfect plants what are you doing here?

Setting up an air pump in your nutrient reservoir is really simple.  I’ll outline the steps below.

1. Figure out the length of air tubing you need for the air stones to sit in the reservoir where you want them.  Leave a little extra tubing- you don’t want too much because air loses power over distance.

2. Put a hole through the side of your reservoir if you want your lid to seal.  Put the hole close to the top where water won’t spill out.  The hole is where the air tubing goes through.

3.  Put your air tubing through the hole you made before connecting the air pump or air stone.

4. Connect any T connectors you plan on using.  T connectors connect two air lines together to aerate two separate stones.  One large air pump can aerate many air stones in one reservoir or provide all the oxygen to many reservoirs.  I use small air pumps for each reservoir so all my eggs aren’t in one basket.  If one air pump aerates all the reservoirs and it malfunctions, all your reservoirs are donezo!

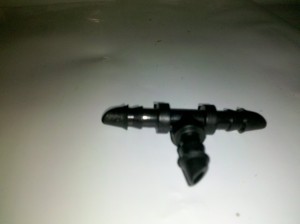
T connectors are used to bridge multiple air lines to the main air line.

5. Cut your air line before it meets each air stone to put in check valves.  Check valves ensure you air pump does not siphon water in the event of power loss.  Siphoned water into your air pump means a broken air pump.

Check Valves
Check Valves prevent water from being siphoned to your air pump.

6. Connect your air lines to your air stones and place them where you want them.  I like heavier air stones that stay in place at the bottom of the reservoir.  If you have multiple air stones, spread them out so your entire reservoir is oxygenated.

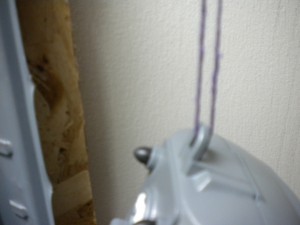
7.. Now is good time to hang your air pump if you plan to do so.  Air pumps can be noisy and sometimes give off a loud vibration that gets really annoying.  A hanging air pump should be a quiet air pump.

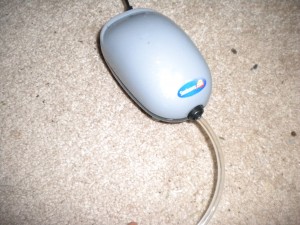
8. Connect the other end of your air tubing to the little connector coming out of the air pump. (shown below)

9.  Plug in you air pump and oxygenate that reservoir!.

Hanging Air Pump
Hanging air pumps reduce noise by eliminating loud vibrations.
Sunleaves Durapump Air
Air pump connected to 1/4inch air tubing oxygenating a large nutrient reservoir.

Hydroponic Cloning Tips

If you have wilting clones there could be a number of issues with your hydroponic cloning method.  Make sure to have a thermometer to measure temperature and humidity accurately throughout the day.  You can find digital ones at a department stores or hydro shops that will tell you the current and high/low temps and humidity throughout the day.  The digital ones aren’t expensive in comparison to the knowledge you’ll have.  If you are using a metal halide or other high powered lighting system, the clones must be a few feet away so they receive minimal light.  If they get too much light they will try to work too hard with roots they don’t have.

If the temperature is getting to be in the 80’s F move the lights up more or add a circulation fan on a timer so the humidity stays high.  Having a fan on for an hour at a time 2 or 3 times a day will really help to move the hot air.  Try to use cool burning bulbs like fluorescent tubes so your temperature will stay down.  A high humidity of 90% or higher will help your fresh cuttings more than anything else.  Spray the walls of a clear container with water and put it over your cloning system.  You can also attach spray emitters to a small water pump to spray water automatically for the first few days to ensure success rate.  The humidity needs to be high so the leaves of the cutting can absorb water from the air because it does not have any roots to do that job yet.  It may need a small hole or two for air flow so the temperature stays low and the cuttings have access to as much oxygen as they need.

Use an aeroponic or deep water culture method with aerated water to keep the roots or stems in a 100% humidity environment until they are established for transplant.  You can find cloning systems at your local hydroponics store, online, or even build your own!  Hardware stores and hydroponic shops should have pretty much everything you need to build your own.

GUIDE: Setting Up A Simple Drain Table Part 1

This guide is as detailed as possible so that people that are just starting with hydroponics can understand it.  There are ALOT of pictures – You were warned.

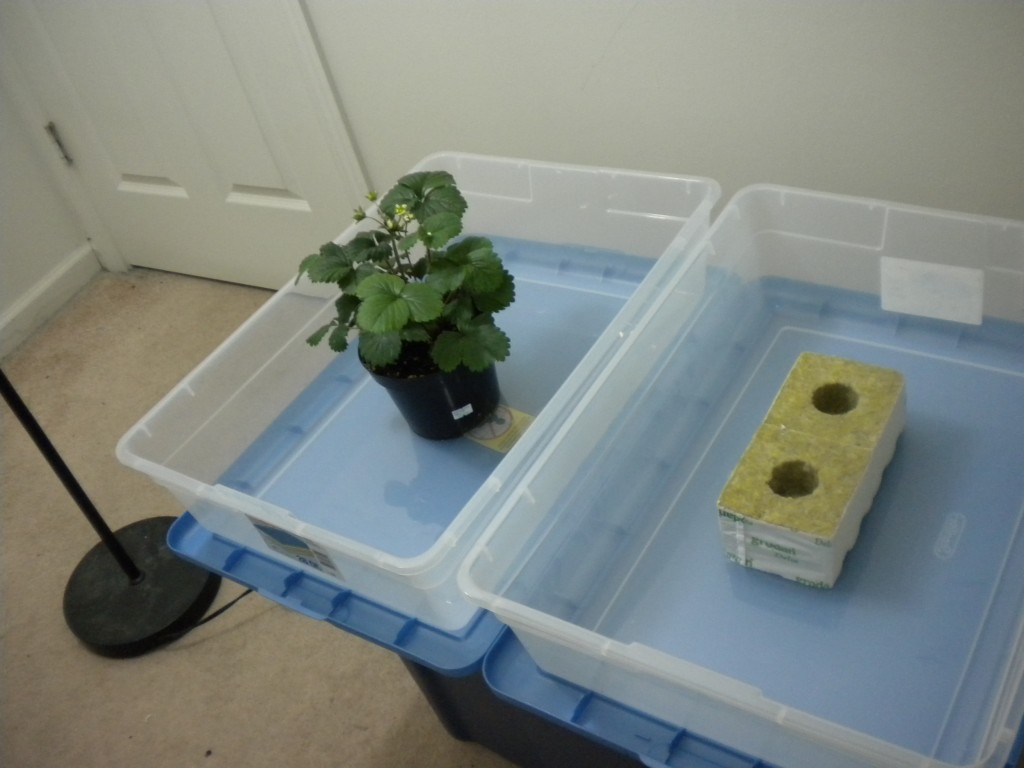
Left side – Soil container strawberries Right side – Rockwool cubes waiting for fresh clones

It is very easy to go to a hydroponics shop and just pick up a drain table and an assembly for it to sit on.  This may also include a $100 reservoir to go with the system.  Hydroponic parts add up fast and thats where Do it yourselfers try to save.  By building your own simple drain table you may be able to save money on your hydroponic setup.  The saved money can be used to get bigger containers and more medium for your roots.  The type of table I am going to show you how to build allows you to freely move your plants around in their containers.  This table is useful for soil and hydroponics alike because it allows the excess water and nutrient run off from watering/feeding to drain into a run off container that can hold many gallons so it rarely has to be changed.  It can greatly reduce the amount of maintenance needed daily in between harvests.

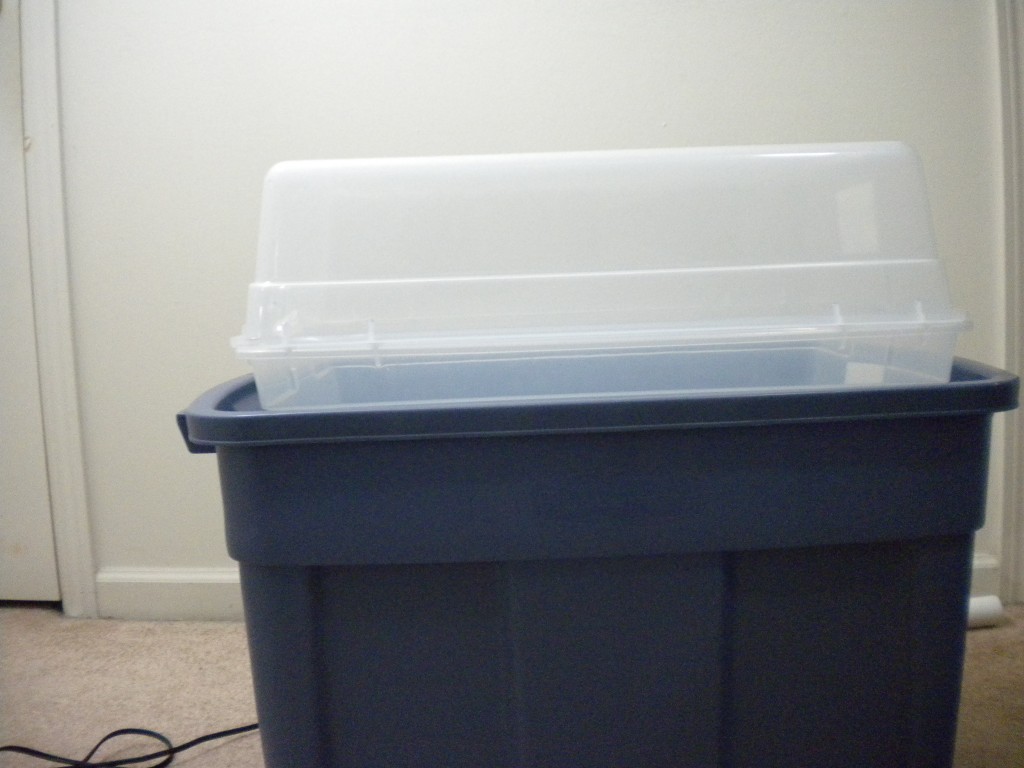
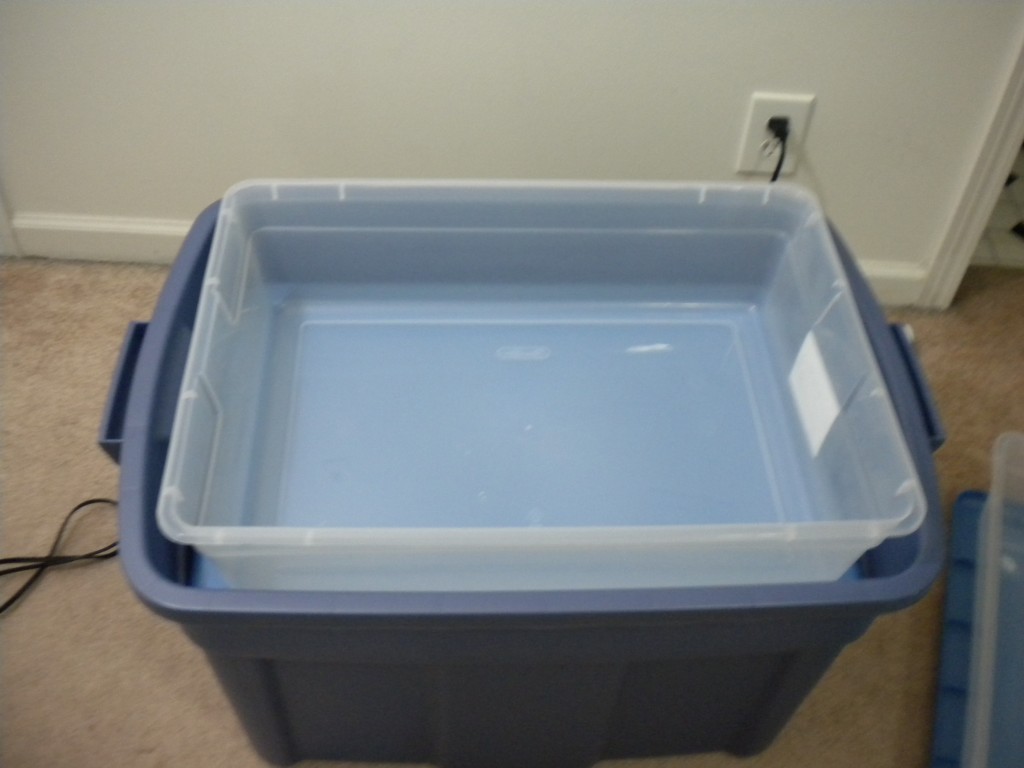
Blue tub is for the water to drain into after it goes through the plant.
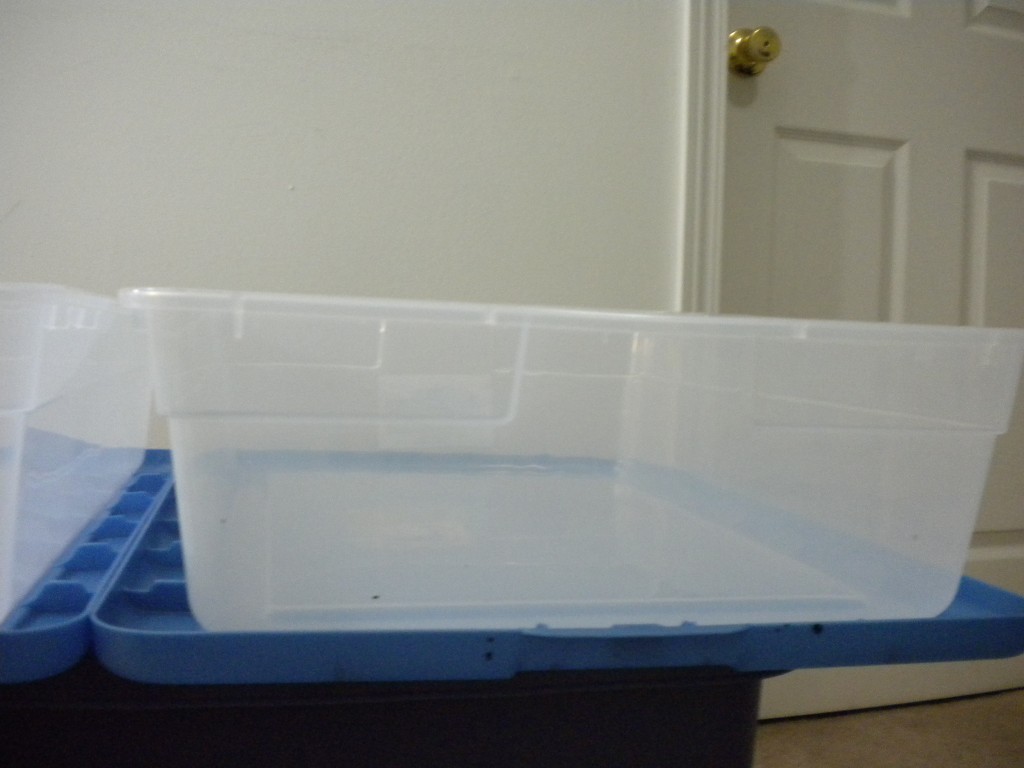
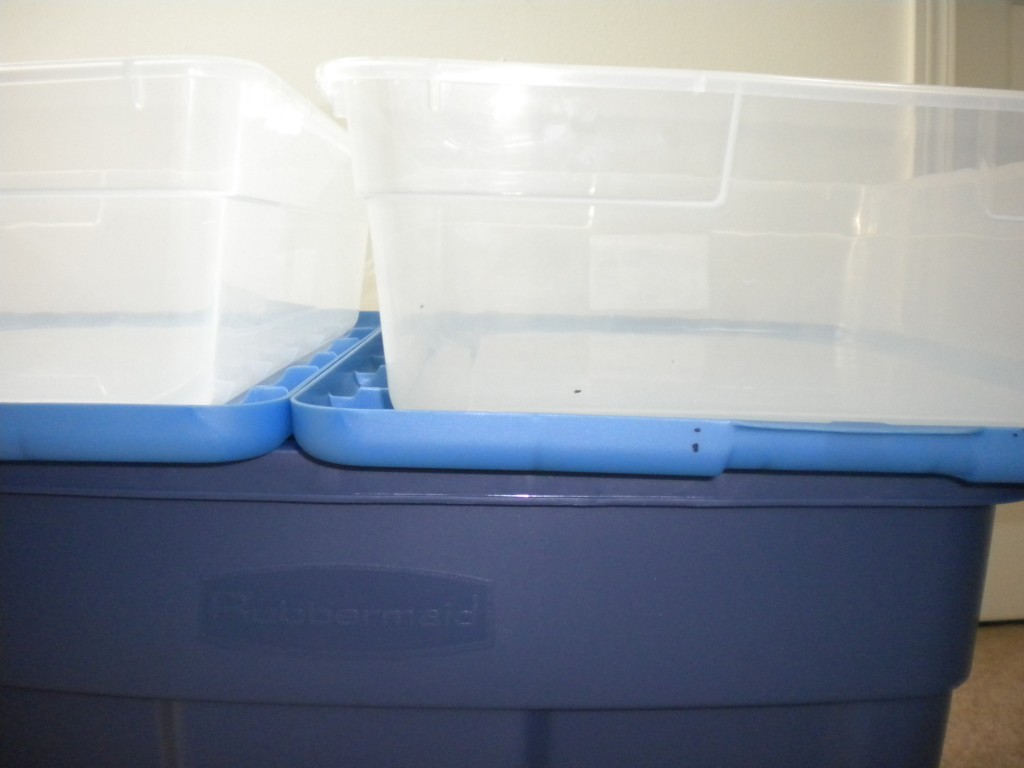
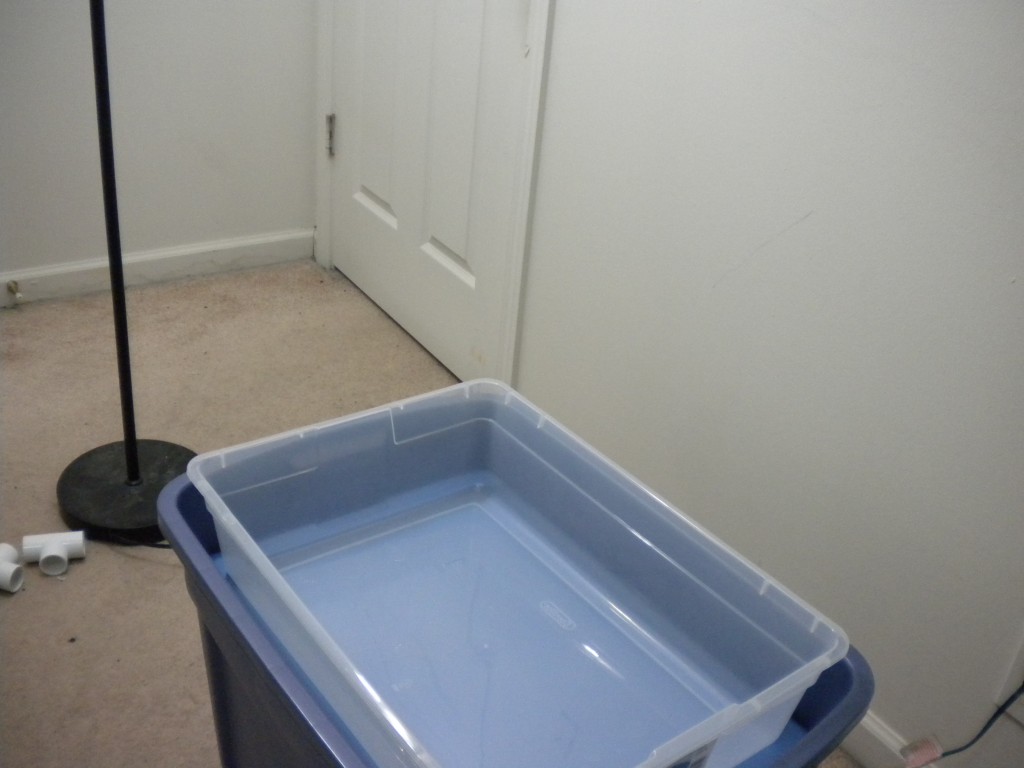
The clear tray is like a table for your plants. The lid of the container is what the tray sits on, on top of the blue tub from the previous picture.
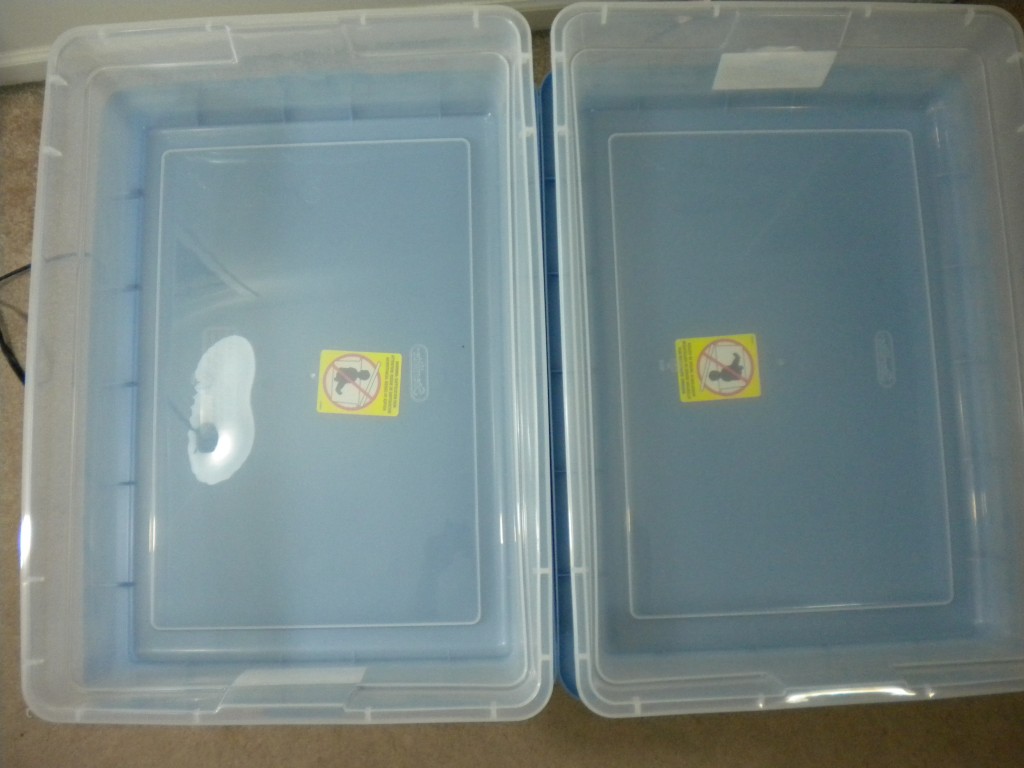
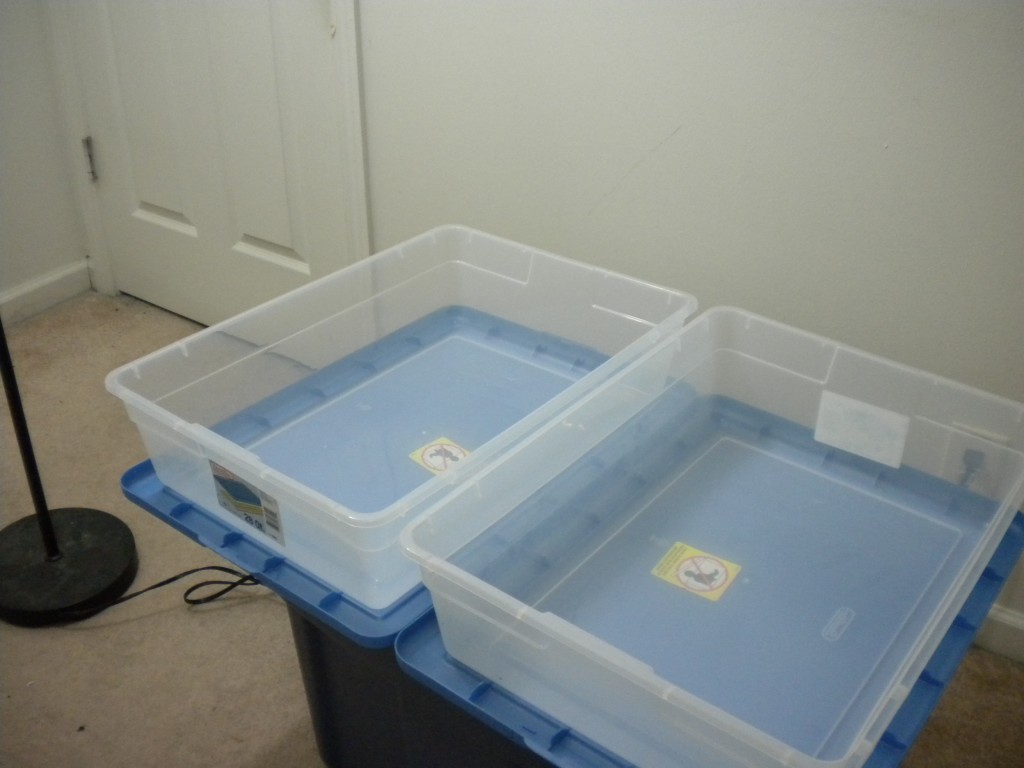
The blue tub from the first picture can fit two of the clear trays which have about 6-8 inch tall walls.
Another view of previous image.

This is a variation of the table I am making for people with less space. For this version the lid of the blue container would be latched on and the clear tray would sit on top with a drain going to the blue tub.

T

Continue reading this guide: Part 2