Hydroponic Cloning Tips

If you have wilting clones there could be a number of issues with your hydroponic cloning method.  Make sure to have a thermometer to measure temperature and humidity accurately throughout the day.  You can find digital ones at a department stores or hydro shops that will tell you the current and high/low temps and humidity throughout the day.  The digital ones aren’t expensive in comparison to the knowledge you’ll have.  If you are using a metal halide or other high powered lighting system, the clones must be a few feet away so they receive minimal light.  If they get too much light they will try to work too hard with roots they don’t have.

If the temperature is getting to be in the 80’s F move the lights up more or add a circulation fan on a timer so the humidity stays high.  Having a fan on for an hour at a time 2 or 3 times a day will really help to move the hot air.  Try to use cool burning bulbs like fluorescent tubes so your temperature will stay down.  A high humidity of 90% or higher will help your fresh cuttings more than anything else.  Spray the walls of a clear container with water and put it over your cloning system.  You can also attach spray emitters to a small water pump to spray water automatically for the first few days to ensure success rate.  The humidity needs to be high so the leaves of the cutting can absorb water from the air because it does not have any roots to do that job yet.  It may need a small hole or two for air flow so the temperature stays low and the cuttings have access to as much oxygen as they need.

Use an aeroponic or deep water culture method with aerated water to keep the roots or stems in a 100% humidity environment until they are established for transplant.  You can find cloning systems at your local hydroponics store, online, or even build your own!  Hardware stores and hydroponic shops should have pretty much everything you need to build your own.
Reminder – Keep the Grow Space Clean

No matter what plant you are growing or where it is, cleaner conditions can help you and your plants. Here is a list of some quick tips for a clean growing environment.

1. Wash your hands before and after each session with the plants. Wear gloves when handling the plants.

2. Keep special clothes and shoes to wear in your grow area. Keeping outside contaminates away from the grow space can save you the worry of pollen being on your clothes, it could keep out potential pests, and it will reduce the amount of germs brought into the space.

3. Sterilize your equipment including scissors when ever you can.

4. Wash out old containers or throw them away. If you let them sit they could grow mold or mildew and this could become a problem if it goes unnoticed.

5. Vacuum or sweep any medium or soil on the floor so pests can’t make nests in places you aren’t even growing plants.

Plants get enough stress the way it is. If you make sure to reduce as much stress as you can your plants will thrive. These simple cleaning tips will keep your grow space clean and your plants happy!

Safety tips: Building the Grow Space

Here is a list of a few tips everyone should consider when putting together a hydroponic system or a hydro grow room/box.

1. DON’T OVERLOAD YOUR CIRCUITS.  This goes for circuits, outlets, custom wiring(check the max load), timers, extension cords, and surge protectors.  Its easy to get a room to use enough electricity to trip your circuit.  If the power is too great you could start an electrical fire.  High pressure sodium and metal halide lights 400 watts and over may need to be plugged into a lighting controller that is wired to the house electricity or plugged into the dryer socket.   If you are doing wiring to the main circuit box make sure to shut the power down and have a clear plan of what you are doing.

2.  Keep outlets, surge protectors, timers, light controllers, ballasts, and all electronic components off the floor.  Make sure electronic components are out of reach of sprayers, drip hoses, and any reservoir that could crack or spill.  Plan for the worst!  Keep your electronic components away from the water!

3. Line the room or box with a water proof floor and walls so if something does break or water is spilled it doesn’t ruin the floor or create mold.  If the liner is something like mylar or black and white poly it will be very easy to clean up the water.  Even if you think you have a really tight hydroponic system that will never leak or spill, you are probably wrong.  At some point in time through filling up multiple reservoirs and changing nutrients you will most likely spill something on the floor.  It is much better to already have water proofing there to prevent a mess and mold possibility and its easier to clean up.

4. Turn off fans open or caged fans that you are working by.  I’ve cut my fingers on computer fans in my mini veg box and clipped my ear in one trying to pull a bulb out from deep in the box.

5. Wear gloves – Wearing gloves can protect you and your plants from stress.  Human hands constantly rubbing on your plants is not good.  It may not show negative effects, but it will unlikely show any positive effects.  We want our plants in the best condition possible all the time.  The gloves will also protect you from sprays or bugs on the plant and the possibility of an allergic reaction.

Safe growing!

GUIDE: Building a Simple Drain Table – Part 2

This is part 2 of the DIY Drain Table Guide. Look at part one here.

Okay after you have the right size tub and trays for your set up you can get started.  The size you get depends on your needs but I recommend getting a really sturdy bottom tub(drain off tub where waste goes).  The tub should be able to withstand the pressure of water with out bowing out enough to make your trays fall and CERTAINLY without cracking or breaking.

If a water container you have in one of your hydroponics systems is too weak to withstand the pressure of water constantly pushing on it could crack or break and leak the potential GALLONS of water all over your room and whatever electronics you may have on your floor(Even though all indoor gardeners should be making sure all of their electrical parts are placed on the wall or above where water could potentially spill or spray on them RIGHT?)

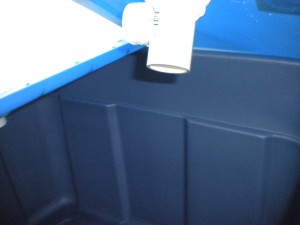
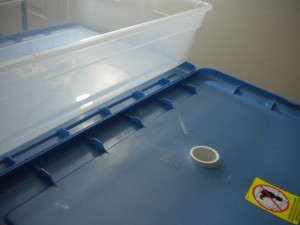
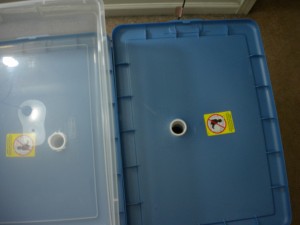
You’ll want to use a drill to drill holes 1 or 2 inches wide in the lids of the containers.  Position the hole so that they will drain into the tub the lids will be sitting on.  Refer to the pictures below.

Notice there is a two inch hole drilled into the lid of the container with a two inch diameter PVC joint connector put through it as a drain hole.

Hole from above
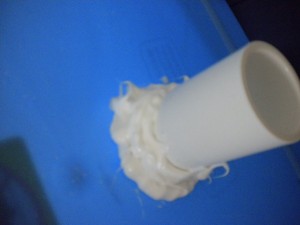
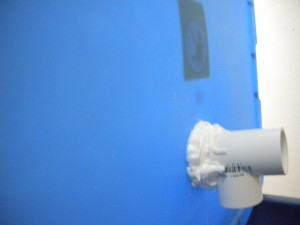
Sealing the drain so water is FORCED through PVC.
To seal the PVC elbow drains in place you can get water proof silicone or a type of strong water proof caulking and apply it with a caulking gun.

Let the sealant set long enough that its not loose – this could take up to 24 hours so BE PATIENT.  Better things come to those who wait. Once the bond is tight you will be able to sit your trays on top of the lids and the drain wont fall off under the pressure of your plants plus extra water.  

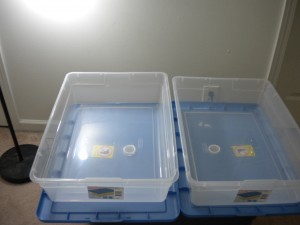
Position your tray on top of the lid like you will have it in your final set up.  You want to put a hole in the space where the PVC hole is so the water from the tray drains out of the hole and through the PVC drain down into the bottom tub/reservoir.

This is pretty much what you’ll have at the end – You can drill holes where the white circles are to drain the clear tray.

A drill should work fine if you are careful not to crack the plastic.  It shouldn’t be a problem either way considering you should be using containers sturdy enough to hold a lot of weight over long periods of time.  If one of your containers break your plants could end up submerged in their own dirty waste water.  You want to plan and account for things like this in the planning of your hydroponic set ups to ensure safety of equipment, plants, and most importantly you and your house.  

Another way to put holes in the plastic trays is to burn a hole.  BE VERY CAREFUL WITH THE FIRE! I heated up a glass rod with a camp fire starting torch – one similar to what you use to start a grill.  Once the rod was glowing orange I pushed it through where the PVC drains were to make a perfect hole.  

Good luck in your constructions and please comment or contact me with any questions.

Over Fertilization : Too Many Nutrients

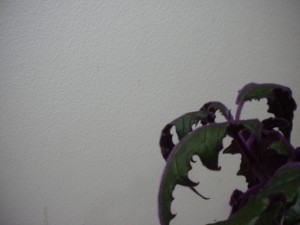
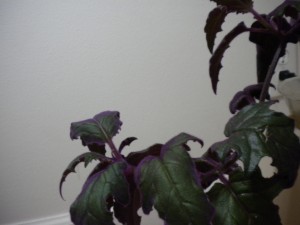
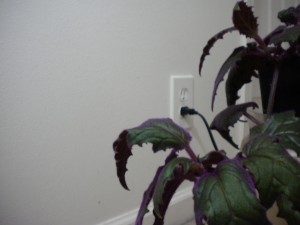
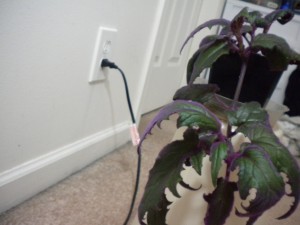
down turned fringes.

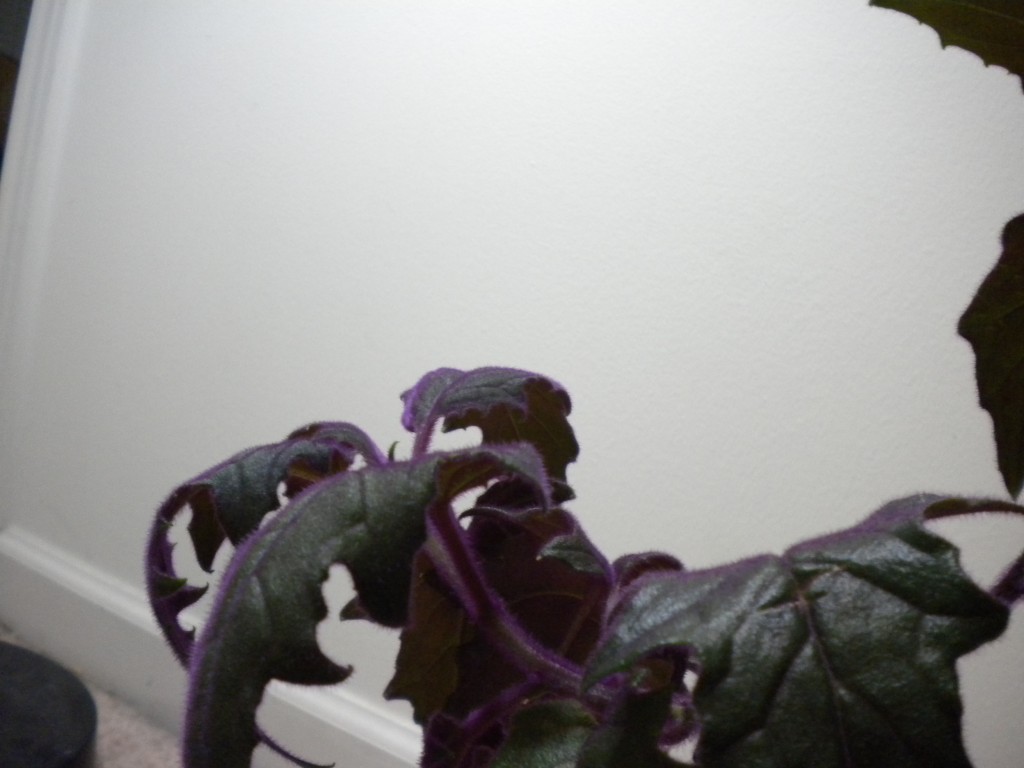
I have a few house plants I like to mess around with when I get new sets of nutrients.  In the picture I have my purple passion vine in a condition that is starting to show signs of over fertilization.  These house plants only need nutrients every 2-4 weeks at most but sometimes I’ll hit it every week for a few weeks at a time to see if the growth jumps.  The plant is mostly rooted in the container so it is at its max requirement for nutrition.  I water it every day pretty much.  During today’s daily watering I noticed there was water in the tray and the plant had leaf fringes that were down turned.  This plant naturally curls its leaves some, but i could tell the difference in structure right away.

The down turned leaves could be a sign of over fertilization or nutrient salt build up.  These can both be fixed by simply watering with plain water every day until symptoms disappear.  Good consistent soil waterings can wash the extra salt build up in the plants roots.  If you are running a hydroponics system then do a reservoir change and drop the PPM (parts per million) of your nutrient solution.  If you don’t have a ppm or EC meter there is no need to worry.  Just fill the reservoir up by a set amount of gallons or liters and pay attention to the amount of nutrients added per gallon/liter.  The packaging for the nutrients should say what they recommend to use for soil or soiless grow mediums.   I usually cut their recommended mixture in half to be on the safe side.  You’ll especially want to use a low end estimate if your plants are showing signs of over fertilization.  In a hydroponic reservoir the solution can also be dropped to one fourth the recommended solution to rinse out salt build ups.  Make sure to top off the tank with fresh water or 1/4 solution to keep the levels high before the next reservoir change.

Notice down turned fringe and leaf structure is curled inward.