Collect Rainwater to Fill Your Reservoir

A large hydroponic system can use a lot of water.  Most indoor gardeners are concerned about the environment and wan’t to reduce their carbon footprint.  Growing your own food at home is a great way to be green.  Gardeners don’t want to be consuming more than they have to because that would be completely counter productive.  There are ways to get your water for free and recycle at the same time.  You can use any sturdy food safe container that can withstand your area’s outdoor conditions as a reservoir for rainwater.

Depending on when it rains in your area you may need to plan to catch the rain water during its season.  Collecting rainwater is easy and even though it may not cover all your water uses, it will certainly reduce the amount of water you pull from your city or well.  You don’t have to be an indoor gardener to have uses for rain water, although you should run your water through a reverse osmosis system to make sure its clean.  RO water is better gardeners anyway because you know exactly what you are putting in.  If you would just like to go buy a water collection system your local hydroponics shop should have something you can use.   The water barrels at the hydroponic store are usually 55 gallon barrels with a lid.

I plan to write a detailed guide in the near future on how to start your own homemade rain collection system.  In the meantime, Hydroponic Economics will be accepting pictures of anyone else who has started a rainwater collection system.  Send your pictures to mailbox@hydroponiceconomics.com and you may be featured on the website!
How Often Should You Change Your Water Reservoir?

QUICK ANSWER : Every Seven Days

Longer Answer: When you are trying to decide when to change your nutrient reservoir in your hydroponic recirculation system, there are a few things to consider.  The size of your reservoir, the amount of nutrients remaining in the solution, ph, and how clean the water is. If your water looks gross, it probably is gross.  Gross water = Gross plants.  Gross deserves a capital G for that equation.

The bigger your reservoir the further you can go between res changes(Res change is short for water/nutrient reservoir change ).  Big reservoirs may be more forgiving then a small reservoir.  Small reservoirs may change by hundreds of ppm in a single day.  Hydroponic systems require close monitoring of nutrient levels to avoid burning plants.  If your reservoir loses water to evaporation make sure to top it off with plain water or a very low ppm solution.  Res changes mostly apply to recirculating systems.  Non-recirculating or “run to waste” hydroponic systems only require you to change the solution every two weeks.  The nutrient solution stays clean and the PH is maintained in a non-recirculating system.  The most important part of a good hydroponic system is a clean nutrient reservoir.

A clean nutrient reservoir loaded with Earth Juice Bloom and Azamax

Introduction to Drip Systems

Drip systems are an extremely important component to any top level gardener using soil or top feed systems.    Drip systems can be used outdoors to irrigate small or large gardens and lawns.  They are a great investment for indoor gardeners because it takes the manual labor out of watering and feeding.  It also benefits your plants by ensuring they receive water every day in proper amounts.  The extra time will allow you to create a bigger garden or simply spend less time with your garden for the same benefits.  Indoor gardens must consider the gardener and the plants needs because the relationship is dependent on each other.  If someone feels they are spending too much time in the garden for little reward they may be discouraged and give up the greener lifestyle.

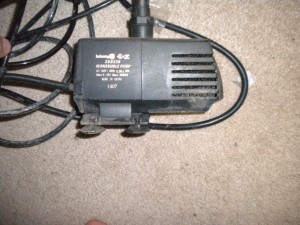
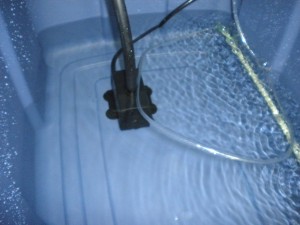
Submersible pumps like this one have rubber suction feet to stick to the bottom of your water or nutrient reservoir

I’ll start by explaining the heart of the drip system.  The most expensive part of your drip system is the water pump.  There are submersible and non-submersible water pumps.  Small gardens and reservoirs will usually use a submersible pump.  If you are setting up your first drip system a small submersible pump should be enough.  Water pumps in the US are rated by Gallons Per Hour(GPH).  The GPH rating of your water pump will come into play when you are deciding what size water pump you will need.  I’ll explain how to calculate the necessary GPH for your drip system in a later article.

The thick blue storage tote is the container or reservoir for the water.

Creativity might be handy when deciding what to use for a water reservoir.  If you are at all concerned about your health, and you most likely are if you have decided to grow your own food, you should try to stick to food grade plastics for all the parts in your garden setup.  You can buy reservoirs at hydroponic shops, but they can have a high ticket.  It is easy to find something around the house or at local department stores to use as a reservoir.  You can also go to US Plastics to order food grade plastic.  A bigger reservoir can mean a longer span in between reservoir changes and topping off with water to compensate for evaporation.  I always get reservoirs with lids or make my own.  Lids will help to prevent algae from growing in your water.  It can also keep pests and other contaminates out of your solution.

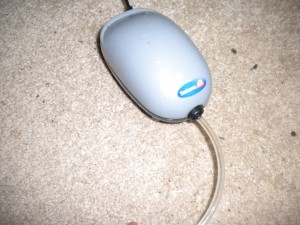
The next important piece of the drip system is the air pump.  The air pump brings fresh oxygen from the room through an air tube and out of a submerged air stone.  The air stone will help to keep the reservoir full of oxygen.  The water will bubble and agitate the water so it does not become stagnant.

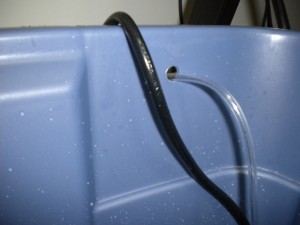
Drill a hole through the reservoir wall towards the top so you can put tubes and cords through it.

If you are making a home made drip system, you will need 1/2″ tubing for the water to transfer from your submersible pump through the drip lines.  Use a hole puncher made for drip lines to poke perfect holes in the 1/2″ tubing.  The holes are for connectors to be put in to make bridges between 1/2″ tubing and 1/4″ tubing.  Most drippers connect to 1/4″ tubing.  The great thing about homemade drip systems is you can customize them to your hydroponic setup.  No matter what type of garden you have, a drip system should be your next upgrade.  If you already have a drip system than be sure to watch for the upcoming articles about building bigger and more advanced drip and top feed systems.

The air pump delivers fresh oxygen via air tubing to the water or nutrient reservoir

You can get all sorts of connectors to for the tubing so anything is possible.  When the 1/4″ tubing is secured to the connectors attached to your 1/2″ tubing you are ready to add drip emitters, drip lines, or sprayers.  Whatever you choose as your water delivery method, make sure there is somewhere for it to drain off.  In recirculating systems the run off goes back into the water reservoir to be used again.  It’s more economical this way for water and nutrients if you are using them.  The other option is a run to waste option.  I have also put a guide up for building a simple run off table.  Its a very simple design that anyone can build.  Homemade hydroponics can be easy with the right knowledge and the right set of tools.  Refer to the pictures below for more details and if you would like to know more about drip hydroponics check back in the next few weeks to get some in depth knowledge.  Sign up for the RSS to get the articles sent to your favorite feed reader or email address!

Inline drippers have 1/4" tubing on both ends so the drip line can continue running to the final destination. The Red dripper will drop 1/2 gallon of water per hour into the medium while the pump is on.

The open ended 1/4″ tubing will deliver the most water per hour, but small pumps have a hard time holding a steady stream for multiple 1/4″ tubes. Distance also slows down the performance of the pump
Stakes are used to hold the drip lines in place. Make sure the medium is secure around the stakes. Try not to damage roots when placing stakes in growing medium.

Hydroponic Cloning Tips

If you have wilting clones there could be a number of issues with your hydroponic cloning method.  Make sure to have a thermometer to measure temperature and humidity accurately throughout the day.  You can find digital ones at a department stores or hydro shops that will tell you the current and high/low temps and humidity throughout the day.  The digital ones aren’t expensive in comparison to the knowledge you’ll have.  If you are using a metal halide or other high powered lighting system, the clones must be a few feet away so they receive minimal light.  If they get too much light they will try to work too hard with roots they don’t have.

If the temperature is getting to be in the 80’s F move the lights up more or add a circulation fan on a timer so the humidity stays high.  Having a fan on for an hour at a time 2 or 3 times a day will really help to move the hot air.  Try to use cool burning bulbs like fluorescent tubes so your temperature will stay down.  A high humidity of 90% or higher will help your fresh cuttings more than anything else.  Spray the walls of a clear container with water and put it over your cloning system.  You can also attach spray emitters to a small water pump to spray water automatically for the first few days to ensure success rate.  The humidity needs to be high so the leaves of the cutting can absorb water from the air because it does not have any roots to do that job yet.  It may need a small hole or two for air flow so the temperature stays low and the cuttings have access to as much oxygen as they need.

Use an aeroponic or deep water culture method with aerated water to keep the roots or stems in a 100% humidity environment until they are established for transplant.  You can find cloning systems at your local hydroponics store, online, or even build your own!  Hardware stores and hydroponic shops should have pretty much everything you need to build your own.

GUIDE: Building a Simple Drain Table – Part 2

This is part 2 of the DIY Drain Table Guide. Look at part one here.

Okay after you have the right size tub and trays for your set up you can get started.  The size you get depends on your needs but I recommend getting a really sturdy bottom tub(drain off tub where waste goes).  The tub should be able to withstand the pressure of water with out bowing out enough to make your trays fall and CERTAINLY without cracking or breaking.

If a water container you have in one of your hydroponics systems is too weak to withstand the pressure of water constantly pushing on it could crack or break and leak the potential GALLONS of water all over your room and whatever electronics you may have on your floor(Even though all indoor gardeners should be making sure all of their electrical parts are placed on the wall or above where water could potentially spill or spray on them RIGHT?)

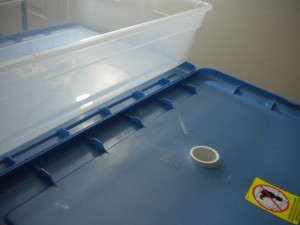
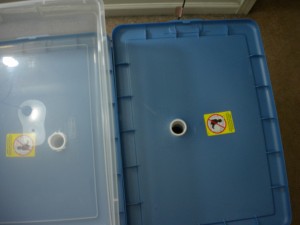
You’ll want to use a drill to drill holes 1 or 2 inches wide in the lids of the containers.  Position the hole so that they will drain into the tub the lids will be sitting on.  Refer to the pictures below.

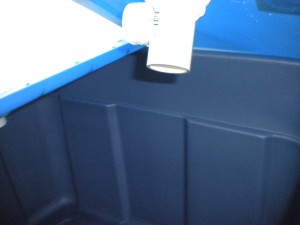
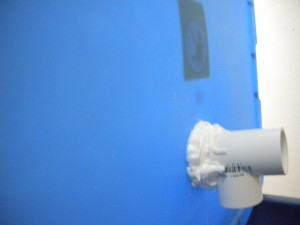
Notice there is a two inch hole drilled into the lid of the container with a two inch diameter PVC joint connector put through it as a drain hole.

Hole from above
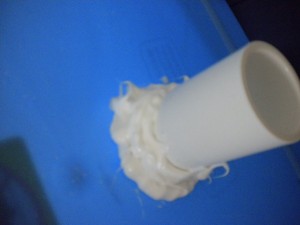
Sealing the drain so water is FORCED through PVC.
To seal the PVC elbow drains in place you can get water proof silicone or a type of strong water proof caulking and apply it with a caulking gun.

Let the sealant set long enough that its not loose – this could take up to 24 hours so BE PATIENT.  Better things come to those who wait. Once the bond is tight you will be able to sit your trays on top of the lids and the drain wont fall off under the pressure of your plants plus extra water.  

Position your tray on top of the lid like you will have it in your final set up.  You want to put a hole in the space where the PVC hole is so the water from the tray drains out of the hole and through the PVC drain down into the bottom tub/reservoir.

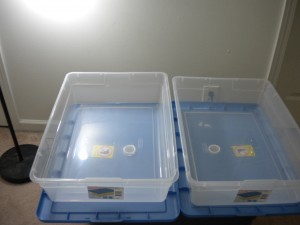
This is pretty much what you’ll have at the end – You can drill holes where the white circles are to drain the clear tray.

A drill should work fine if you are careful not to crack the plastic.  It shouldn’t be a problem either way considering you should be using containers sturdy enough to hold a lot of weight over long periods of time.  If one of your containers break your plants could end up submerged in their own dirty waste water.  You want to plan and account for things like this in the planning of your hydroponic set ups to ensure safety of equipment, plants, and most importantly you and your house.  

Another way to put holes in the plastic trays is to burn a hole.  BE VERY CAREFUL WITH THE FIRE! I heated up a glass rod with a camp fire starting torch – one similar to what you use to start a grill.  Once the rod was glowing orange I pushed it through where the PVC drains were to make a perfect hole.  

Good luck in your constructions and please comment or contact me with any questions.

GUIDE: Setting Up A Simple Drain Table Part 1

This guide is as detailed as possible so that people that are just starting with hydroponics can understand it.  There are ALOT of pictures – You were warned.

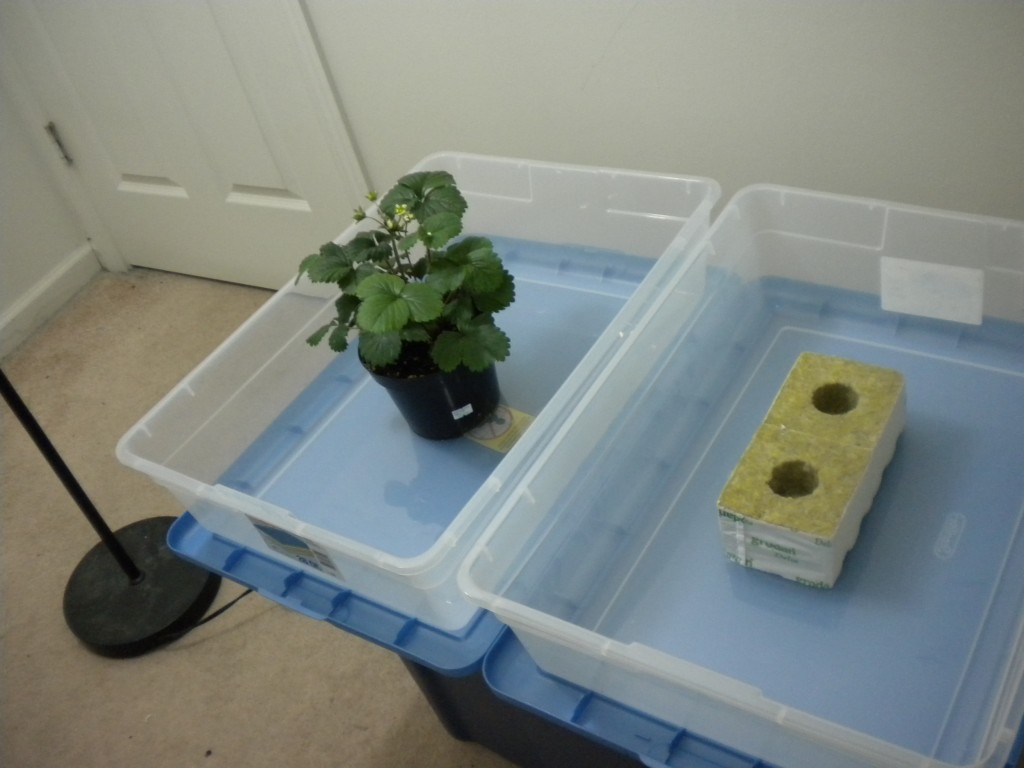
Left side – Soil container strawberries Right side – Rockwool cubes waiting for fresh clones

It is very easy to go to a hydroponics shop and just pick up a drain table and an assembly for it to sit on.  This may also include a $100 reservoir to go with the system.  Hydroponic parts add up fast and thats where Do it yourselfers try to save.  By building your own simple drain table you may be able to save money on your hydroponic setup.  The saved money can be used to get bigger containers and more medium for your roots.  The type of table I am going to show you how to build allows you to freely move your plants around in their containers.  This table is useful for soil and hydroponics alike because it allows the excess water and nutrient run off from watering/feeding to drain into a run off container that can hold many gallons so it rarely has to be changed.  It can greatly reduce the amount of maintenance needed daily in between harvests.

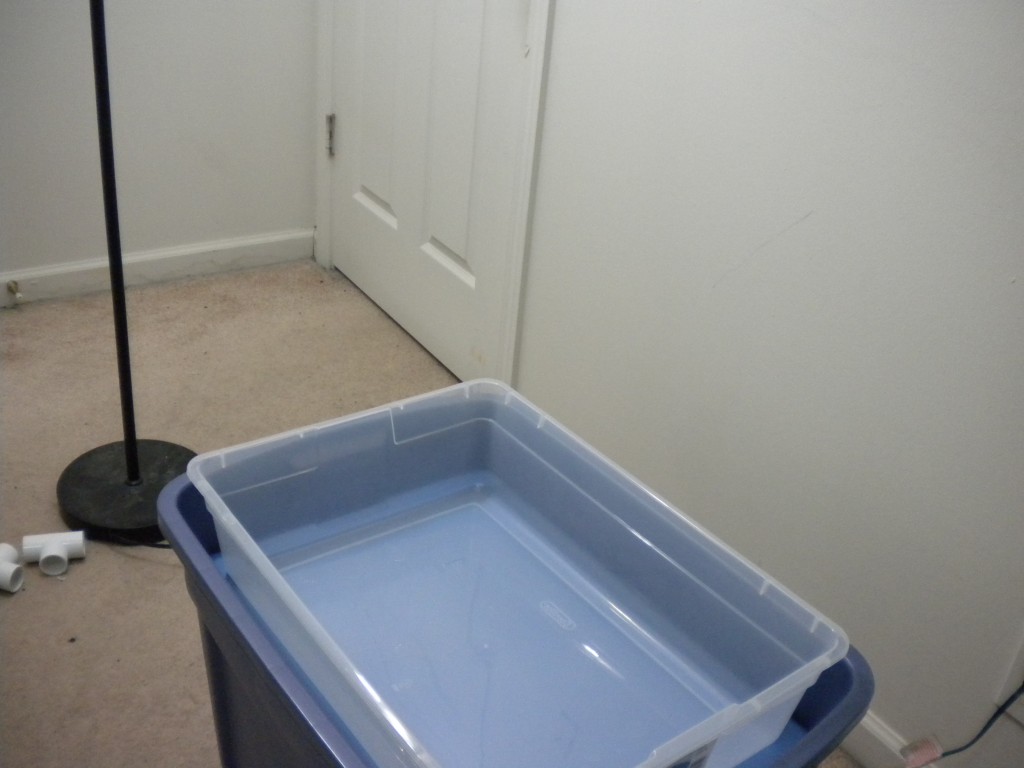
Blue tub is for the water to drain into after it goes through the plant.
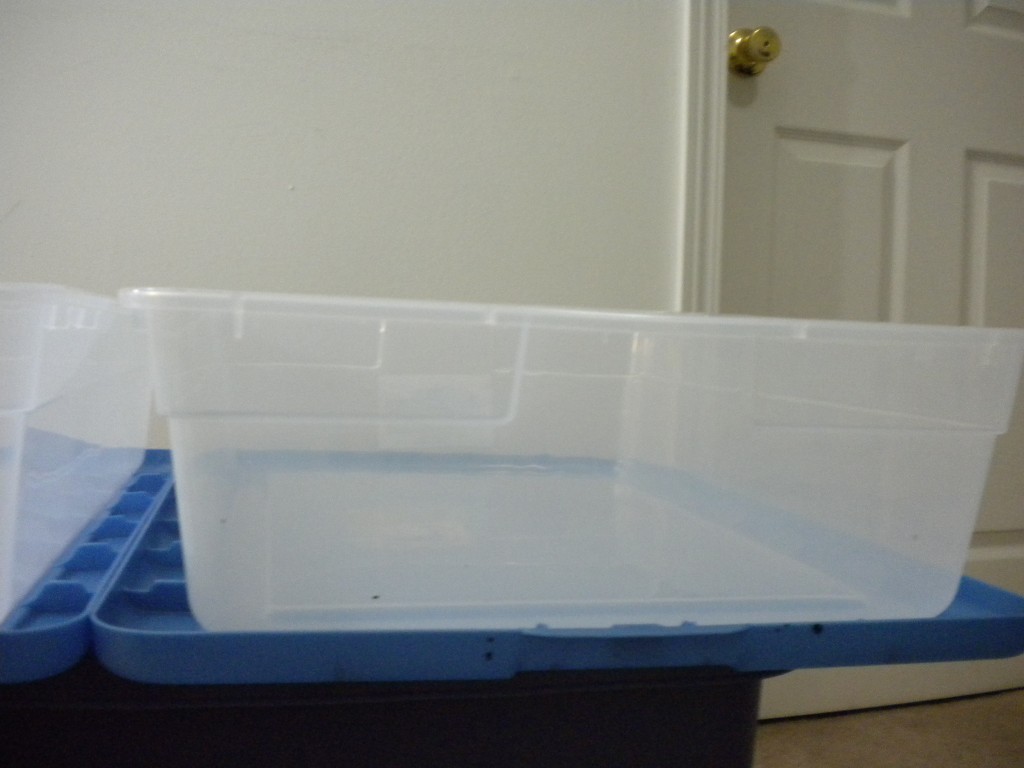
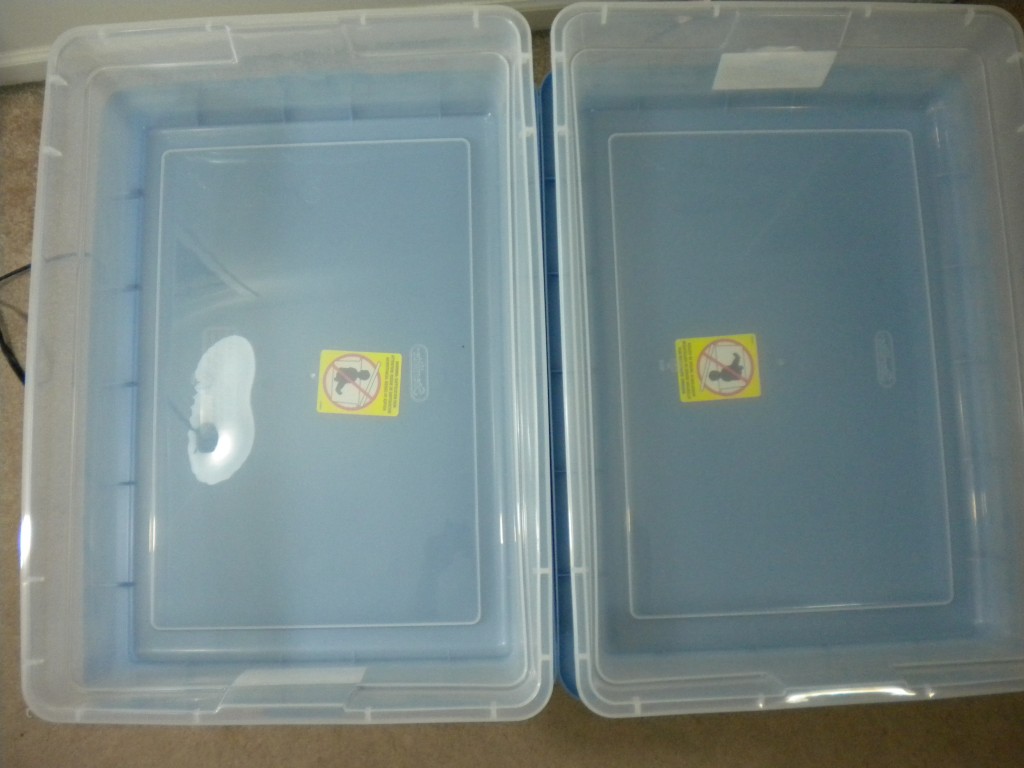
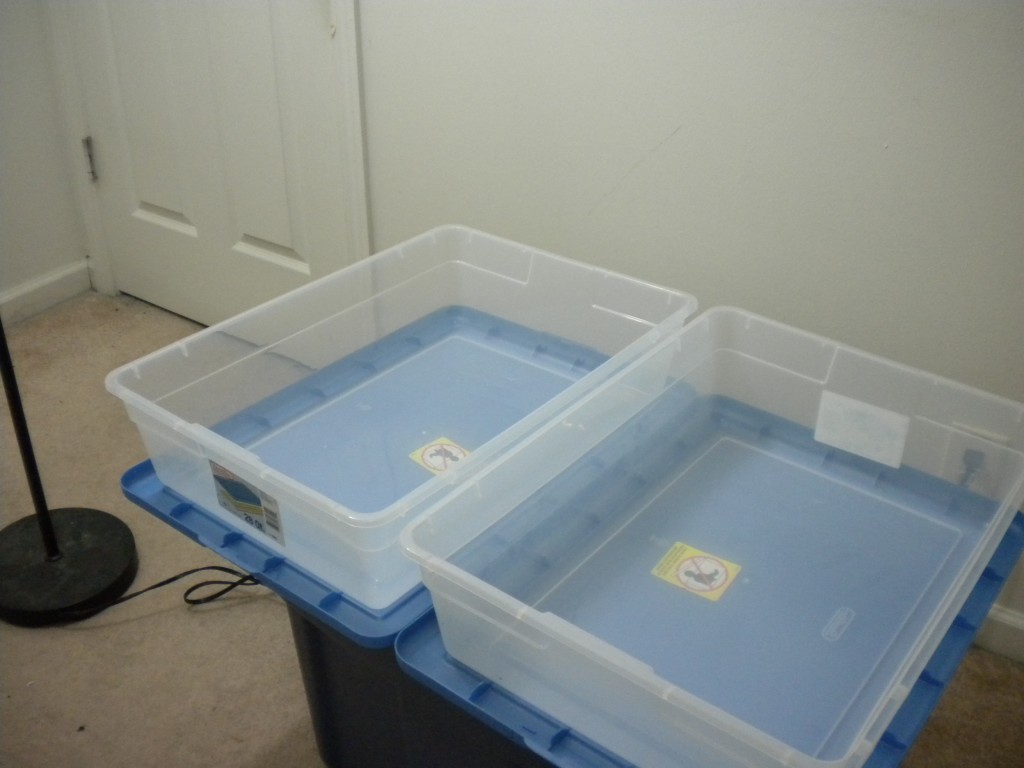
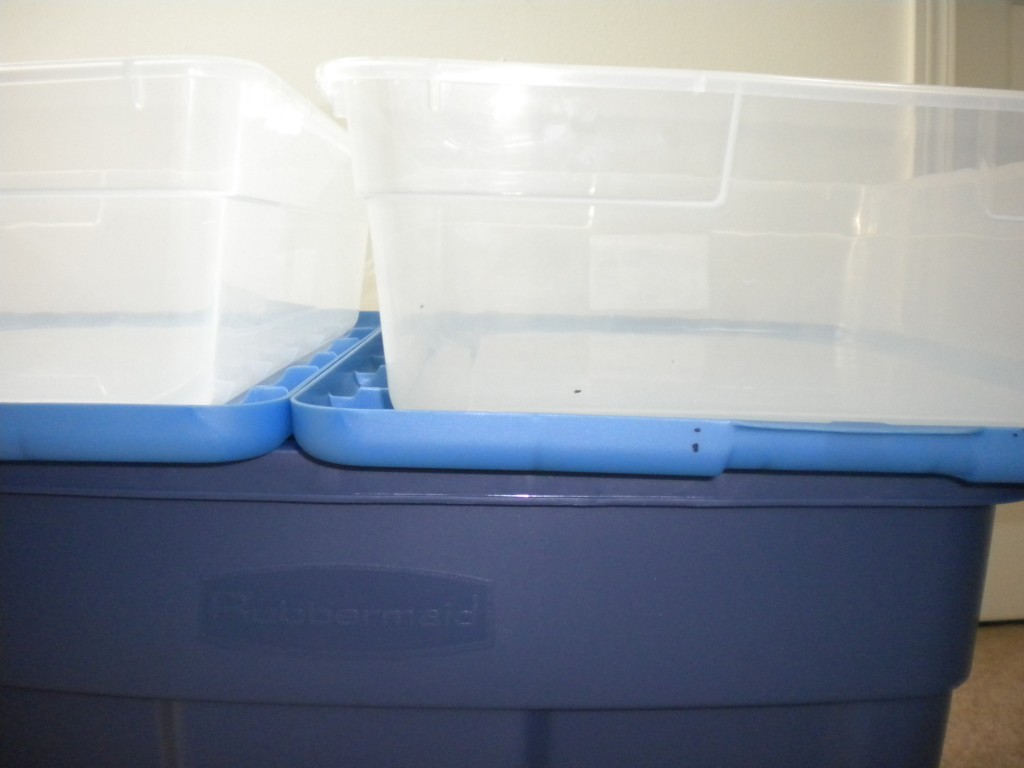
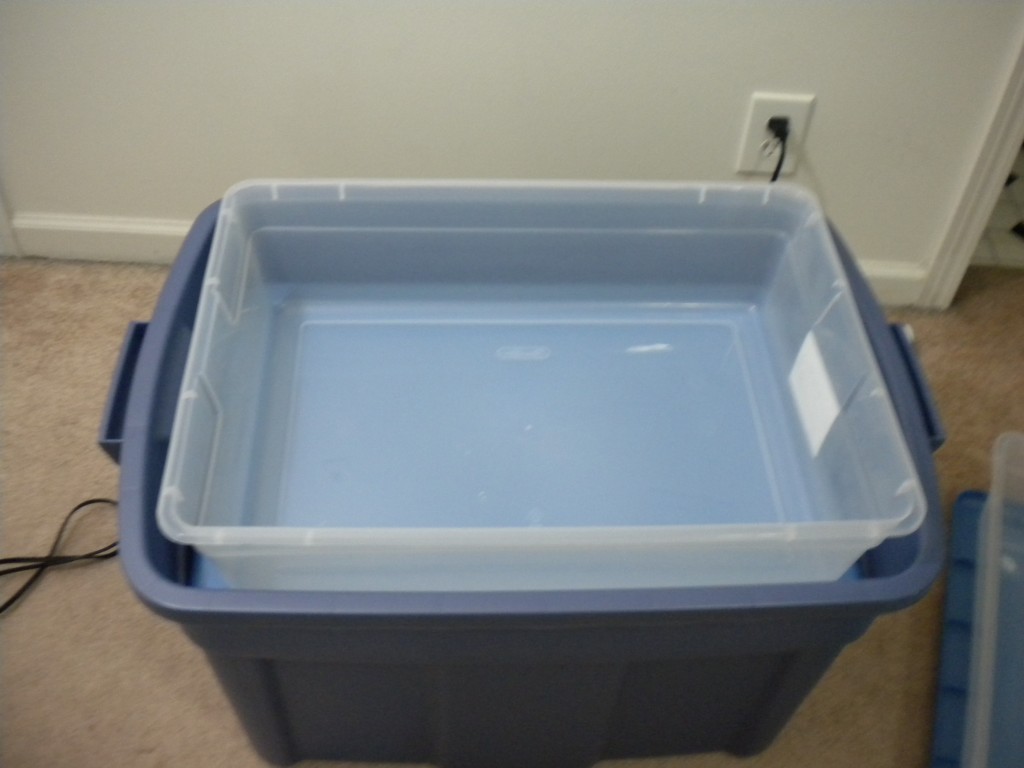
The clear tray is like a table for your plants. The lid of the container is what the tray sits on, on top of the blue tub from the previous picture.
The blue tub from the first picture can fit two of the clear trays which have about 6-8 inch tall walls.
Another view of previous image.

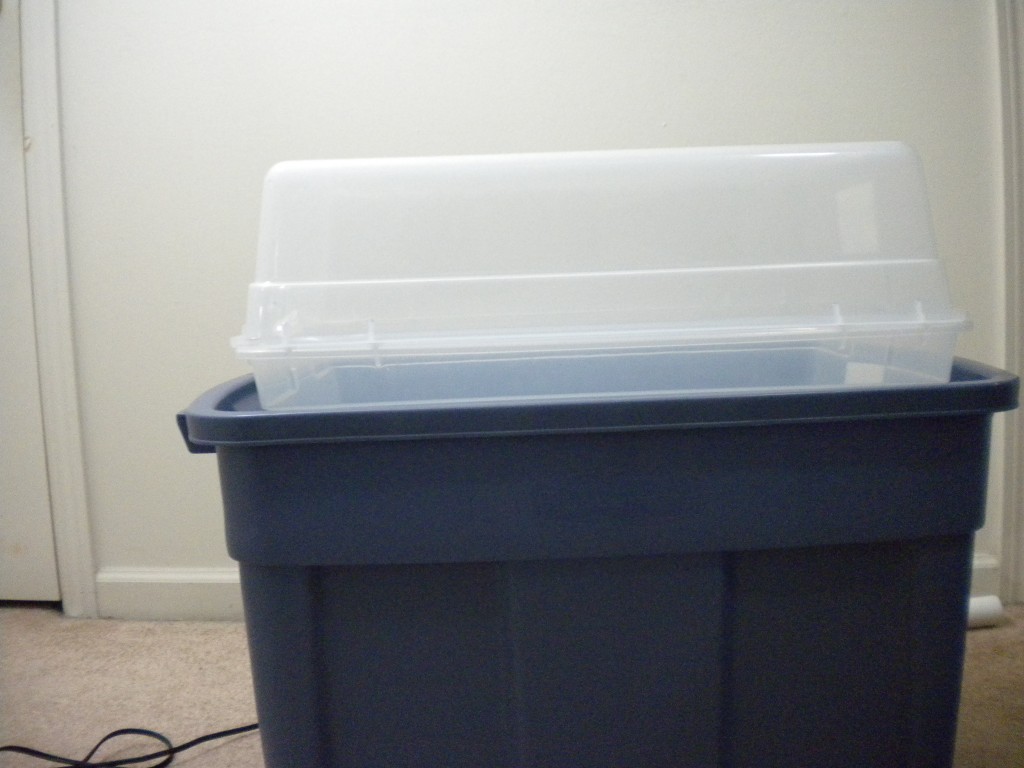
This is a variation of the table I am making for people with less space. For this version the lid of the blue container would be latched on and the clear tray would sit on top with a drain going to the blue tub.

T

Continue reading this guide: Part 2