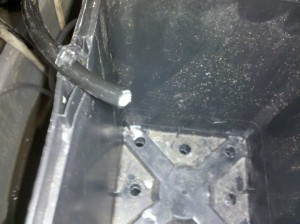
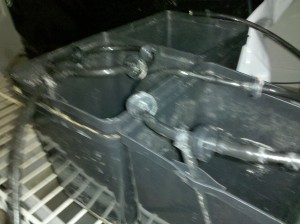
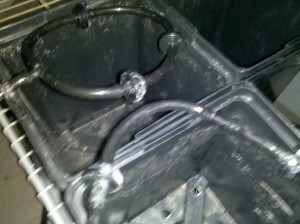
Drip systems are economical and save time. They ensure plants are fed daily with the correct amount of water and nutrients as specified by the gardener. A digital timer is a useful tool for any drip system. The timer will turn your water pump on daily at a specified time so you don’t have to be there to manually turn it on. If you are trying to plan for a new garden, sketch out your ideas before you go to the store. You may be overwhelmed by all your options. If you have a rough idea when you get to the hydroponics shop, you can show someone working there. They will help you choose the tools you need. Setting up your first drip system or building your own hydroponics set up may seem hard, but it is actually simple. Gardeners can choose to build a really simple drip system or a very elaborate system with self regulating levels of nutrients. Start with what you understand so you can experiment with more options as you learn. I suggest reading the Introduction to Drip Systems if you are new to drip hydroponics and do not understand all the parts required.
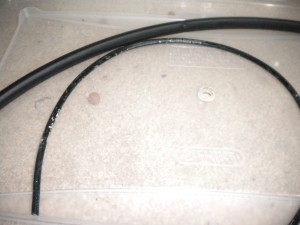
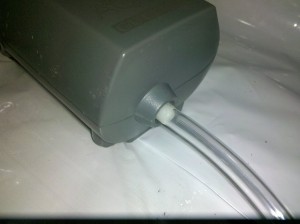
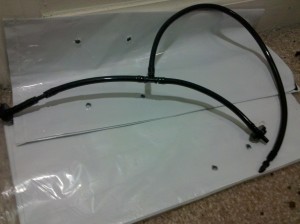
Before you buy anything do some research. Find out what parts you need for your drip system. Be creative! Since you are not buying an out of the box drip system you get to choose what parts to use. I recommend a filter for your half inch tubing. The filter will catch nutrient pieces and other contaminants that could potentially clog your drippers. Also grab on/off valves for your 1/2 inch tubes and your 1/4 inch tubes. The on/off switch will allow you to use the same tubes every time without having to cut the ones you are not using. Don’t forget to turn the switches back on when you go to use the system!
TIP: Always test your drip systems! A clogged dripper or a mistake in a drip line could leave you with wilted plants. MAKE SURE TO WATER PROOF YOUR GROW SPACE! If you are growing plants inside make sure the space is water proofed and all electrical pieces are off the ground and away from water spray range. Spills happen in ways you wouldn’t think of and can cause major problems including mold or an electrical fire. Keep towels around the grow space in case a spill does happen you will be prepared. Having a “it won’t happen to me” attitude will not save your precious plants or floors.
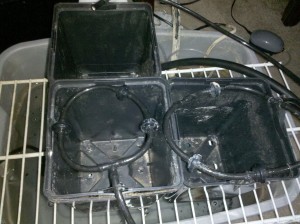
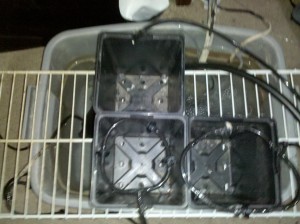
The pictures are pretty easy to follow, but I’ll add instructions to go along with the pictures. The system that the pictures model is an open recirculating system. An open recirculating drip system is used as a nutrient reservoir and waste run off all in one. The plants are fed and the run off runs back into the reservoir which is not air tight. If you don’t have a PH or ppm meter I suggest using run to waste methods until you are comfortable with reservoir changes. The run to waste method does blow through nutrients, but it ensures a good crop and a relatively steady PH. Use the guide on Building a Simple Drain Table to use the run to waste method. The exact same system explained in the drain table guide can be used for a recirculating system. You just add the components I am about to discuss in the bottom reservoir and fill it with your nutrient solution.
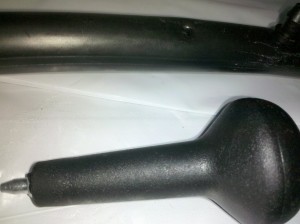
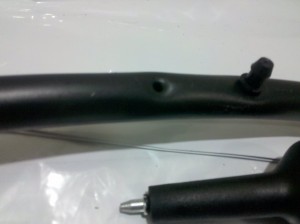
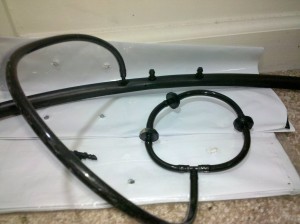
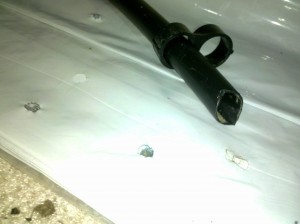
Once you have your home made drip system planned out you are ready to get into the action. Punch holes into your half inch tubing where you want 1/4 inch tubes to come out. If you mess up there should be plugs with the hole punch you bought. You can get extra plugs at the hydroponics shop. Try not to mess up because the plugs are some what of a duct tape fix and they may leak if the hole is too big.
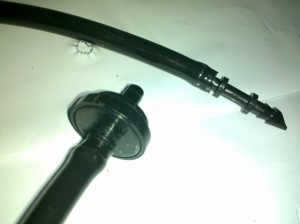
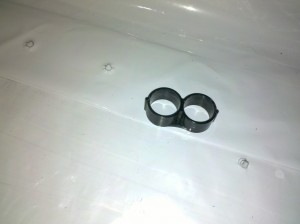
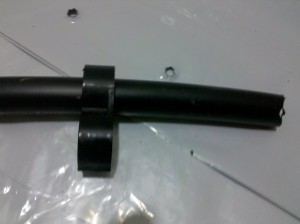
I use the straight connectors to go into the 1/2 inch tubing instead of T connectors. Every time I have tried to use a T connector directly from 1/2 inch tubing, it leaks. Other indoor gardeners sometimes have better luck, but I don’t like to take chances. Be sure to push the tubing as close to that inner circle as you can to avoid leaking. I cut my tubing straight at the ends so there is no open space for leaks at the connections. Home made drip systems require basically the same work as an out of box drip system. Systems don’t usually come pre-cut because you don’t know what lengths you want or the amount of drippers per plant. Drip kits usually just come with the parts you need to build a starter drip system.
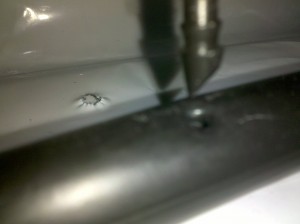
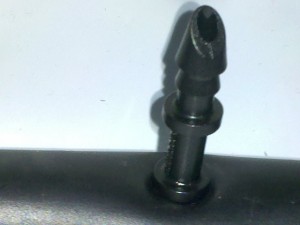
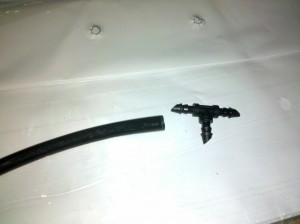
Connect 1/4 tubing to your bridge and run it the length you need plus some extra. I used a T connector to start the circle for the drip system. This type of system will ensure the whole root zone gets water/nutrients. It is hard to remove once the plants get big but they should need a transplant by the time they reach that size. Be careful on the type of drip emitters you choose. There are many to choose from. The main difference you need to know about is the difference between inline and compensating drip emitters. Inline drip emitters are meant to be in a straight line on a flat surface. I used inline drippers for this system. If you are watering different types of plants in different types of containers you may need compensating drippers. Compensating drip emitters can go up hills and drip at the correct rate. Inline drip emitters may not work properly on a hill. Compensating drip emitters also go at the end of the 1/4 inch tube and are usually not run in a series.
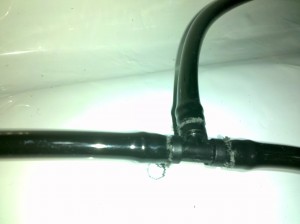
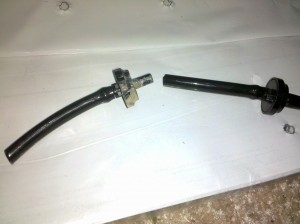
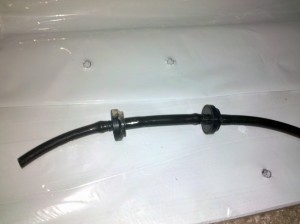
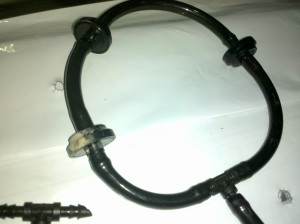
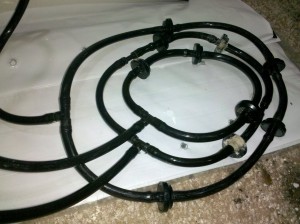
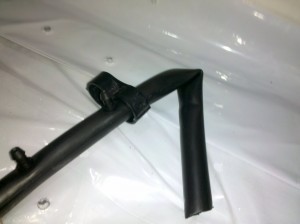
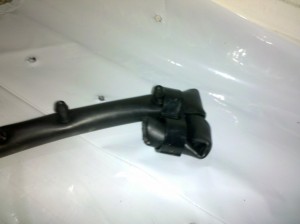
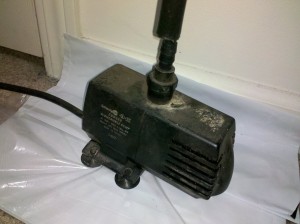
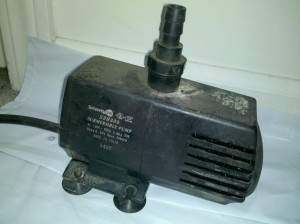
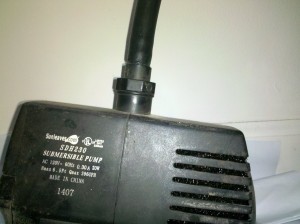
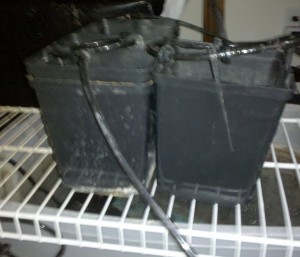
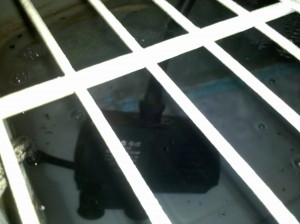 The water pump is submerged in the nutrient solution which is aerated by your air stones connected to your air pump. For this open system I use a grate that was once a shelf to hold the containers for the plants. The containers in this system only have holes on the bottom. The nutrient solution rinses through the growing medium then back into the reservoir.
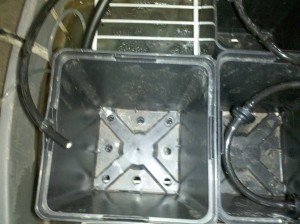
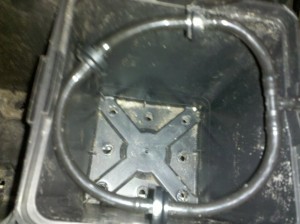
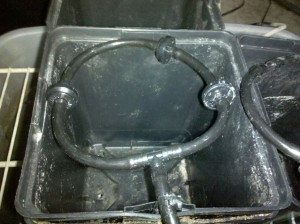 These are some shots of what your system may look like. This guide is to serve as a sketch for you. It should spark ideas on exactly what you want to do with your system. Experiment with different things to find what works best for you and ultimately your plants. You will have to play with your timer settings to find the right amount of time for the drip emitters to run to obtain maximum absorption. If anything is unclear please mention it in the comments and I’ll clear it up for you! Hydroponic Economics is here to help you set up the most efficient hydroponics garden possible! Good luck Green Thumbs!
