You Need a 30 Amp Timer Box


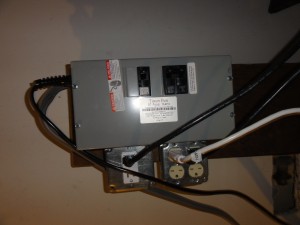
What a Lifesaver and Timesaver this box has been! What does it do you ask, what doesn’t it do? First it lets you plug straight into your 30 Amp Dryer Socket. So instead of trying to plug in your HID lights straight into the wall in your room, your using the higher amperage dryer socket instead! No more tripping your breaker when you plug in your second 1000w light.

Indoor Grow Lights

Specifics

This particular model allows you to run up to 4 1000w lights and up to 10 amps of accessories from the same timer.  The 4 1000w lights are run off of 20 Amp Breaker and 240V receptacles instead of the traditional 120V. The benefit of this configuration is that a 1000W HPS running at 240V (4.3Amps) runs at half the amperage then if plugged into 120V(8.9Amps). Essentially this will run 4 1000W lights for the costs of 2!

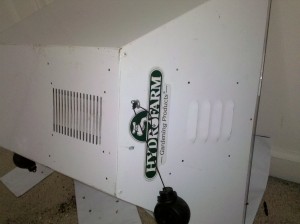
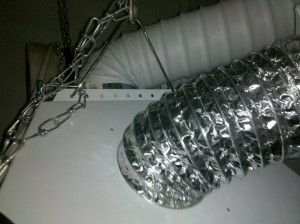
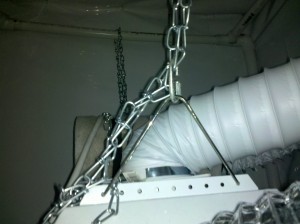
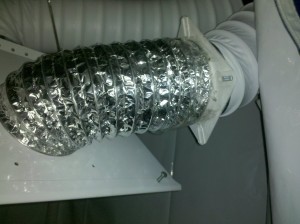
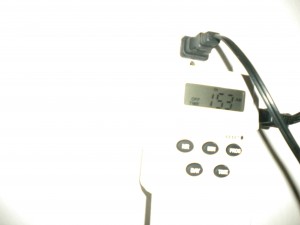
I also run my fans that cool my Air Cooled Hoods through this box. Another electricity saver; When my lights turn off, their cooling fans turn off. The box is controlled by a single 120V Trigger cord. I have mine connected to a digital timer which  makes it nice and easy to control it and see what is happening. Make sure the timer will carry the load of whatever you have plugged into it, safety is always the most important thing. Never plug more then One 1000w Light into a standard timer.

The Amp Timer box saved me so much time and money. Its costs around $300 and compared to the several hundred dollars more it would have cost to higher an electrician to come in and do the work it was worth every penny. Not to mention how much lighter the electric bill will be in the future.

You can get the 30 Amp Timer Box at Amazon. Click here to read more.

Kevin
Fluorescent Grow Lights: Get Intense Vegetative Growth with Less Space

Indoor gardening tends to revolve around grow lights. grow lights have a very large effect on harvest weight. The more intense the light is, the faster your plants will grow, right? There is no practical light you could use to replicate the sun’s powerful beams. Instead, growers turn to high powered grow lights. High power lights use a lot of power and are usually really hot. They may not be practical for most indoor gardens.


High pressure sodium and metal halide light bulbs are really hot after they have been burning. They also crank up your electric bill. There are a few alternatives to this type of lighting. Metal halide bulbs are meant for vegetative growth. In most indoor gardens, the vegetative phase includes smaller plants. Swapping out your metal halide for a fluorescent grow light may save you space and energy. Fluorescent grow lights do not require large air cooled hoods because the fluorescent tubes stay relatively cool. At least cool enough for most plant growth.

Fluorescent Grow Lamp
Fluorescent Grow Lamps can be used for grow and bloom phases as long as you use the right bulbs.

A small salad greens garden for the family and your pets could be grown with ease under a few fluorescent grow lights. The grow lights you will want to use are not standard shop lights. Although low power shop lights will work for cloning systems, use indoor grow lights from a hydroponics shop. You can also order grow lights online. They are usually much cheaper online.

There are also fluorescent grow light bulbs for the bloom phase. They feature a red/orange spectrum. They are powerful enough to bloom tomatoes, strawberries, and other plants that do not require tropical light. Fluorescent light fixtures come in different sizes and lengths. Find the grow lights that will best suit your grow room.

Easy Grow Lights
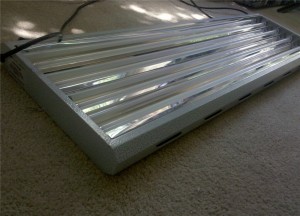
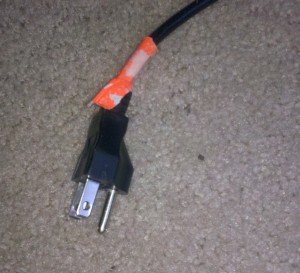
Fluorescent light fixtures are usually outfitted with internal ballasts and a simple three prong cord.

The Hydrofarm 4-Foot T5 Grow Light System is a well respected Grow Light Set Up. Hydrofarm offers affordable grow lights that are cool enough for plant growth. Read over 50 customer reviews at Amazon.com

Green Light Means Go

Plant Green Light
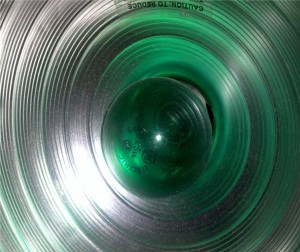
Use a green light bulb to work in your grow room during night cycles. Plants do not photosynthesize green light, therefore their photo period is not disturbed.

Indoor gardens have a day period just like outdoor plants.  The length of day is controlled by timers.  Indoor gardens are meant to be convenient to the grower, but we can’t always work on our garden when it needs us.  If you care about your plants, you don’t want them to suffer due to your neglect.  On the other hand you can not neglect your life to tend for your plants.  There is a solution for this dilemma!

Install green light bulbs next to your grow lights.  If you know some basic wiring, you can wire a switch to the outside of the environment.  Turning the green light on from outside of the environment will allow you to enter the environment with light.  You don’t want to knock over what you are trying to protect!

Cheap Grow Lights You Can Get Anywhere

If you live somewhere that does not allow you to grow outside all year round, you may want to start an indoor garden.  You could also be looking to start a small plant propagation area in your house.  A small indoor garden can do many things, including a head start when spring comes.

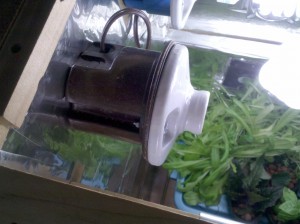
This grow box uses hand wired Compact fluorescent grow lights. CFLs go in any normal lamp socket.

Making a small grow box is easy and cost effective.  Small grow setups use compact fluorescent grow lights.  Basically you just want daylight color spectrum bulbs.  Compact fluorescents are a great way to set up a cheap indoor garden.  I use the equivalent to 100 watt incandescent bulbs.  In CFLs that is roughly 23watts.

To get the most out of your cheap grow lights, position them so the bulb is either horizontal with the floor of the grow box or hanging at a 45 degree angle.  The bars of the compact fluorescent grow lights are what gives off the “sun” effect.

plant grow light bulb
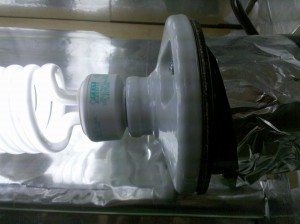
The fluorescent grow light bulb is attached to a socket coming from the wall of the grow box.

Fluorescent grow light bulbs stay relatively cool.  You may need some air circulation and an exhaust fan to keep the grow box at a cool temperature.

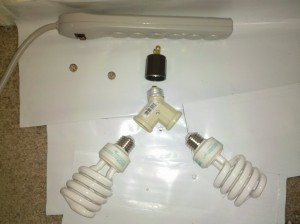
To avoid wiring sockets for your cheap indoor grow lights, you can buy some conversion pieces that will save you loads of time.  Start with an extension cord or surge protector.  You can plug sockets into the plug spaces that convert the plug space to a lamp socket.  You can turn your lamp sockets into two lamp sockets with a Y adapter.  The Y adapter is also the perfect tool for getting 45 degree angle lights from the ceiling or walls.  Refer to the pictures for clarification.

fluorescent grow light bulbs
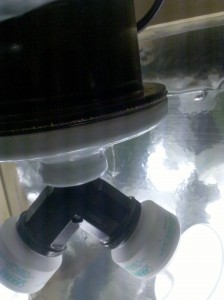
This compact fluorescent grow light is on the ceiling and uses a Y adapter to split one socket into two 45degree angled sockets.
cheap indoor grow lights
Small grow lights for small gardens.

High Powered Grow Lights Need High Efficiency Hoods

Hydrofarm Grow Lights
Vented hoods reduce the temperature of your high pressure sodium, but plants still need to be pretty far away to stay cool.

Grow Lights come in various sizes.  The bigger the bulb the hotter it will be.  Most plants thrive at temperatures under 82 F.  Some high pressure sodium grow light kits come with a reflector, but no hood.  An enclosed hood is one of the most important pieces of a grow light setup.  On the left there is a picture of an enclosed vented hood.  The hood is not technically air cooled.  Air cooled hoods are much more efficient for cooling hot grow lights.  High pressure sodium and metal halide bulbs both require air cooled or water cooled hoods to run at cool temperatures.

High Pressure Sodium Grow Light Kit
Air Cooled Hood with intake and exhaust ducting.
Air Cooled Hood attached to a carbon filter Exhaust duct

Use powerful inline fans to push air through your hood.  The air needs to be ducted outside the grow environment to keep the grow box cool.  If you are looking for high performance air cooled hoods, go for the ones with bigger ducting holes.  The hydroponics shop and local hardware stores will carry duct converters for increasing or decreasing duct size.  Ultimately a bigger fan will be needed to drastically reduce HID light temperatures.

TIP:  Get Vinyl Ducting to reduce the annoying sound of intense air flow.

Using Analog and Digital Timers to Automate Your Garden

  
This 24 hour timer allows you to set the digital time and has 6 different on/off settings. You can also choose what days for the timer to run. This is useful if you are going on vacation for 2 weeks and you are still feeding your garden regularly with a dry day at the end of the week for the soil to dry out and expand root growth. The dry period will reduce the risk of over-saturation problems.

Electronic timers have a variety of uses in the grow room.  I use relatively cheap timers from a department store, but the turnover rate is rather high.  If you plan on leaving your system running for a few days without checking it, you may want to invest in the high end timers to ensure they will not die or malfunction on you.  The cheap timers come with a battery backup so the time is not lost in case there is a power outage.  That does not mean that the device plugged in to the timer will still run at its designated time.  There will not be enough power for that.  All the battery does is ensure the device plugged into the timer still comes on at the right time given the power comes back on.

SAFETY TIP: Keep electronic components, surge protectors, timers, extension cords, and all devices with a plug off the ground of the grow space.  Hang them high on the wall where they will not possibly be sprayed.  Also make sure they are not in the path of ANY potential flood. You can also make a waterproof box for your electronic components. DO NOT OVERLOOK THIS STEP!!  IT COULD SAVE YOUR LIFE AND YOUR HOUSE!

Digital Timers are useful for things like air circulation, water pumps, and sometimes air pumps if you need your aeration cycled.  If you are trying to manually control temperature and wind a timer will come in handy.  It will allow to set precise on/off timings for your fans.  Make sure to check the timer you buy to make sure it has what you need.  Some do not have the 3 prong connection and can only use smaller 2 prong cords.

SAFETY TIP: I know what you are thinking, “I’ll just get a plug converter to make the larger size fit.”  DO NOT OVERLOAD SURGE PROTECTORS, TIMERS, OR OUTLETS.  Do not attempt to give a circuit something it is not rated for.  Using the right size electrical components is a good and SAFE habit to get into from the start.  Losing your house to an electrical fire while you were gone is not worth saving a few dollars on a timer or extension cord.

Most people will use digital timers to control their water pump.  The timer will tell the pump when to run so you can control your watering and feeding schedule without being there.  You can set any type of schedule you want with timers.  You will have full control without ever being present.  Many cloning systems need timers to have a mister or fogger automatically raise the humidity every day.  Digital timers can also be used for lighting systems to precisely control the light cycles.

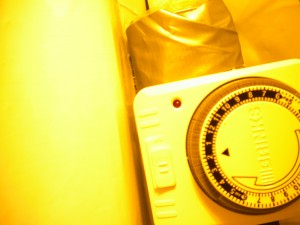
Analog timers can be used when you need many intervals of on/off cycles.  Things like aeroponic and bubbleponic cloners might use something like this.  These timers also work fine for lighting systems.  Just push down the pins or put the on/off pins on the times you need.  Pay attention to the timers clock and the order of times.  Not all analog timers have the times in the order they would happen.


Choosing the Right Set of Grow Lights

This post will no where near cover everything you need to know about choosing grow lights.  This post will give you some very helpful hints and considerations to take into account before spending money on an expensive system.

-Number of chambers : Will you have all your plants in one space for their whole life time.  If so you may want to consider a Metal halide Bulb and Ballast for the grow cycle and a high pressure sodium/metal halide conversion bulb for the bloom phase.

-Amount of Space : If your grow spaces are large you will need high powered lights so that all the plants get light.  Keep in mind 400 watt and higher MH and HPS bulbs will benefit greatly from air cooled hoods which require strong inline fans to cool.  The cost of these items may raise your initial setup fee but will pay off by the first harvest by the success of the crop yield and quality.  Without an air cooled hood a 400 watt HPS bulb must be 3-4 feet away from the plants to keep temperatures down.  With an air cooled hood some plants can be nearly touching the glass.  If you have a high powered inline fan the plants can most likely grow up to the hood.  This makes a big difference in yield because light is diminished at higher rates at farther distances.

-2′ x 2′ or 3’x3′ gardens can bloom under 400 watts

-3’x3′ or 4’x4′ gardens could easily use 600 watts

-4’x4′ or 5’x5′ gardens can use 1000 watts of light

-Number of plants: Depending on your style of growing you may want to get a set of 2 lights instead of one big light.  3 x 600 watt lights can outperform 2 x 1000 watt lights in the exact same conditions.   The three 600 watt lights can cover a greater area without losing light from distance.

-Height of Grow Space: If your grow room or grow box is not very tall and you are also concerned with heat, you may want to use compact fluorescent tubes from the hydroponic shop.  You can get high powered tubes for grow and bloom phases.  The height of the ballasted light set is only a few inches so it can fit in short places.  Its great for the grow phase or a mothering chamber.  The bloom tubes will flower plants but sometimes they are lanky unless you use a product like BushMaster.

The Importance of a Reliable Ballast

Recently when I was away from my house and garden for almost two weeks, I learned a valuable lesson about the importance of a good ballast.  The ballast is the box that cord set comes out of for HID lighting.  Ballasts usually come with metal halide and high pressure sodium lighting systems so if you are using a high powered lighting system in your hydroponics garden, you most likely have a ballast.  As a novice I didn’t realize the importance of a good ballast.  I learned my lesson when a large crop of berries was wiped out because of a ballast failure.

I was using a cheap ballast that came with the kit and did not even have casing to cool the outside temperature of the device.  It was an old fashioned magnetic ballast.  The ballast died while I was gone on vacation and when I came back the berries had been sitting under darkness for days, like a three or four day solar eclipse.  To make matters worse the berries weren’t using any energy because there was no sunlight, but the water pump for the nutrient reservoir was still running on schedule.  The berries were being pumped with nutrients every day during their bloom phase while they were receiving no light!  There was no way for the berries to use the nutrients being fed to them.  They were just starting to bloom so they mostly died and there was no fruit for all the work I had put into them.

The lesson here is no matter if you get a magnetic or electronic digital ballast, make sure its GOOD QUALITY.  Your crop may depend on the reliability of your ballasts.  Hopefully indoor gardeners all over can read this tragic story of loss before they make the same mistake I made.