Stronger Clones Start Here
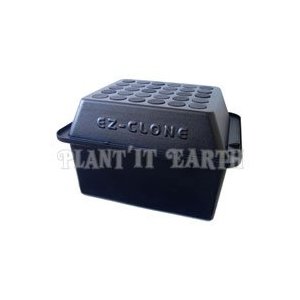
Bubbleponic cloning systems are an easy to build solution to weak and limpy clones. The entire system will not cost you very much. If you use neorepene discs, like the E-Z Clone uses, you will have an efficient cloning system that uses no growth medium. The aeroponic cloner you will have after this guide can root clones in as little as 7 days with an organic rooting gel like Earth Juice Earthstock. There are plenty of other types of rooting gels and powders. Clonex and Olivia’s are two other gels that work well.
Supply List
-Storage Tote
-Neorepene EZ Clone Discs
-Air Pump
-Air Tubing
-Air Stones
-Power Drill w/ drill bit that is the same size as your discs.
Light Proof Your Tote
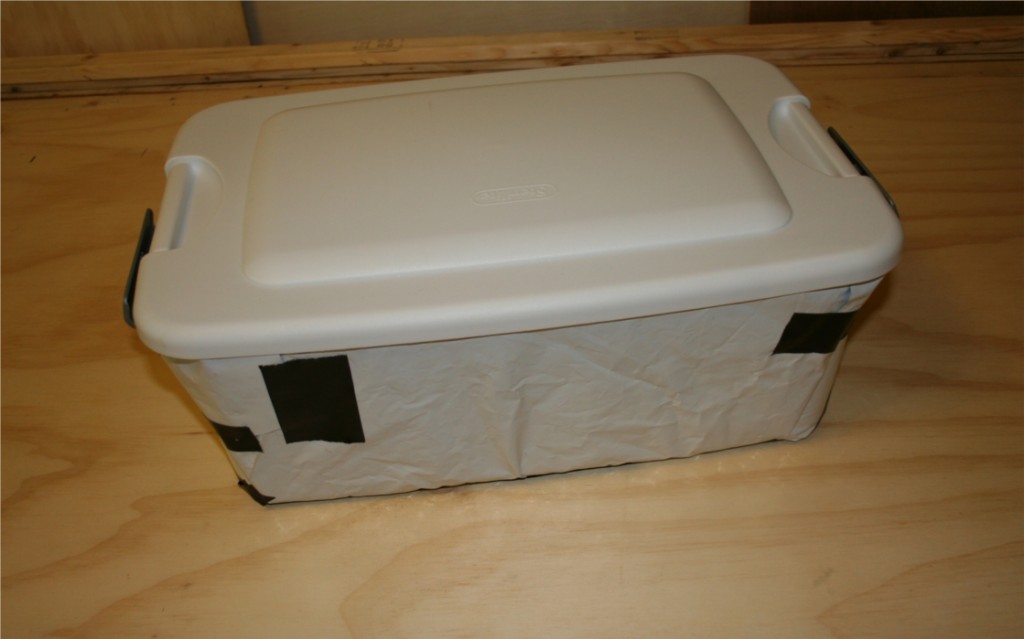
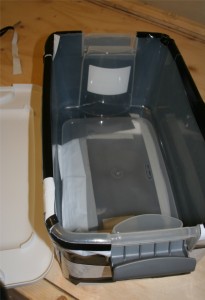 If you bought a light proof tote, you can skip this step. If it is clear or semi clear you need to wrap it in a reflective material. You can use Christmas wrapping paper if you do not have access to something else. You just want to make sure no light comes in through the walls of your tote. The storage tote will be the water reservoir for your cloning system.
Use HDPE Food Grade plastics for your storage tote if you plan on cloning consumable plants like fruits or veggies. Food grade plastics ensure the safety of you and your family. If the cloning system is only for flowers, there is no risk since you will not ingest the chemicals.
Prepare the Air Tube Hole
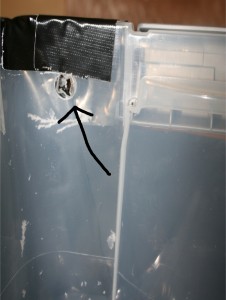
Drill a hole through the side of the container near the top. A half inch drill bit works well. You can also use a soldering iron to make a small hole. It just has to be big enough to fit the air tubing connected to the air pump. Put the air tubing through the hole before connecting the air stone or the pump. You put it through the hole to test that its big enough and to ensure the tube is through the hole before larger objects are sealed on to it. You can also seal the hole with a rubber grommet so no water will leak if it is moved.
WARNING: Burning plastic gives off toxic fumes. Wear protective gear in a well ventilated area.
Prepare the Cloner Lid
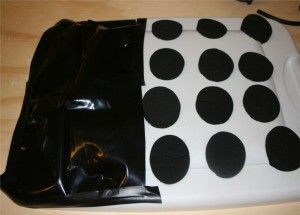
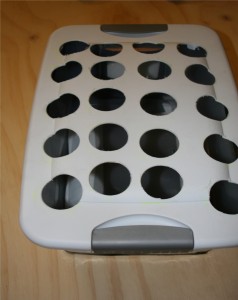 Take one of the EZ-Clone discs or Net Pots you plan on using for your clones and trace the outer diameter on to the lid of the tote. Plan them like a grid so you can maximize your space. Start your holes in one of the corners. The number of holes you make is up to you. Remember your clones will only need a week or two in the cloner before they are rooted and ready for transplant. It is good practice to plan for a couple clones that you may not need. Extra clones allow you to pick out the strongest ones and prevent yourself from not having enough. Of course extra clones require a Healthy Mother Plant, but that should be no problem for indoor gardeners subscribed to the RSS feed.
Green Tip: Leave a little extra space in between your holes. The extra space will let the clone leaves spread out and still have access to enough oxygen.
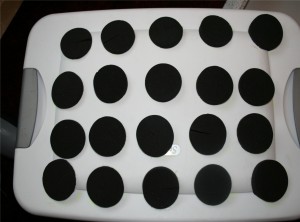 Next you can insert your neorepene discs or net pots in the holes you created. Here is where EZ Clone discs have an advantage over net pots. The discs can stay in the cloner when it is not being used to prevent light from getting into the reservoir causing algae growth. Net pots do not block light properly unless they are full of medium. You can just waste enough medium to fill the empty places when you are not using it. A smarter option is to cover the wasted part of the cloner with black and white poly or mylar.
Fill The Cloning System
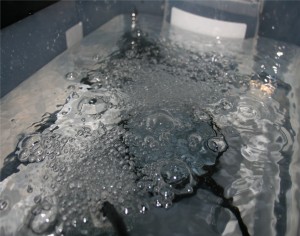 Get the cloning system in position under the light you plan to use. Now you are ready to fill your reservoir with water. You will want the water to be a few inches below the hole for the air tubing. There needs to be room for the stem of your clones to hang in the dark 100% humidity environment above the water line. Plug the air pump in and make sure you have plenty of bubbles popping on the surface of the water. If you plan on using all the spaces you will want even bubble distribution across the surface area of the water. It doesn’t have to be exactly even, just make sure no space is getting too wet and no space is extremely dry. The high humidity will ensure success in small 15-20 clone systems. 20 – 50 clone systems will only need two or three oxy stones. If you need a bigger cloning system, you may want to consider making multiple 50 clone systems. Having separate reservoirs will ensure a problem in one system does not end your entire propagation system.
Check out theEZ Clone Machine on Amazon if you are having trouble building your own or just don’t have the time. It already works out of the box!
Take Your Cuttings
Now that you have a perfectly constructed homemade cloning system, you are ready to use it! Make sure you are taking successful cuttings with this guide.
