Soil-less Growing – Happy Medium

Soil-less growing is the alternative to growing in soil or hydroponics.  Some soil-less grow systems could be considered hydroponic.  An example would be a top feed system in rockwool cubes placed on rockwool slabs.  I would also consider a container plant using hydro clay as the medium would be a soil-less grow.  These systems can be easily maintained using a  water pump to feed water and nutrients to each container or plant.

There are a multitude of reasons to choose a soil-less grow over a soil grow and vice versa.  First, soil can be VERY messy.  Accidentally knocking over a container that is pre-filled with dirt for a fresh transplant costs minutes of cleaning and a loss of soil.  You can also contaminate your soil with whats on the floor if you try to put it back in the container.  Soil is also a nesting haven for a lot of different bugs like gnats and crawling insects.  Gnat nests buried in soil can be hazardous to your plants.  The bugs can eat at the roots of your plants without you even knowing.

Simply switching the growing substrate to hydroclay or hydrorocks can help to control the problem.  There are a wide variety of mediums to choose from when growing soil-less.  There are also rockwool grow cubes, coco coir, and perilite.  You can always mix a variety of things to create your own soil-less mix to create the environment you want for your plants root system.

Preventative Pest Control is the Best Pest Control

Pest control is often a topic shrugged off by novice indoor gardeners.  You might think, oh its indoor, there are  no bugs in here.  WRONG.  You cannot assume things like this when it comes to indoor gardening.  It is better to plan for gnats, flies, aphids, spider mites, and other plant eating bugs before they wipe out your crop with out you noticing.  Don’t underestimate the damage a bad pest infestation can cause.  It may seem like they are only eating a few leaves or slightly discoloring leaves.  The point is all that degradation adds up and what do you have to show for it? Worse crops, bug infested food or flowers, and lower yield!  The point of indoor gardening is to control for a better grow.  Be preventative in your pest control and you may never have to worry about an infestation.

Try using an organic garlic spray to ward off bugs.  Post up yellow sticky paper to catch flying insects.  The yellow sticky paper is great almost anywhere you put it.  I have put them under the lips of containers to catch fresh gnats in the soil.  If you place them up higher you may catch bigger flies.  Try to use organic and natural pest control so you don’t affect the quality of your crops.  Hydro shops also sell predatory bugs that will eat your pest infestation and then eat themselves.  This is a method I have not had to use, but it is one of the most natural pest controls.  Buying live lady bugs or placing them in your garden when you find them around the house will help eliminate small bug populations.

Another method of preventative pest control for an indoor garden is an enclosed growing environment that pests cannot get into.  People may not realize the importance of closed chambers, but they can certainly help isolate a pest problem.  If you anticipate a possible aphid or spider mite problem try a very light solution of a spray like AzaMax to ward off any pest infestation attempts. I’ve wiped out whole aphid colonies with only off-brand Neem before as well, but I’m sure that won’t work for all.

Green Moral of the Story: Preventative pest control can save you many headaches from dealing with nasty bugs and sprays.  Preventative pest control can also ensure your crops will stay healthy and yield at their highest potential, and that’s what we’re after.

Get General Hydroponics AzaMax at Amazon today to protect your indoor garden investment. You can also read customer reviews here.

Safety tips: Building the Grow Space

Here is a list of a few tips everyone should consider when putting together a hydroponic system or a hydro grow room/box.

1. DON’T OVERLOAD YOUR CIRCUITS.  This goes for circuits, outlets, custom wiring(check the max load), timers, extension cords, and surge protectors.  Its easy to get a room to use enough electricity to trip your circuit.  If the power is too great you could start an electrical fire.  High pressure sodium and metal halide lights 400 watts and over may need to be plugged into a lighting controller that is wired to the house electricity or plugged into the dryer socket.   If you are doing wiring to the main circuit box make sure to shut the power down and have a clear plan of what you are doing.

2.  Keep outlets, surge protectors, timers, light controllers, ballasts, and all electronic components off the floor.  Make sure electronic components are out of reach of sprayers, drip hoses, and any reservoir that could crack or spill.  Plan for the worst!  Keep your electronic components away from the water!

3. Line the room or box with a water proof floor and walls so if something does break or water is spilled it doesn’t ruin the floor or create mold.  If the liner is something like mylar or black and white poly it will be very easy to clean up the water.  Even if you think you have a really tight hydroponic system that will never leak or spill, you are probably wrong.  At some point in time through filling up multiple reservoirs and changing nutrients you will most likely spill something on the floor.  It is much better to already have water proofing there to prevent a mess and mold possibility and its easier to clean up.

4. Turn off fans open or caged fans that you are working by.  I’ve cut my fingers on computer fans in my mini veg box and clipped my ear in one trying to pull a bulb out from deep in the box.

5. Wear gloves – Wearing gloves can protect you and your plants from stress.  Human hands constantly rubbing on your plants is not good.  It may not show negative effects, but it will unlikely show any positive effects.  We want our plants in the best condition possible all the time.  The gloves will also protect you from sprays or bugs on the plant and the possibility of an allergic reaction.

Safe growing!

The Importance of a Reliable Ballast

Recently when I was away from my house and garden for almost two weeks, I learned a valuable lesson about the importance of a good ballast.  The ballast is the box that cord set comes out of for HID lighting.  Ballasts usually come with metal halide and high pressure sodium lighting systems so if you are using a high powered lighting system in your hydroponics garden, you most likely have a ballast.  As a novice I didn’t realize the importance of a good ballast.  I learned my lesson when a large crop of berries was wiped out because of a ballast failure.

I was using a cheap ballast that came with the kit and did not even have casing to cool the outside temperature of the device.  It was an old fashioned magnetic ballast.  The ballast died while I was gone on vacation and when I came back the berries had been sitting under darkness for days, like a three or four day solar eclipse.  To make matters worse the berries weren’t using any energy because there was no sunlight, but the water pump for the nutrient reservoir was still running on schedule.  The berries were being pumped with nutrients every day during their bloom phase while they were receiving no light!  There was no way for the berries to use the nutrients being fed to them.  They were just starting to bloom so they mostly died and there was no fruit for all the work I had put into them.

The lesson here is no matter if you get a magnetic or electronic digital ballast, make sure its GOOD QUALITY.  Your crop may depend on the reliability of your ballasts.  Hopefully indoor gardeners all over can read this tragic story of loss before they make the same mistake I made.

Another Reason Hydroponic Gardening is Important

One of the main reasons I chose to start an indoor gardening project was to produce my own fresh, good-tasting, safe food.  Some stores sell fresh produce, but my area lacks in availability for year round fresh fruit.  Strawberries were one of the first things I tried to grow in a hydroponic system.  Once you learn the basics of hydroponics you could set up a system to grow tropical fruit inside your house!  If you have a big back yard you could even create a tropical green house with the sun and the addition of high power grow lights.  Once you are familiar with all the equipment available you can create any environment for any plant.  You can tend to plants with very delicate environmental needs.

If you do not trust the source or are unsatisfied with the quality of your local produce then start a hydroponic or indoor gardening project to perfect the fruit of your dreams!  Anything is possible if you learn enough about the plant requirements.  I try to find books on Amazon.com about organic gardening and plant care.  The books on Amazon don’t cost very much and are usually pretty detailed.  Buying a book centralizes large amounts of information for you to consume.  Searching on the internet for the information you need is fast, but sometimes it is not detailed enough if you are just beginning.  If there is a topic you are confused about or don’t know where to start, try getting a book to get your feet wet.  On the other hand experience is the most valuable knowledge you can get.  Good luck green thumbs!

Product Review: AzaMax – Controlling Spider Mites


Lately I’ve had a pretty bad infestation of spider mites and aphids and I have been looking for the best solution for my plants without getting into nasty chemicals that will affect the taste of my food at harvest.  Gnats are another common indoor gardening pest I have had trouble with.  A simple solution for gnats is the yellow sticky paper that you can put along the walls and on posts in the containers of your plants.  Spider mites however don’t really fly around or get attracted to the bright yellow colors.   They seem to just be attracted to the pretty green leaves of my plants!  Flattering… except spider mites are gross and I would not like to eat them, regardless of how much they want to eat the leaves of my plants.

I tried spraying some solution of Neem PY onto my plants and it takes a few days to kick in but it slows down the infestation for sure.  Neem makes the bugs slow and frankly just plain stupid.  The bugs aren’t killed instantly, so don’t feel like you’ve been cheated because all your bug problems are still there.  The neem makes the bugs not hungry and unable to reproduce.  The bugs will eventually starve to death and the babies will hatch damaged or will eat the neem on the leaves right away and become affected.   The Neem PY wouldn’t stop the infestation completely but it certainly crippled them.  No matter how much neem I used the spider mites kept coming back.  One time I used too much neem too close to harvest and I could taste its tangy flavor on my food.  It wasn’t as horrible as a I thought and was better than eating mites, but I would rather have the best food possible not just “okay” food.  Thats why I grow my own!

To get the infestation in check I picked up some of General Hydroponics’ AzaMax because two other indoor gardeners recommended it to me.  I figured it would work like Neem PY but it was actually amazing how much stronger it was.  I foliar fed the AzaMax to my plants and than poured some solution into my hydro reservoirs to ensure the plants would be bug proof.  After about two days it seems like almost all the spider mites have died or stopped moving.  It definitely helped control the gnat problem too.  I have not harvested the food the AzaMax has been applied to since it is new but I will be sure to write about how it has affected the food flavor and aroma if at all.    If you decide to go and try AzaMax I would try foliar applications at first to see if you can rid the problem that way.  This is especially good if you are still in the grow phase and the fruits you will be eating or picking have not started to form yet.  AzaMax is a little pricey for how much it recommends to use but I promise it does work well.  I will most likely continue to use Neem PY and AzaMax as a preventative and reactionary pest control solution.

Another good feature of AzaMax is that it is OMRI (Organic Materials Review Institute) approved.  Sometimes labels can be questionable since any company can label their products “organic.”  Look for the OMRI or other official organic labels.  Make sure to look up and research any product you think is suspicious or may be claiming to be organic.  You can take a look at the OMRI web site here.  Even though some forms of hydroponic systems use inorganic parts, I still think it is best to get the closest thing you can to organic every time.  I believe this can yield a more natural and usually sweeter tasting fruit or vegetable.

Get General Hydroponics AzaMax at Amazon today to protect your indoor garden investment. You can also read customer reviews here.

GUIDE: Building a Simple Drain Table – Part 2

This is part 2 of the DIY Drain Table Guide. Look at part one here.

Okay after you have the right size tub and trays for your set up you can get started.  The size you get depends on your needs but I recommend getting a really sturdy bottom tub(drain off tub where waste goes).  The tub should be able to withstand the pressure of water with out bowing out enough to make your trays fall and CERTAINLY without cracking or breaking.

If a water container you have in one of your hydroponics systems is too weak to withstand the pressure of water constantly pushing on it could crack or break and leak the potential GALLONS of water all over your room and whatever electronics you may have on your floor(Even though all indoor gardeners should be making sure all of their electrical parts are placed on the wall or above where water could potentially spill or spray on them RIGHT?)

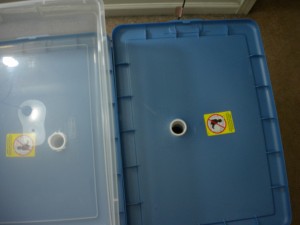
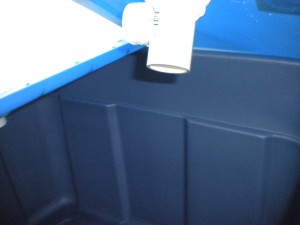
You’ll want to use a drill to drill holes 1 or 2 inches wide in the lids of the containers.  Position the hole so that they will drain into the tub the lids will be sitting on.  Refer to the pictures below.

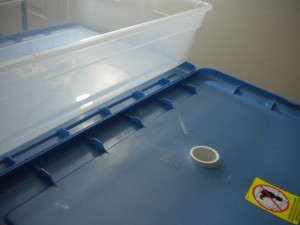
Notice there is a two inch hole drilled into the lid of the container with a two inch diameter PVC joint connector put through it as a drain hole.

Hole from above
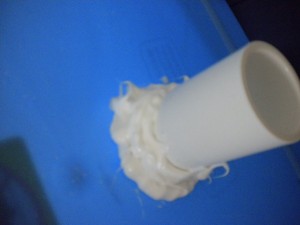
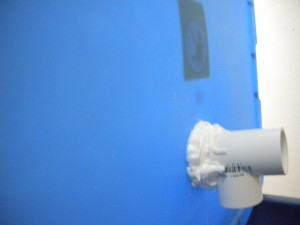
Sealing the drain so water is FORCED through PVC.
To seal the PVC elbow drains in place you can get water proof silicone or a type of strong water proof caulking and apply it with a caulking gun.

Let the sealant set long enough that its not loose – this could take up to 24 hours so BE PATIENT.  Better things come to those who wait. Once the bond is tight you will be able to sit your trays on top of the lids and the drain wont fall off under the pressure of your plants plus extra water.  

Position your tray on top of the lid like you will have it in your final set up.  You want to put a hole in the space where the PVC hole is so the water from the tray drains out of the hole and through the PVC drain down into the bottom tub/reservoir.

This is pretty much what you’ll have at the end – You can drill holes where the white circles are to drain the clear tray.
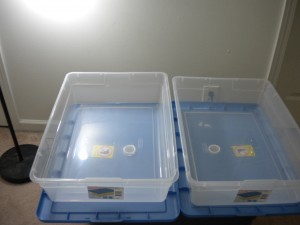
A drill should work fine if you are careful not to crack the plastic.  It shouldn’t be a problem either way considering you should be using containers sturdy enough to hold a lot of weight over long periods of time.  If one of your containers break your plants could end up submerged in their own dirty waste water.  You want to plan and account for things like this in the planning of your hydroponic set ups to ensure safety of equipment, plants, and most importantly you and your house.  

Another way to put holes in the plastic trays is to burn a hole.  BE VERY CAREFUL WITH THE FIRE! I heated up a glass rod with a camp fire starting torch – one similar to what you use to start a grill.  Once the rod was glowing orange I pushed it through where the PVC drains were to make a perfect hole.  

Good luck in your constructions and please comment or contact me with any questions.
GUIDE: Setting Up A Simple Drain Table Part 1

This guide is as detailed as possible so that people that are just starting with hydroponics can understand it.  There are ALOT of pictures – You were warned.

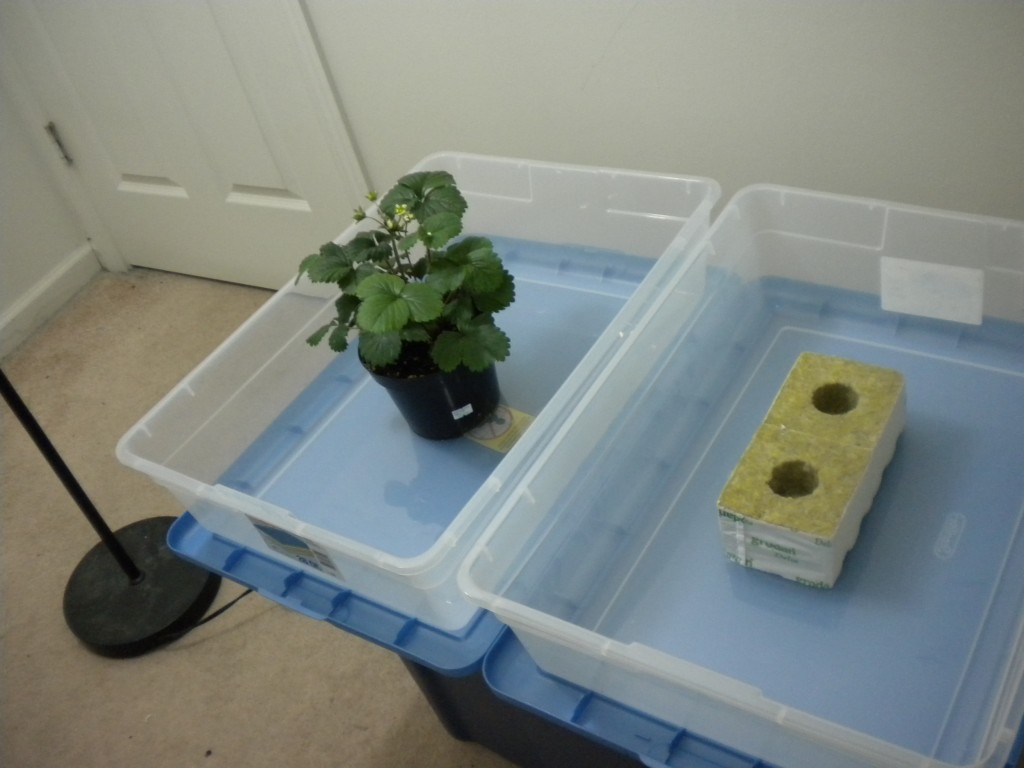
Left side – Soil container strawberries Right side – Rockwool cubes waiting for fresh clones

It is very easy to go to a hydroponics shop and just pick up a drain table and an assembly for it to sit on.  This may also include a $100 reservoir to go with the system.  Hydroponic parts add up fast and thats where Do it yourselfers try to save.  By building your own simple drain table you may be able to save money on your hydroponic setup.  The saved money can be used to get bigger containers and more medium for your roots.  The type of table I am going to show you how to build allows you to freely move your plants around in their containers.  This table is useful for soil and hydroponics alike because it allows the excess water and nutrient run off from watering/feeding to drain into a run off container that can hold many gallons so it rarely has to be changed.  It can greatly reduce the amount of maintenance needed daily in between harvests.

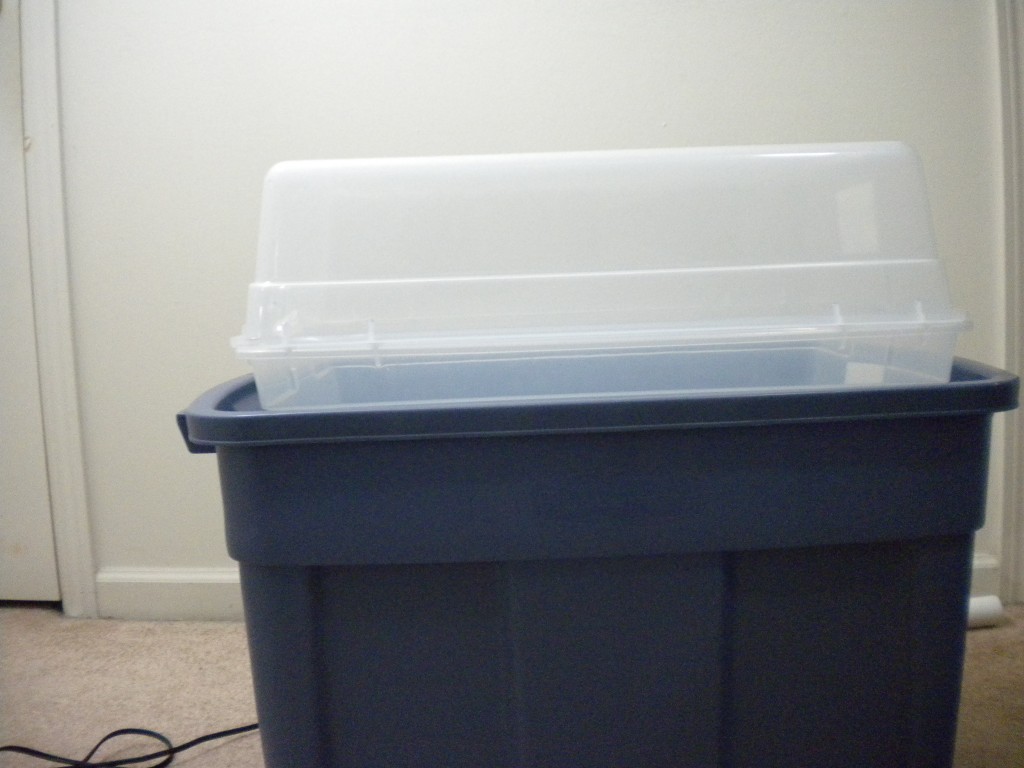
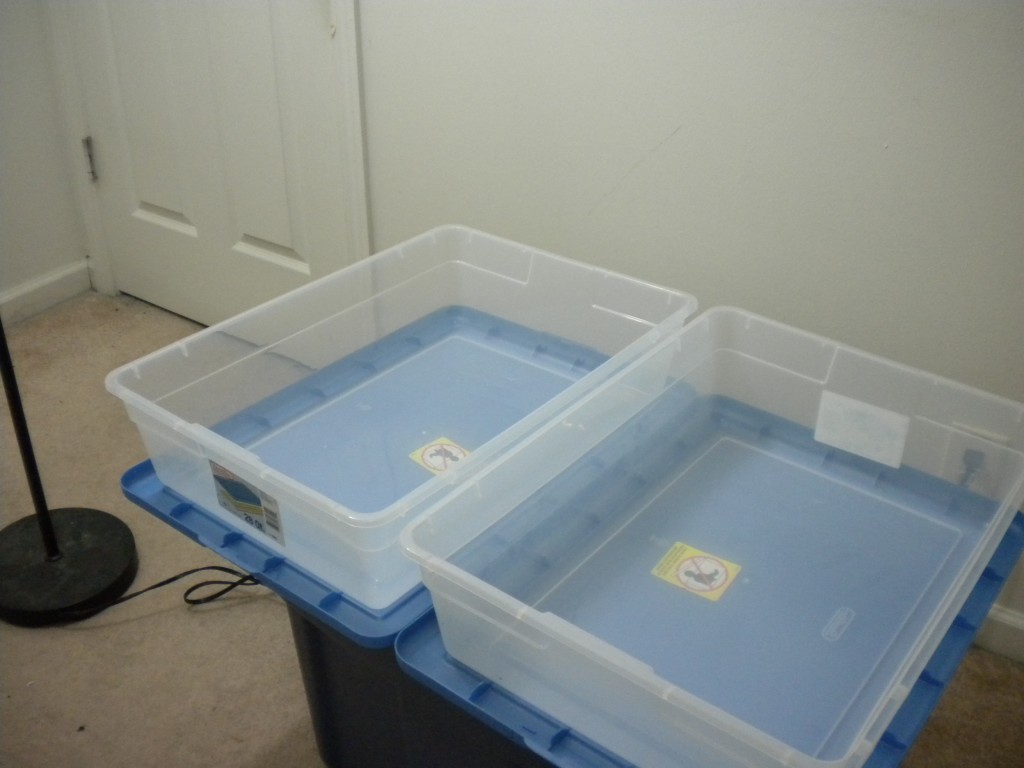
Blue tub is for the water to drain into after it goes through the plant.
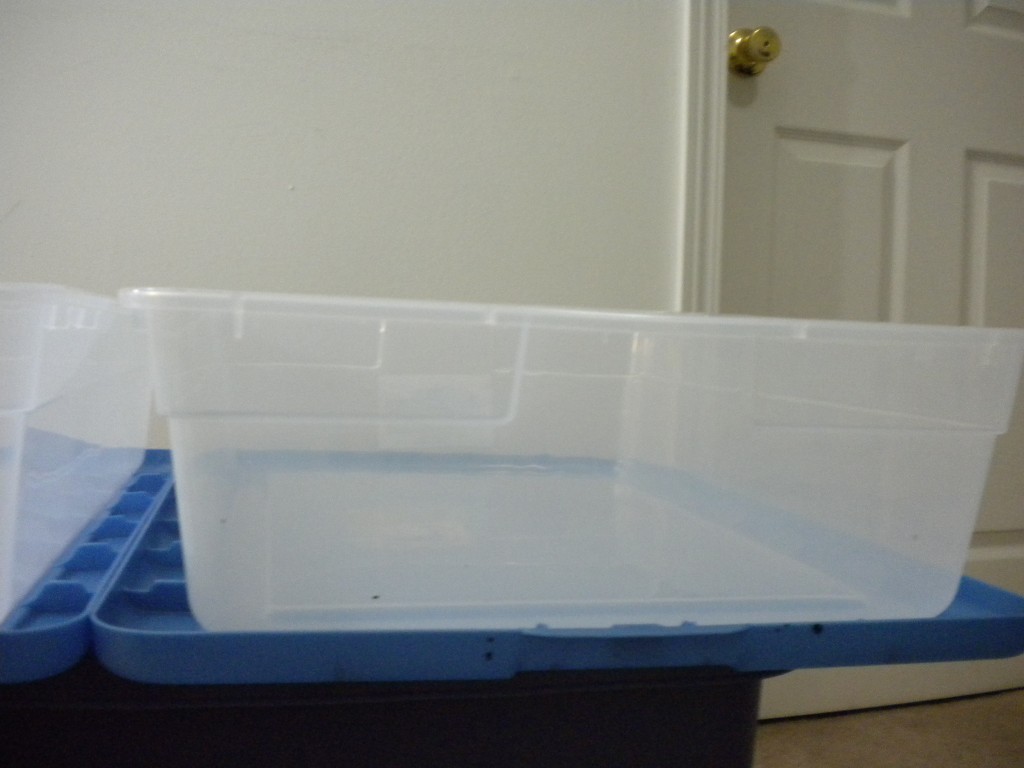
The clear tray is like a table for your plants. The lid of the container is what the tray sits on, on top of the blue tub from the previous picture.
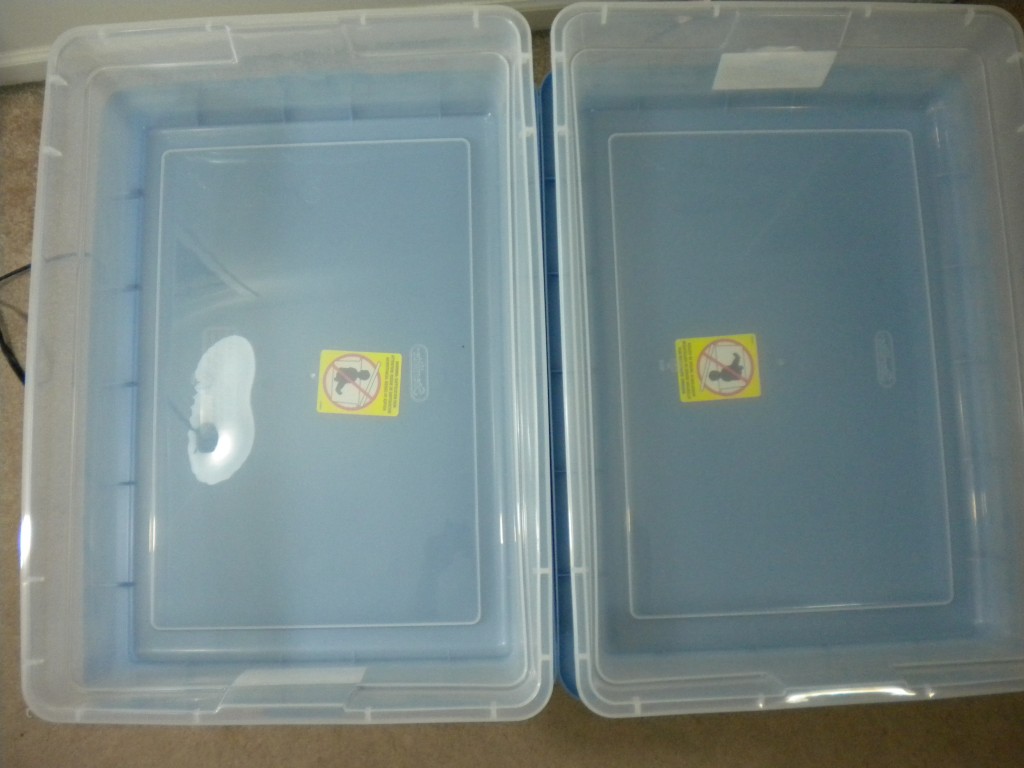
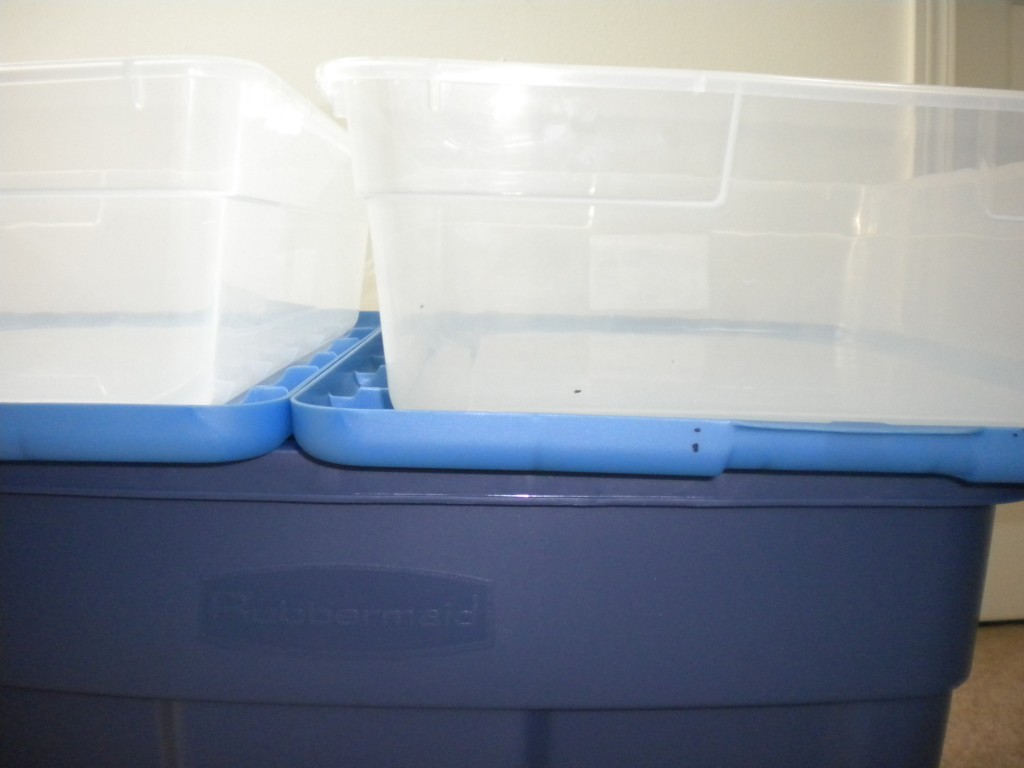
The blue tub from the first picture can fit two of the clear trays which have about 6-8 inch tall walls.
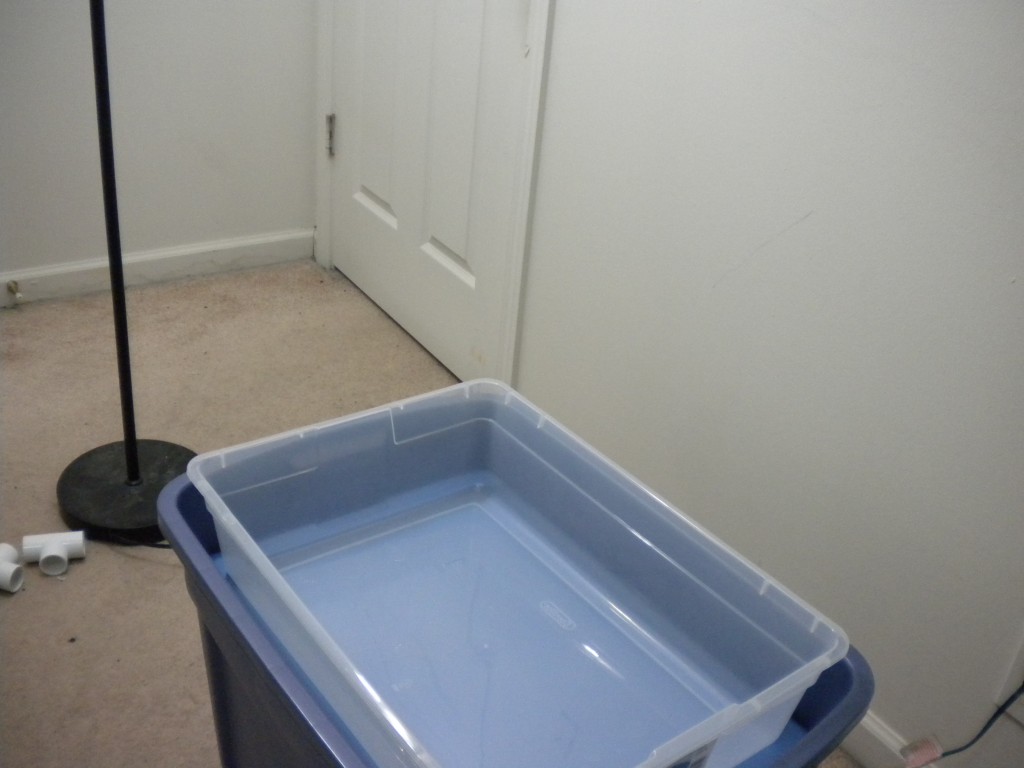
Another view of previous image.

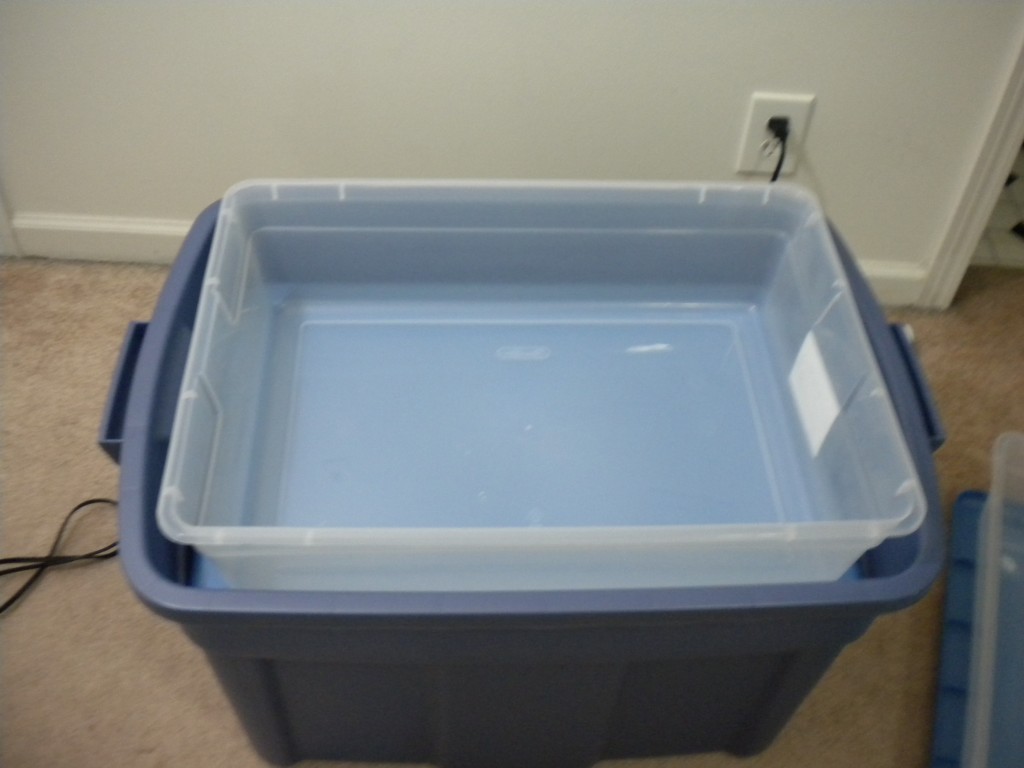
This is a variation of the table I am making for people with less space. For this version the lid of the blue container would be latched on and the clear tray would sit on top with a drain going to the blue tub.

T

Continue reading this guide: Part 2

Recent Inactivity – West Coast Hydroponics Shops

Its good to be back!  I recently visited California to meet up with some other indoor gardening enthusiasts and check out some west coast hydroponics stores.  Sacramento hydroponics stores are on point!  I visited a couple different hydro shops in the Sacramento and San Francisco area and every shop that I went into had good prices and a good selection of hydroponic equipment.   The ‘vacation’ is what has kept me from posting new articles so I’ll be sure to post some good information tonight to make up for it.  Be sure to check back through the next week to see my hydroponics DIY guide.  I’ll be posting a pretty detailed guide on how to construct some simple and cheap hydroponics systems.

Over Fertilization : Too Many Nutrients

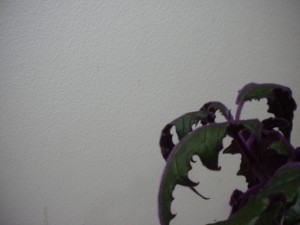
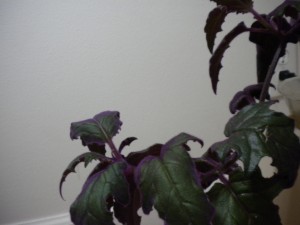
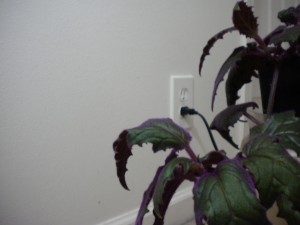
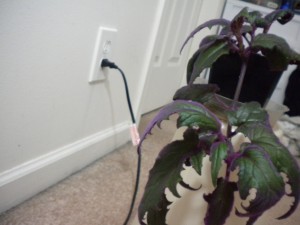
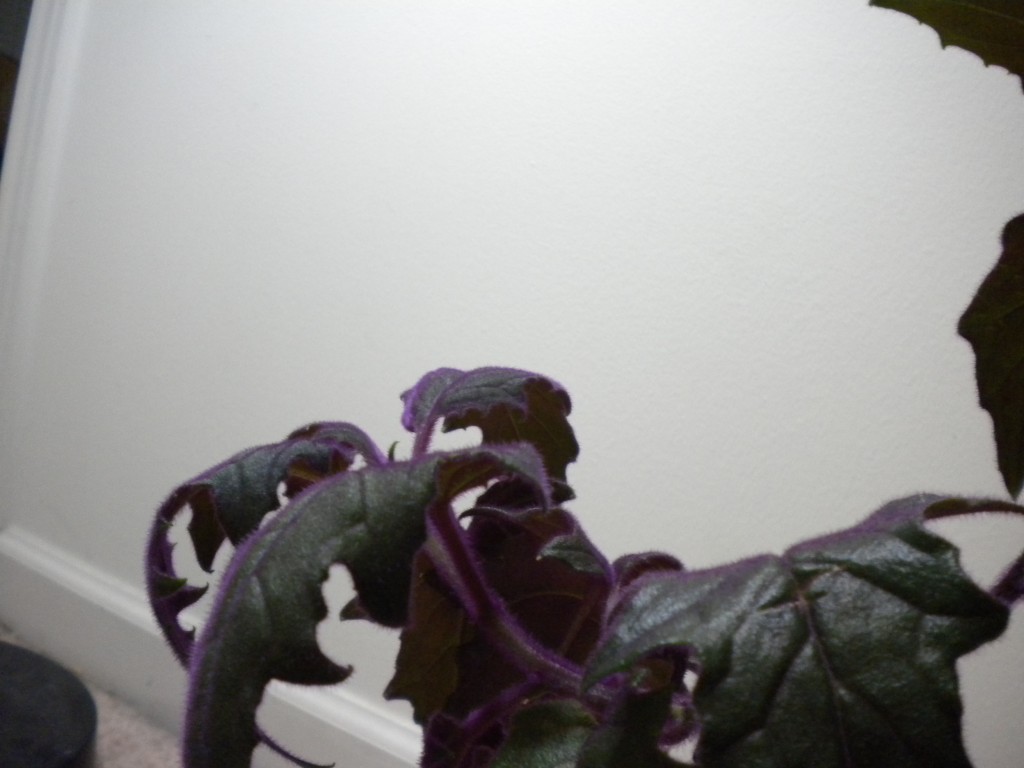
down turned fringes.

I have a few house plants I like to mess around with when I get new sets of nutrients.  In the picture I have my purple passion vine in a condition that is starting to show signs of over fertilization.  These house plants only need nutrients every 2-4 weeks at most but sometimes I’ll hit it every week for a few weeks at a time to see if the growth jumps.  The plant is mostly rooted in the container so it is at its max requirement for nutrition.  I water it every day pretty much.  During today’s daily watering I noticed there was water in the tray and the plant had leaf fringes that were down turned.  This plant naturally curls its leaves some, but i could tell the difference in structure right away.

The down turned leaves could be a sign of over fertilization or nutrient salt build up.  These can both be fixed by simply watering with plain water every day until symptoms disappear.  Good consistent soil waterings can wash the extra salt build up in the plants roots.  If you are running a hydroponics system then do a reservoir change and drop the PPM (parts per million) of your nutrient solution.  If you don’t have a ppm or EC meter there is no need to worry.  Just fill the reservoir up by a set amount of gallons or liters and pay attention to the amount of nutrients added per gallon/liter.  The packaging for the nutrients should say what they recommend to use for soil or soiless grow mediums.   I usually cut their recommended mixture in half to be on the safe side.  You’ll especially want to use a low end estimate if your plants are showing signs of over fertilization.  In a hydroponic reservoir the solution can also be dropped to one fourth the recommended solution to rinse out salt build ups.  Make sure to top off the tank with fresh water or 1/4 solution to keep the levels high before the next reservoir change.

Notice down turned fringe and leaf structure is curled inward.